
Many people have a hard time figuring out how to glue the fabric together. It’s not always as easy as it seems! Glue is one of those things that can be really frustrating when you are trying to put something together and the pieces just don’t seem to stick. In this blog post, I am going to share some tips for how to get your pieces glued successfully so that you can make a project without any frustration or wasted materials.
How to Glue Fabric Together
1. Prepare your materials
Make sure you have all materials ready (fabric, glue, scissors) before beginning any work.
It’s important to use the right type of glue for your project. There are two types of fabric glue you should know about: permanent and temporary versions.
- The permanent version will last forever, and the bond is normally very strong. The bond is either water-resistant or waterproof so that your design doesn’t come undone in rain or when washed with soap and water. It dries clear with no bumps or ridges where it was applied so there’s a smooth finish to glue on both surfaces of your project without leaving any marks behind that show it’s been glued down!
- The temporary version is pretty much just glue where the glue will dry like normal, but then it can be soaked in water and removed if necessary (like fabric paint). This type of glue also won’t damage your clothes or other fabrics, so it’s a good option if you are using glue as part of an art piece instead of clothing construction.
If you don’t have fabric glue, you can use the following types of glue instead:
- Hot glue is great for gluing pieces together that need to move after being put together. It will glue the fabric tight enough so it won’t fray without any glue showing, and once dried is pretty flexible – which is good if you are working with fabrics that need some bend in them like leather.
- Superglue is a very strong glue and it’s great for attaching fabric that doesn’t move much. It dries in just seconds, so you can get your project glued together really quickly! Use superglue when the pieces are still flat on the table or if they don’t have to bend at any point after being put together.
- Epoxy resin glue also works fantastically well for gluing fabrics together without fraying them since epoxy gets twice as hard as other types of adhesives. You need to be extra careful with how long you leave this type of adhesive because it takes several hours to dry before its ready for use again. However, once dried completely, epoxy will stay firm forever – which is great for projects that you want to be really sturdy.
You should find a flat surface to work on to keep your project steady. Cut out two matching shapes from your fabrics and clean the fabric by brushing it with a dry brush or wiping it off to make sure both surfaces have been properly prepared before applying glue! If either surface has dirt or old glue residue, then neither piece will stick successfully since new glue won’t sit on.
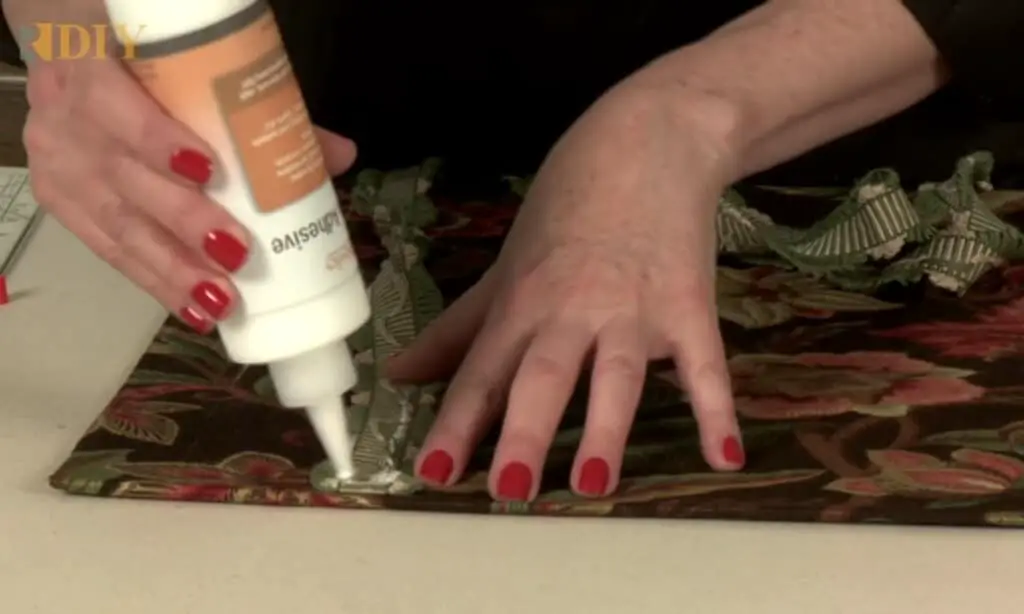
2. Apply adhesive to the fabric
You can use a paintbrush, foam brush to apply an even coat of glue across a piece that needs to be glued together. Using too much glue or not enough glue can both lead to problems when trying to attach two layers of fabric together. Make sure your glue is evenly spread across where the pieces meet each other and don’t use more than necessary! If there’s a lot of excess glue on either side (or worse: on top!) then it might leak beneath the seams and make an unsightly mess later down the road. Using less glue means that your bond
Tip: It’s a good idea to use painters tape or masking tape when you start gluing your pieces together so that it doesn’t show through on the outside
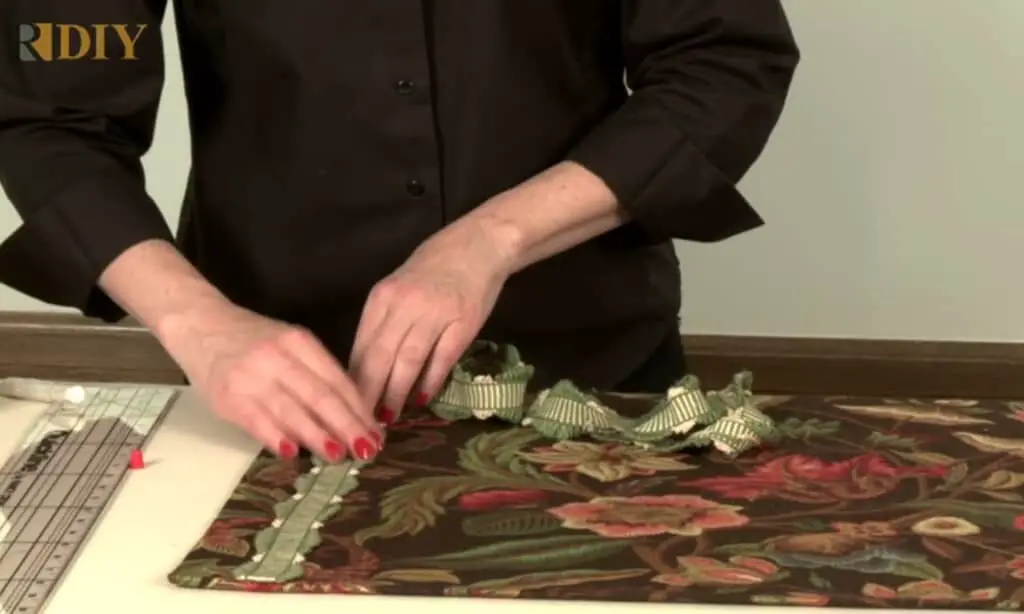
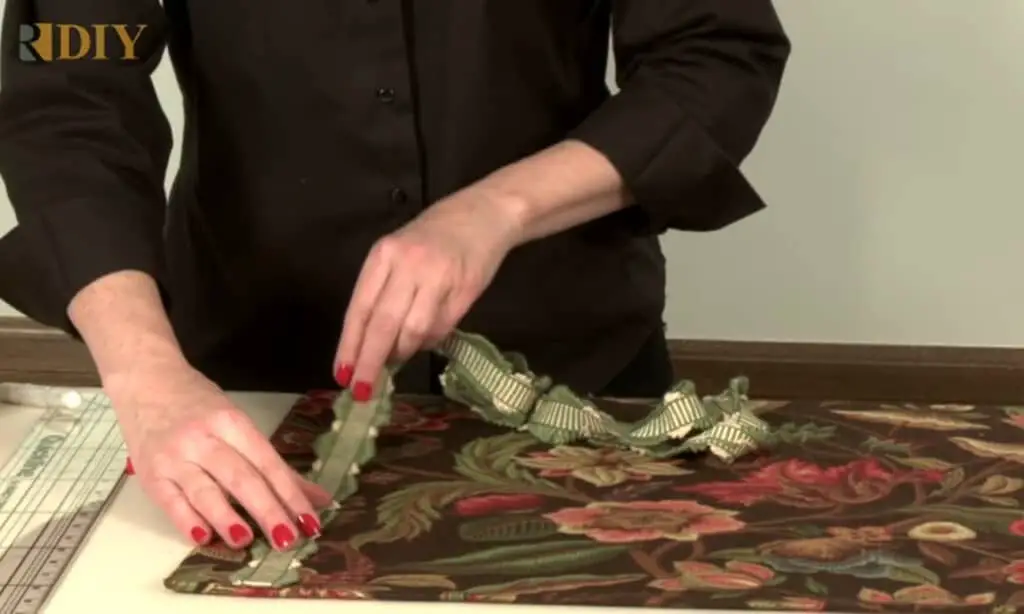
3. Place and press two pieces of fabric together
You should use a scrap piece of fabric as your base and the surfaces of the fabric should be facing each other. Carefully place your fabric pieces against each other and try to avoid squeezing them together, because this will lead to wrinkles in the material
Tip: Use pins to hold both pieces in place so that they don’t move around while you are gluing them together. Pinching like this will help ensure a tidy finish with no loose thread hanging out after the project is finished!
Just press gently until you don’t see any bubbles appearing anymore (which are air pockets where glue hasn’t been applied correctly).
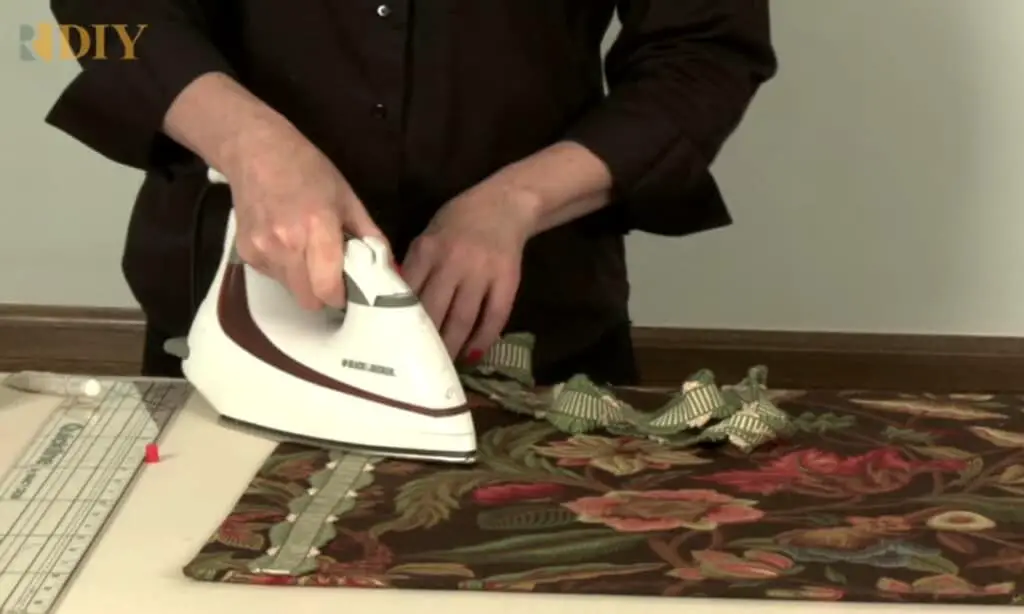
Tip: Optional steps include using an iron or applying weights on top of the glued pieces to flatten any air bubbles or wrinkles in the fabric.
4. Allow it to dry and your project is complete!
Use a wet cloth to clean off any glue that had seeped into the fabric. Allow to dry for 30 minutes before using, but can be used immediately after applying if needed.
Trim off excess material along the outer edge with scissors if necessary and enjoy your new creation!
Is fabric glue as good as sewing?
Fabric glue is often hesitant to hold a very light garment. It can be a highly successful adhesive for home-sewing, but should not be depended on as an alternative to sewing. Fabric glue can be great in complex designs or for solving tough sewing problems.
Fabric Glue relies on the fabric’s individual textile fibers for its adhesive property. While this can yield fantastic results, it is not suited for projects where something is likely to snag or tear the fabric, but that doesn’t happen with conventional sewing.
When one cannot sew, gluing becomes a good option because one does not have to worry It also lets you easily move items around in progress without having to un-sew anything.
Can E6000 glue be used on fabric?
Answer: Yes, E6000 glue is a very strong and durable adhesive that works on various surfaces.
E6000 adheres to most surfaces with an electric charge which gives it the ability to flow into small gaps and irregularities. This ensures a tight seal against water or fire damage (higher temperatures melt off the glue). You can use E 6000 as-is on some fabrics – like silk or wool – but always test beforehand by applying a bit of glue onto an inconspicuous area of the fabric to make sure there’s no discoloration, lifting, or pilling after drying.