You regularly need to repair fabric goods. In other cases, you are working on a project to join leather to the other. When you know the right approach, it will make the task much more accessible.
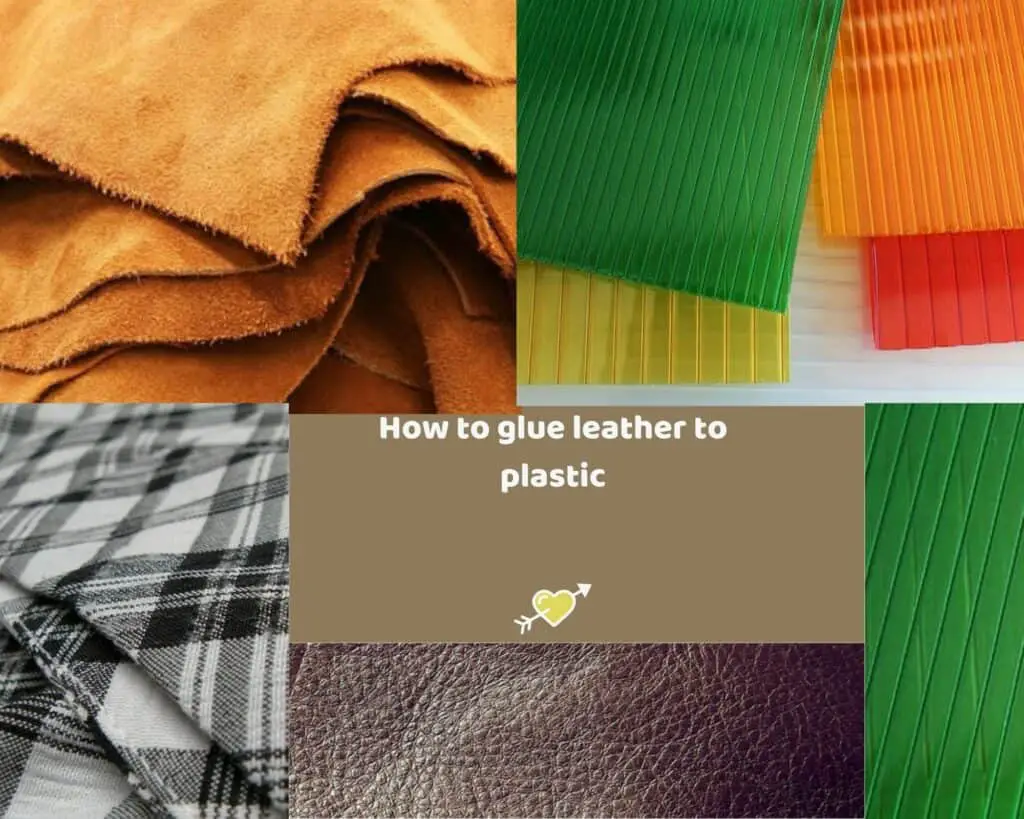
How to glue leather to plastic? There are eight simple steps to apply:
- Step 1: Prepare a workspace
- Step 2: Prepare a suitable surface of material
- Step 3: Prepare the adhesive
- Step 4: Apply the adhesive
- Step 5: Allow the adhesive to set
- Step 6: Stick leather to chemical materials
- Step 7: Secure these materials in place
- Step 8: Adhesive cleanup
Keep reading this article by Gluecare to know precisely how to do it!
Things You Will Need
First and foremost, you need to prepare the necessary tools and materials for the gluing task. Here is a list of some things you should have
- Suitable glue
- Gluepot
- Glue spreader
- Leather rougher
- Edge clamp
- Leather metal roller
- Rags
- Wire Brush
How To Glue Leather To Plastic?
Gluing the two materials is not a difficult task. However, you should follow those instructions step by step to gain the best result.
1. Prepare a workspace
A big, even, and open workspace is the best for you to glue. One workbench or one table is a great option. A pro tip is to put some sheets of paper down on the workbench so that it can absorb any excess paste.
Make sure there is enough space for materials. In some cases, it would be a great help when you can move 360 degrees around the workbench to hold everything during a project.
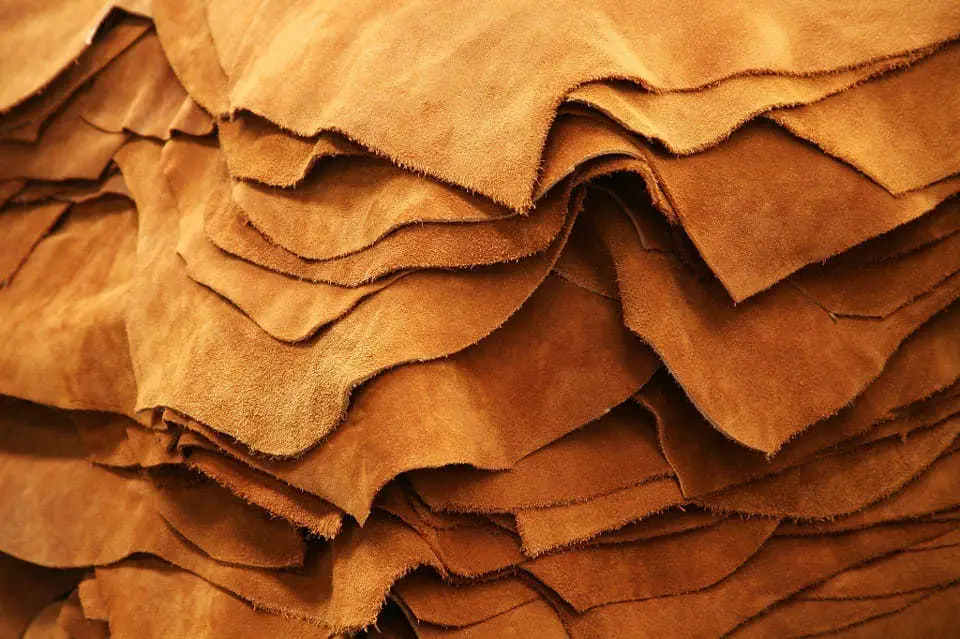
2. Prepare a suitable surface of fabric
A rougher surface generally adheres more efficiently to glue as the wild area can provide more things for the paste to attach. When you bond the garment to artificial substances, it is beneficial to rough the garment surface up to expose all the tiny fibers.
Generally, the glued surface needs to be clean, so you should wipe off all dirt and debris. You can rub some deglazing (Fiebing brand, for example) on; it would help take off finishes and filth that may be there.
3. Prepare the adhesive
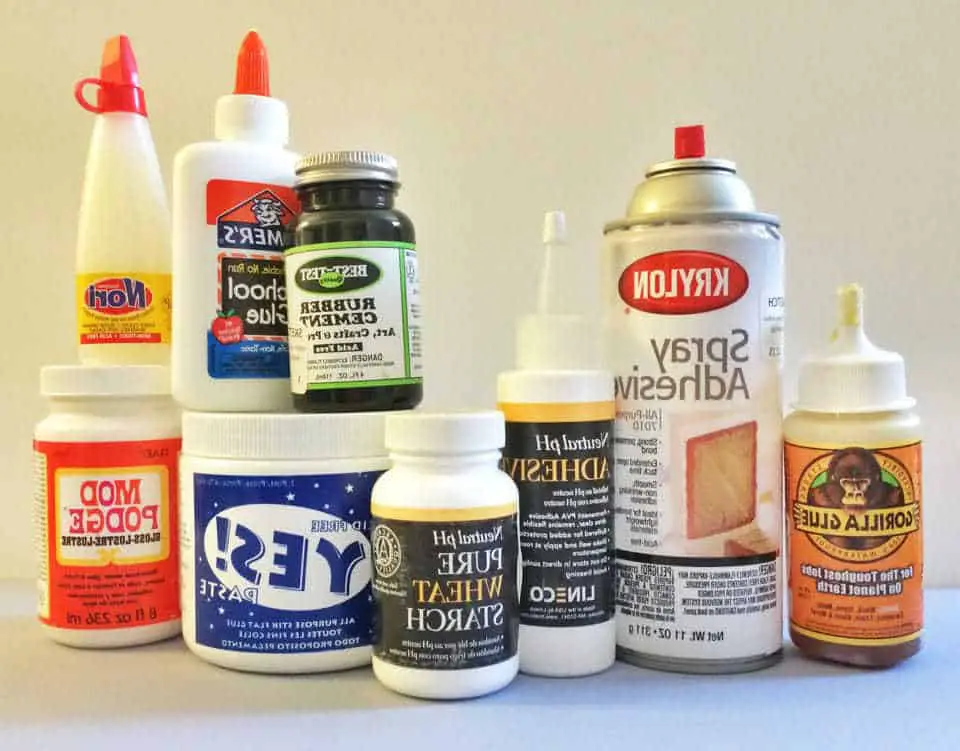
It is essential to choose suitable fabric glue since there are so many types of adhesives for various materials out there.
Some types of glues come produced quite thick and gummy. One solution is to dilute a bit more liquid so that the bond can free flow and become dried faster.
Do not worry, as they can still hold their original strength. Any paste and contact cement can go with a special thinner to dilute glue.
4. Apply the adhesive
After you prepare a suitable adhesive, let’s move on. It is straightforward to know how to attach leather to plastic.
It would help if you started gluing the center of the garment piece to spread around. It will make the majority of the adhesive in the center, expanding evenly across the surface.
To make better results, you can utilize one cement spreader to expand the paste out from the center of the garment sheet. It will help if you spread towards the edge.
5. Allow the adhesive to set
Once you apply the glue, it is necessary to partially dry (around 20 minutes) before you join the artificial substance together. The reason is that this partial dry time can make the liquid a little tackier. As a result, these surfaces can stick better.
Maybe some of you are working on a project that involves heavy or rough garment, and you may want the most bonding strength.
In this case, you can try applying a layer of the glue and then let it dry (around 20 minutes). After that, put the second layer of cement on the surface.
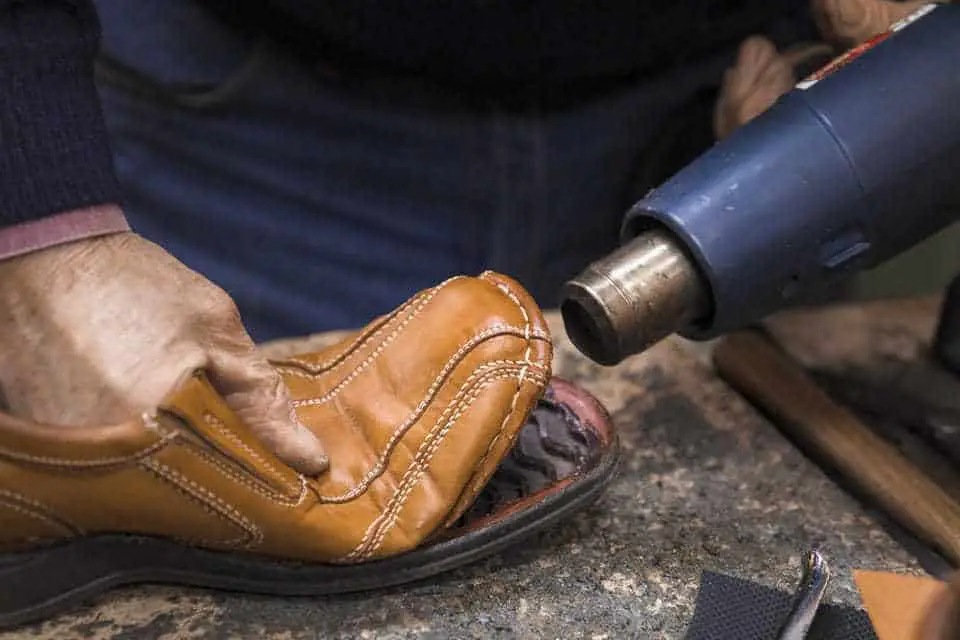
6. Stick leather to artificial substance
Once you have applied the adhesive on the surface (the glue had some time to get tacky), you can join the leather to the chemical substance together. One crucial thing for results is that the joint should be as level, flat, and solid as possible.
You will have to hand press the plastic on the surface. Ensure all pieces get lined up, and press tightly by your hands.
We are strong, but you can take advantage of some tools. If you are working with these kinds of materials, the leather roller would be a great help. It will help you press the adhesive layer evenly and remove air bubbles.
7. Secure the garment and plastic in place
After sticking the fabric and the artificial material, it is necessary to secure them in place for drying and tight bonds. You can use the leather clamp/weight to keep these pieces in the correct position.
8. Adhesive cleanup
When the cement becomes dry thoroughly, it’s time to clean any excess adhesive around. The lint-free clothing is helpful to wipe off any glue from the surface and edge. If the bond gets already a bit tacky, you can dampen the rag.
You will have to wait for the adhesives to dry for 24 to 48 hours. It will help the bond become tighter. Let’s watch this video to know how to join fabric to plastic.
FAQs
Can you glue leather to plastic? If you get confused about something, these frequently asked questions below might help you solve your problems.
What is the best glue for leather to rubber?
To fix and bond pieces, the best adhesive is Tandy Eco-Flo Weld glue. While it is not as robust as a few contact blocks of cement, this cement is eco-friendly and can dry clearly and flexibly.
Can you use Gorilla adhesive to glue leather to rubber?
Typically, Gorilla adhesive will not work well for animal-skin fabric. Remember that each material will go with a typical type of adhesive for the best attachment. So it would help if you looked for fabric-specific adhesives that can work better.
Wrap Up
How to glue leather to rubber or plastic is not a difficult task at all. The most important thing you have to follow is to choose the right type of adhesive. It would help if you also noticed how to use the glue correctly for the tight bond.
Related article:
- How To Glue Pictures On Wood? The Simplest Way To Decorate Your Home (3 Easy Steps)
- How To Glue Metal to Wood: A Step-by-step guide
- How To Glue Plexiglass Together? Easy Steps For The Best Adhesion