
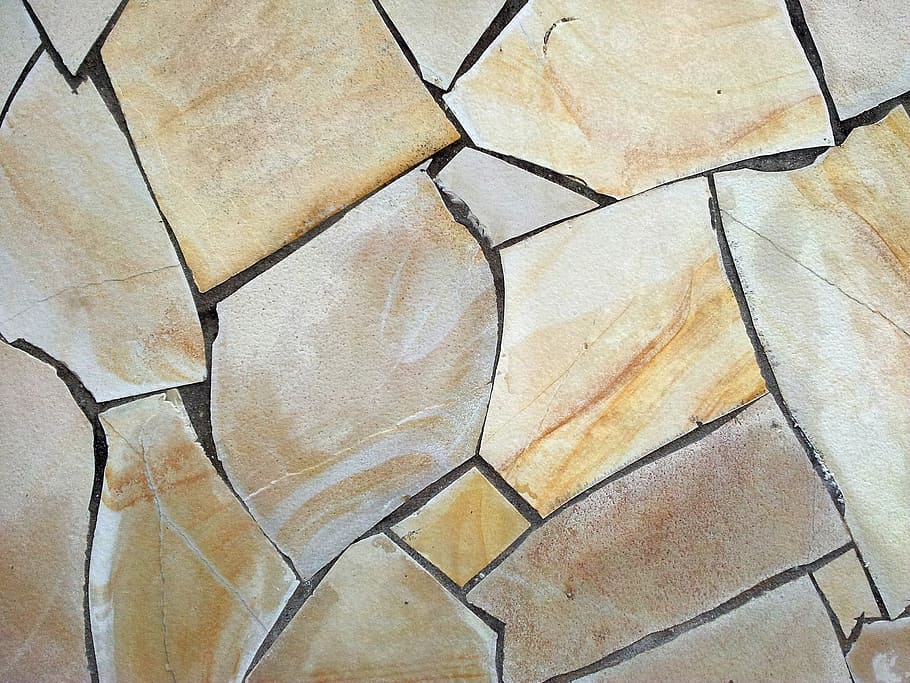
Marble is one of the favorite materials in construction, sculpture, or interior as it brings a luxurious sense to the living space. However, transporting it is not an easy task. You can accidentally break it at any time.
In those cases, you need to reattach it instead of throwing it away. How to glue marble together? The answer lies in this post of Gluecare. Scroll down!
Things You’ll Need
Before starting this task, remember to prepare the following necessary items:
- Cracked marbles
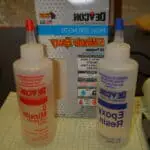
- Adhesive product (Gluecare)
- Acetone polish remover (or detergent)
- Soft cloth
- A razor blade
- A grinder
- Goggles
- A dust mask
- Paints
- Colors
- A varnish
- Step-By-Step Instructions
Once you have all the required things in hand, let’s start to repair cracks right away! If it’s your first time, below are straightforward step-by-step guides so that beginners can follow. Let’s take a closer look!
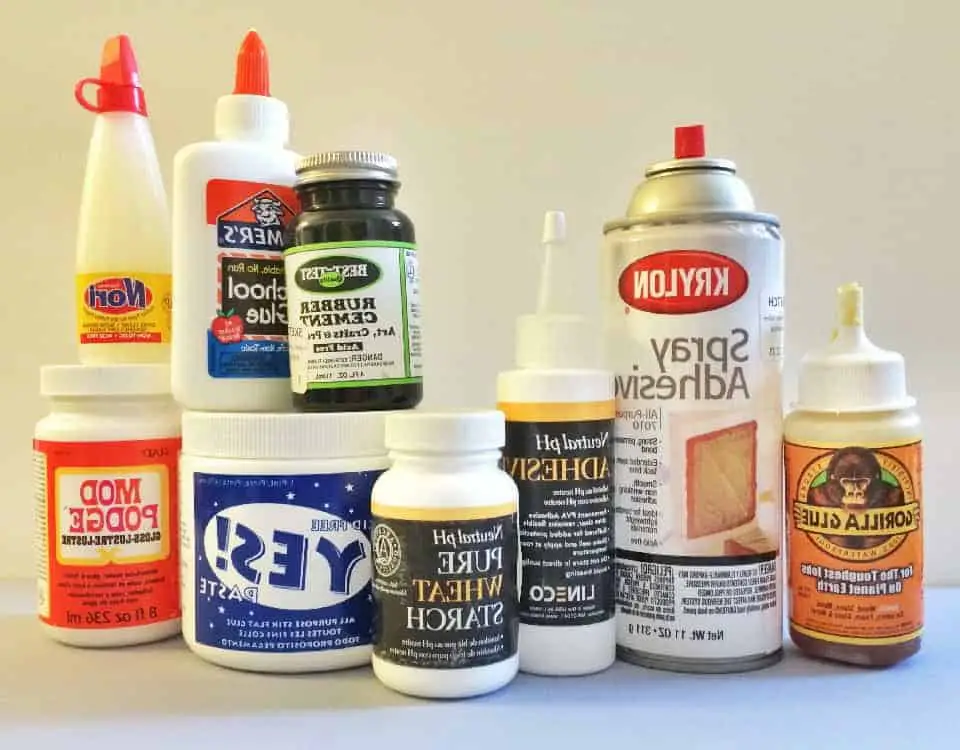
Step 1: Select The Best Adhesive
What kind of glue for marble? There are thousands of adhesive products on the market, without a doubt. However, not all work effectively on your objects. So, pay attention to the following considerations before purchasing an adhesive.
The tone of the glue may affect the quality and result of adhesion. For instance, if the marble is light-toned, you should use a light-colored adhesive to create a nice seam. Also, the sealant may turn its color when it’s under UV rays.
For that reason, it’s better to choose a suitable glue. You can refer to the sticky product list below for the best seam:
- Glaxs Original Transparent.
- Glaxs Marble.
- Glaxs Ultra Fast Transparent.
- Gluecare.
Adhesive (link)
Step 2: Make Sure The Marble Are Clean
Once you have found out the best glue for your marble, you can stick broken pieces together. Wait, do you want a smooth seam? So, you should clean the surfaces first.
Take a cloth and soak it into acetone liquid remover so that you can remove all dirt or greasy substances on it. While wiping, make sure you won’t cause scratches on the surface. If this solution is not available in your house, you can replace it with detergent.
After that, wash it with clean water to remove excess acetone. Let it dry for a few minutes.
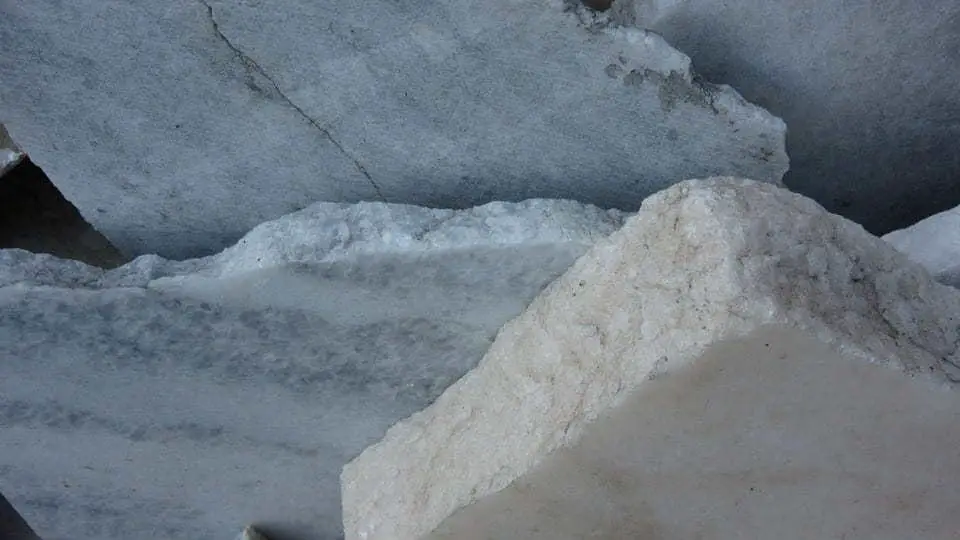
Image credit (link)
Step 3: Strengthen The Seam
Normally, you can apply adhesive to stick the broken pieces together right away. However, the advice is you should increase the firmness by grinding biscuit grooves for long-term use.
This step is relatively easy and simple because the marble structure is soft. First, wear a dust mask and goggles. Also, avoid chipping the surface of the slab.
Mark the edges to be joined corresponding to the opposite side of the slab. After grinding to the desired grooves, use acetone to wipe away any dirt from the cut.
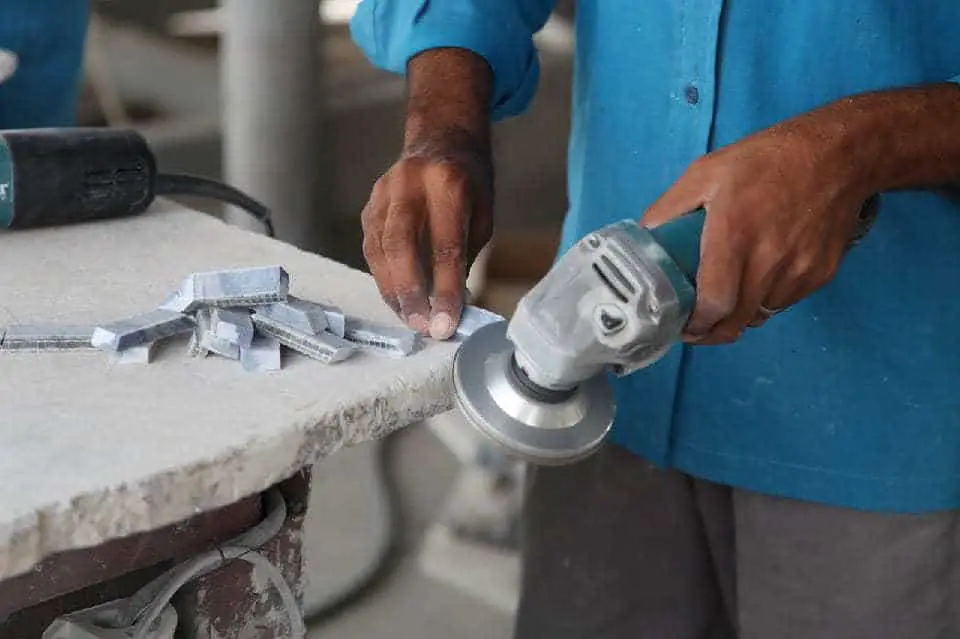
Image credit: (link)
Step 4: Try Putting The Cracked Pieces Together
Remember that you only have one chance to repair these pieces back together. If you make mistakes, there is no solution apart from throwing them away.
Arrange them as close to their original condition as possible. When satisfied, move on to the next step.
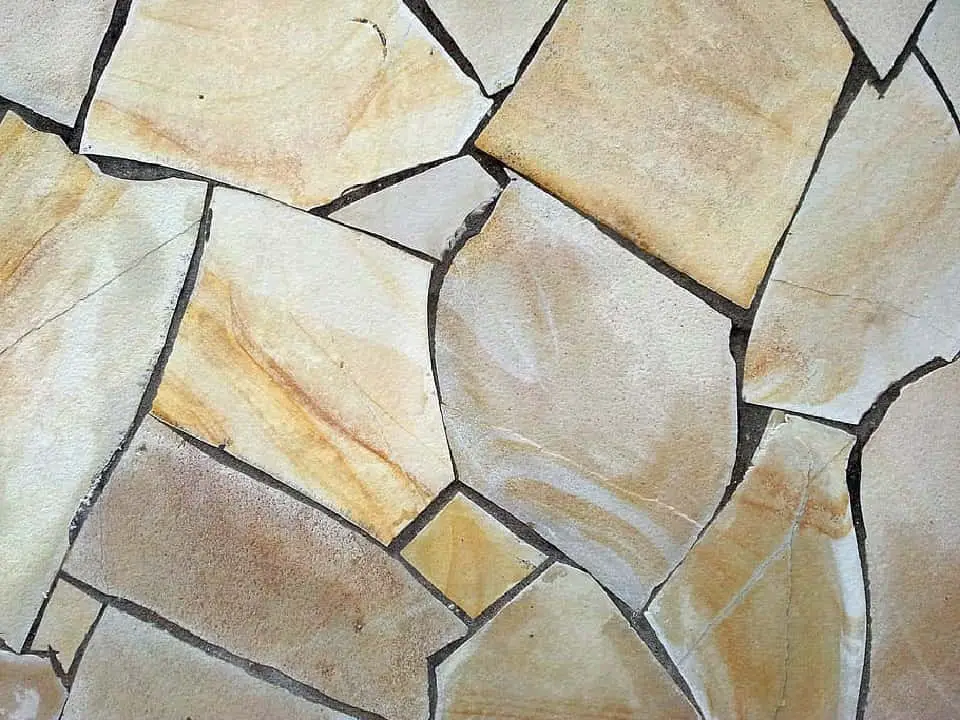
Image credit (link)
Step 5: Apply Adhesive
Mix adhesive and apply evenly to all surfaces of the slab. You will need a larger amount of glue than usual for the grooves. That’s why they make the bond stronger and more durable.
Make sure there is enough glue to cover the entire crack.
Image credit (link)
Step 6: Clean Up The Surfaces
Wipe all excess glue off the slab surface as soon as you’re done with them because wet glue will be easier to clean. Use a razor if there is unwanted solid material. It will make your work faster and neater.
Image credit (link)
Step 7: Sand And Paint The Seam
Before sanding, let it sit overnight to allow the seal to dry and harden.
Sand the high patches until the sealant is flat, avoid scratching the surrounding surface.
Then, mix colors to paint into the seams so that they are invisible.
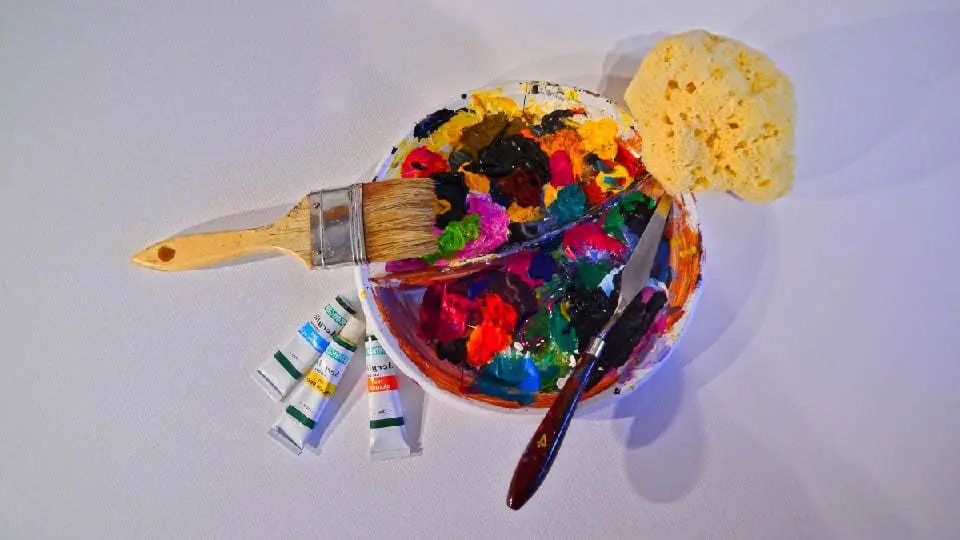
Image credit (link)
Step 8: Polish The Seam
Even after you have painted the cracks, they will still fade when exposed to sunlight. Hence, apply a layer of varnish on top of them for added durability.
That’s done! You can learn more another way to join broken marble slabs together via this video:
FAQs (How To Glue Marble Together?)
If you get stuck in some problems, the question and answer list below may be beneficial. Let’s take a peek at it!
Can Marble Be Varnished?
The good news is yes. Varnish can make edges and seams more durable and glossy. It is also easy to apply and dry.
Can You Use Hydrogen Peroxide On Marble?
It’s up to the type of marble you have. If it is light-colored, you can try applying hydrogen peroxide to it. On the other hand, this bleach is not suitable for dark slabs, making them discolored.
Does Epoxy work on marble?
The answer is yes. Most professionals use it because this coating can give marble surfaces a durable and glossy finish. Furthermore, Epoxy is easier to clean and maintain than many other adhesives.
Can I Hand Sand Marble?
Yes, it’s better to sand it by hand instead of sanders. You can control the desired smoothness more easily without scratching other areas.
Can I Use Baking Soda And Vinegar On Marble?
The main component of marble is calcium carbonate, so it will easily yellow and tarnish when exposed to solutions containing acids and alkaline agents such as vinegar and baking soda.
You had better think carefully before using these products as they can make slabs less durable and crack quickly.
Conclusion
To sum up, this post has eventually reached the bottom of your problem related to how to glue marble together. Joining cracked pieces is not as complicated and difficult as you think as long as you follow the steps recommended above.
Hopefully, you will find this article helpful and straightforward to apply for your DIY projects. Thank you for reading!
Related posts: