
Gluing acrylic together is not the same as gluing it with ceramic, wood, or paper materials. That process requires different procedures and precautions. Gluecare will instruct you on how to glue acrylic together.
First, we need to clean the area, which will have to be permanently glued together. Use a little water and soap or some alcohol.
Apply Acrylic Cement or Weld-On 4 to the other and finally press the two sides together. Do not use too much-rubbing alcohol and too much soap in this case.
Whether you’re looking to stick acrylic for your next project or repair a break in your acrylic, it’s important to understand the best gluing method.
Let’s take a closer look at what glue acrylic together and get the specific step-by-step instructions on how to glue 2 pieces of acrylic together.
Things You’ll Need
You’ll need:
- a squeeze-bottle applicator with a needlepoint tip
- adhesives
- acrylic sheets
- rubber gloves
- gauze mask
- sandpaper
- soft cloth
- warm water
- soap
- degreasing agent
Unlike ordinary glass, you can repair acrylics without losing their original properties. Also, by gluing elements of acrylate, you can create simple structures and household items yourself.
There are many types of adhesives. We will discuss the pros and cons of each type and conclude which one is the best solution.
Acrylic Glue

Weld-On 4 Acrylic Adhesive (link)
You can apply adhesive based on acrylate and solvent to the surface of the acrylic. While the top layer of the base is in a molten state, it connects elements. In this case, it can form a welded seam with a strength of up to 87%.
Suppose you can not buy factory-made compounds for repairing or joining acrylic bases. In a typical workshop, you can find the ingredients to make DIY adhesives.
Epoxy-Based Glue
The epoxy creates an adhesion layer between the acrylic parts. You can see the video to know about how you dissolve epoxy glue.
https://www.youtube.com/watch?v=ucL3VkHlBMU
You can use epoxy for gluing acrylic. When using it, you do not need to degrease the surface before applying.
Epoxy has a high curing speed, and a dense composition does not spread and serves to fill cracks and restore chips. After complete curing, water, gasoline, acetone, or oils can not destroy it.
Some featured products:
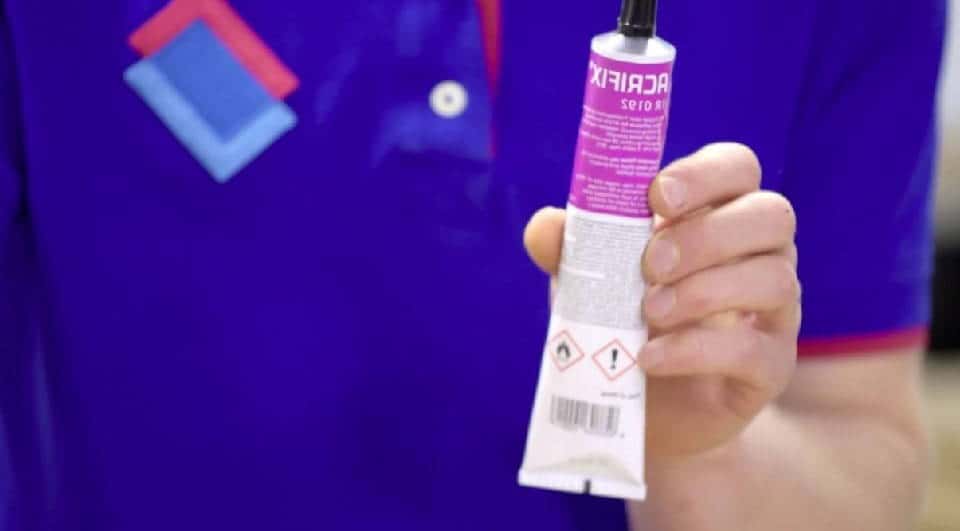
- ACRIFIX 1S 0116 adhesive does not require pressure on the parts. It has a dense texture. Therefore it does not fill small cavities.
- Sika Sikaflex-295 UV is a special solution for installing acrylic glazing. This one-component composition is in the form of a mastic, which gains curing due to moisture. It serves as a sealant for sealing external cracks in maritime transport.
You can make DIY epoxy glue at home following the steps below:
- Pour a type of solvent into a jar, and add acrylic chips
- Stir evenly and close the lid tightly and leave it for 24 hours
- After a day, check the solution. If the consistency is too runny, add more crumbs.
- When the solution becomes homogeneous, the adhesives are ready.
Another similar recipe: only add crushed polystyrene to the liquid component instead of acrylic chips.
Formic Acid Or Acetone
In addition to adhesives, it’s possible to use acetic essence, formic acid, or acetone to connect acrylic.
With such bonding, the adhesion reliability does not exceed 30–40%. Under the action of mechanical loads, cracks will appear at the junction.
Self-Adhesive Adhesive Films
When gluing smooth and flat surfaces, it is convenient to use roll-up self-adhesive films.
They work with elements that, when heated, have a low expansion rate.
In stores, you can find them in three categories:
A double-sided film without a base:
They are a layer of adhesives, covered with a protective layer on both sides.
First, you need to remove the protective strip from one side and apply it to the base to connect the surfaces. Then remove the layer from the other side.
As a result, only the adhesive layer remains between the two elements.
Foil based on polypropylene or polyester:
The material will be easier to remove in case of adjustment. Due to the main layer, the film has a large thickness and is visually noticeable during the inspection.
Double-sided foamed films:
They are up to 4 mm thick. You can use them to stick surfaces with irregularities and differences up to 5–7 mm, subject to vibration loads.
How To Glue Acrylic Together?
How to glue 2 pieces of acrylic together depends on the types of adhesives used. But the process of gluing plexiglass with different adhesive materials has several general operations. In this article, we focus on how to glue acrylic pieces together by using glue.
Step1: Set Up Your Workspace
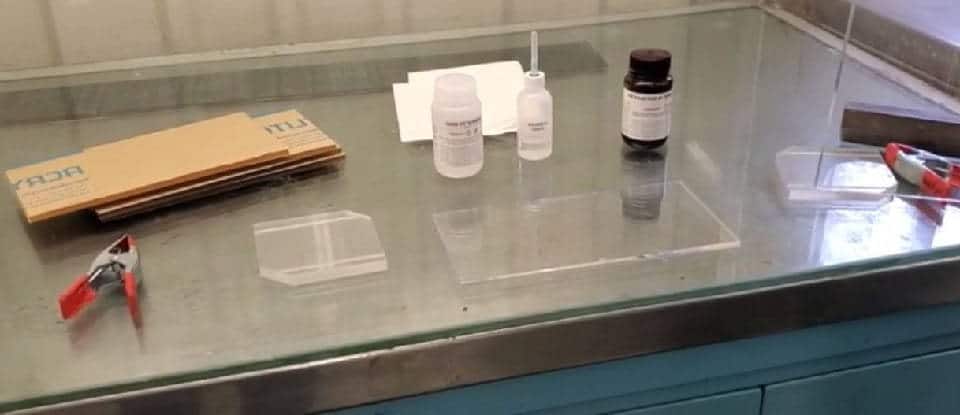
When applying acrylic, follow safety precautions and be sure to ventilate the room after gluing. Next, avoid plastic, glass, or paper tables, as solvents can stick acrylic on those surfaces.
If this happens, it will cost you more time to clean the glue. Suitable workplaces would be concrete, metal, and wood. You need to pass over the work surface a protective film to protect it.
Basic rules for handling adhesives:
- exclude the presence of sources of an open fire or electric heaters with an open spiral from the workplace;
- work in clean, well-ventilated rooms, in which there are no drafts;
- install aspiration means above the floor level; solvent vapors are heavier than air;
- While working with adhesives, use personal protective equipment: respirators, gloves, and goggles.
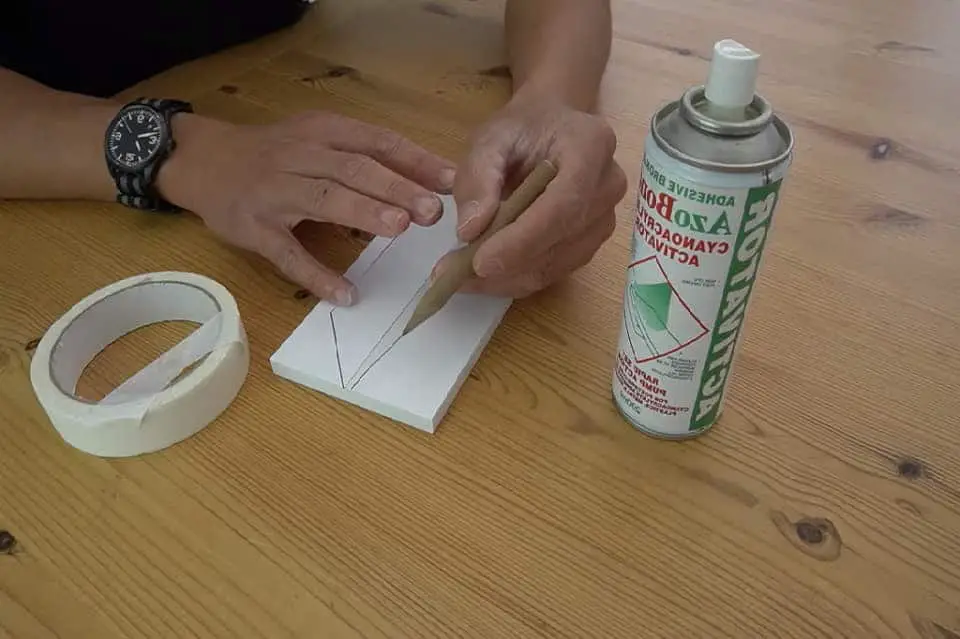
Step2: Prepare The Acrylic
You need to make sure the acrylic surface is fine and intact before sticking. Defects such as cracks can reduce the strength of the bond.
Use sandpaper to smooth out rough areas but don’t grind it too smooth. Make sure it’s rough enough to bond with the adhesives. Therefore, first of all, treat them with sanding paper with a grain of 320-400.
It is better to buy a ready-made surface from the store. Such products guarantee no defects and do not waste your time.
It’s necessary to clean the acrylic sheet before gluing. Oil and dirt will interfere with bonding.
A powerful product like Novus #1 cleans up any stains quickly. If you are not prepared, warm water and soap with the help of a soft cloth will help.
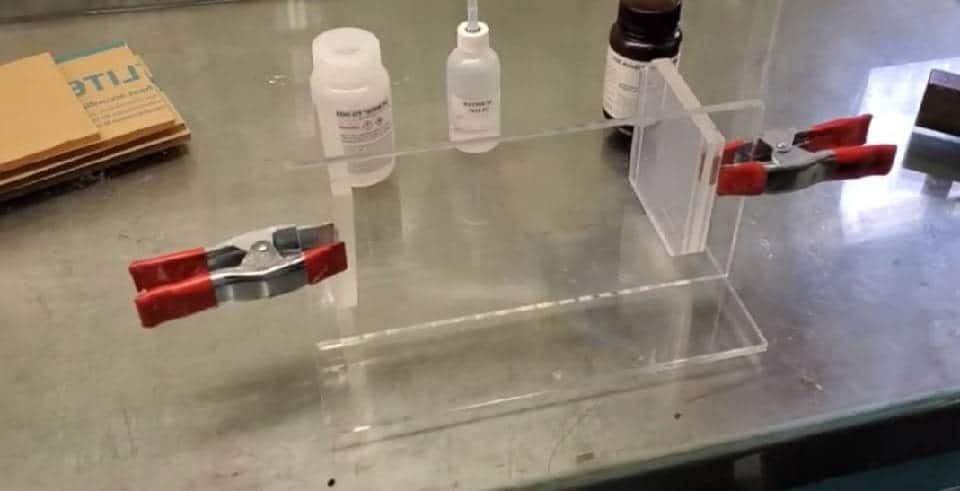
After curing the acrylic surface, secure it in the position you want using wooden clamps. Then it’s time to apply the adhesives.
Step 3: Apply The Glue
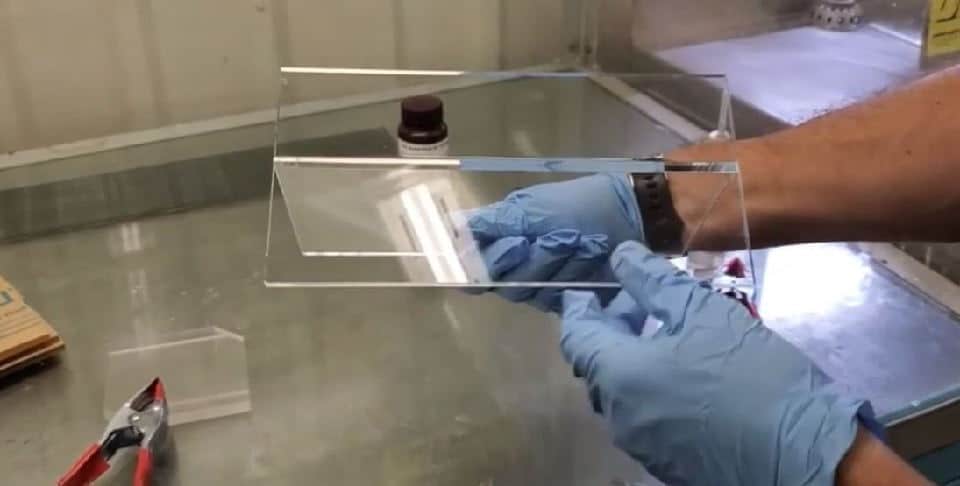
When performing this operation, it is necessary to exclude possible air bubbles in the seam. Place parts on top of each other carefully, avoiding smearing of the adhesive layer.
You must securely fix the joined parts to each other using special devices, which, in addition to fixing, provide the necessary compression force.
Adhesive solutions require more pressure than multi-component solutions due to their significant shrinkage during adhesion.
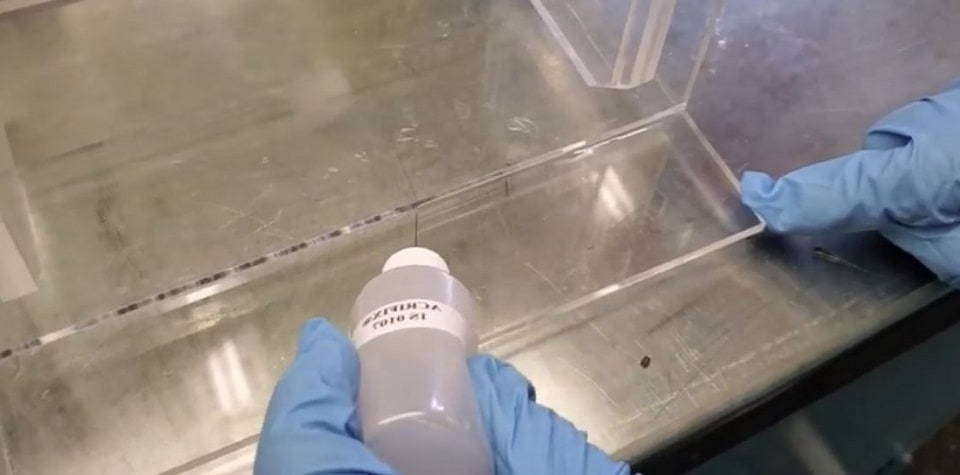
We highly recommend using Methylene Chloride based acrylic adhesive included in the ingredients. Pour the glue to about 75% of the applicator bottle through the funnel to avoid spilling the glue.
Use needlepoint tip caps to control the amount of glue that comes out. Before pushing the glue out, squeeze the bottle gently to draw air in. Then, turn the bottle upside down and place the tip of the bottle at the place that is furthest away from you.
Gently squeeze the body of the bottle with your thumb and index finger. Pay attention to controlling the force to limit the excessive glue spilling out.
As you do that, pull the bottle towards yourself. Pay close attention to the glue path to ensure the adhesive fills in crevices and gaps while moving the bottle.
When performing this operation, the general requirement is to control the uniform wetting at the joints and the same thickness of the adhesive layer along the entire length of the joint.
It would help if you controlled the force of your arms to ensure even movement. If you stay too long in one spot, there will be too much glue, reducing the beauty of the joint.
If you accidentally apply too much glue in one place, don’t wipe it off immediately. Let it dry and clean it later if needed.
Step 4: Let The Glue Sit In 30 Minutes
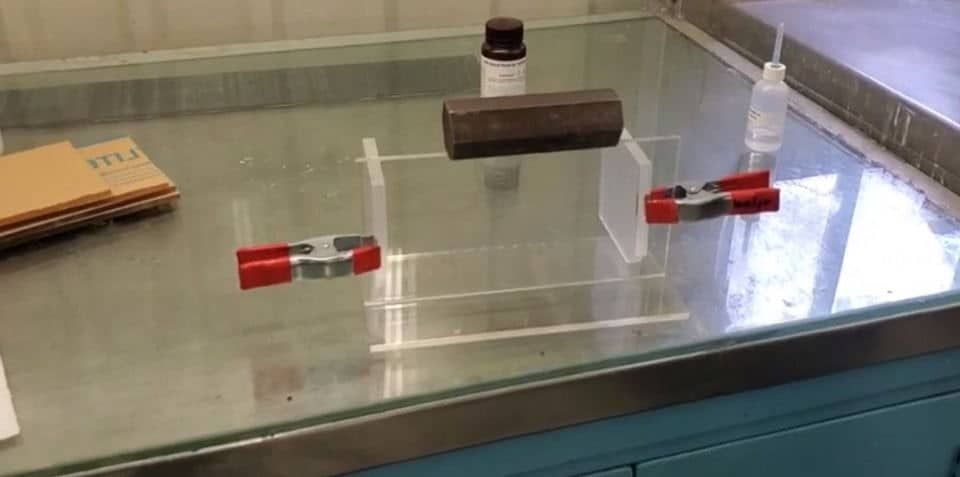
This operation consists in performing final annealing to increase the strength characteristics of the joint. After going through a glue line, fix the two acrylic surfaces in contact for about 15 – 30 minutes.
In the first few minutes, you will see the sharp edges of the acrylic are milky white. When the cement dries, the transparent color will replace the opaque white.
After the above time, the adhesive has formed a light bond so you can let go. But avoid impacting these two surfaces before 48 hours for the acrylic cement to dry completely.
FAQs
Complete The Process (Link)
Here are some questions that people frequently ask when they are concerned about how to glue clear acrylic together.
Which Type Of Adhesives Is Best For Acrylic?
Epoxy-based adhesive compositions create the strongest bonds when you stick acrylic to acrylic. We recommend the following typical products:
- Gorilla Super Gel
- SCIGRIP 16 10315
- Super Glue Plastic Fusion Epoxy Adhesive
- Starbond EM-150 Medium Premium CA
- IPS Weld-On 3
- SCIGRIP 16
- Sashco Big Stretch
Does Acrylic React With Alcohol?
Acrylic reacts strongly with alcohol. This solvent can dissolve polymer chains and damage the surface of acrylic if you use high-concentration alcohol for a long time.
What Are Dos And Don’ts While Working With Adhesives?
Adhesives and their components are hazardous substances that can lead to losses of workers’ health and fire outbreaks.
Don’ts:
- touch the tip of the applicator bottle
- place the adhesives over the head
- inhaling adhesives
- the build-up of solvent vapors in the work atmosphere
Dos:
- wear protective gloves, mask, and glasses
- use adhesives and sealants in well-ventilated areas
- avoid inhaling the vapors
- ensure adequate ventilation
- use of flameproof exhaust fans
How Dangerous Is Glue?
Regarding physical properties, adhesives are highly flammable and explosive, causing burns to contact persons. In addition, it also contains toxicity, resulting in skin irritation, allergies, and even acid burns.
When exposed to glue without protective gear, you can face the following symptoms:
- Anxiety
- Excitability
- Irritability
- Headache
- Difficulty breathing
- Dizzy appearance
- Convulsions
- Loss of appetite
Conclusion
Hopefully, our 4-step guide helps you know how to glue acrylic together. We’ve revealed the general technological route for gluing organic glass. But depending on the adhesive systems used, the processes of joining parts have differences.
Follow our guidelines, and share your acrylic experience in the comments and on social media. Thank you for reading!
Related articles: