
Want to know how to glue rubber to painted metal? If so, our article gives you everything you need, from the best adhesives for this project to a detailed guide.
The good news is that this project is straightforward to do. So let’s scroll down to see more right now!
Things You’ll Need
Name-brand glues are available in many products, which provide flexible, strong, and long-lasting bonds between materials, including painted metal and rubber.
Each glue has its own pros and cons, and one is better than the other. Therefore, you need to choose the one that best suits your project.
Always follow the manufacturer’s guidelines and instructions for the best results. Check out our three recommended picks if you don’t know where to begin.
Weatherstrip and Gasket Adhesive
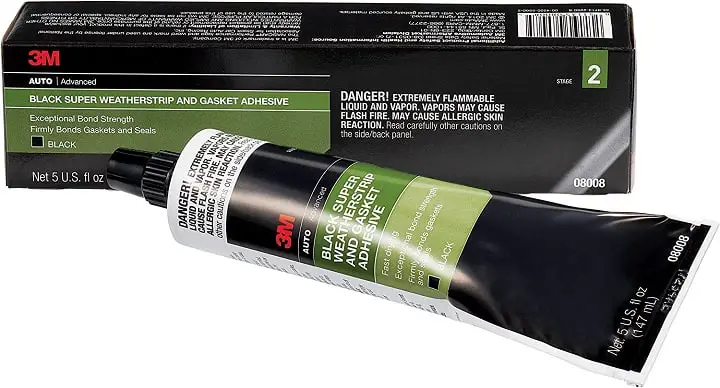
Gasket adhesives are considered one of the perfect options for various projects which involve bonding rubber and painted metal, as it delivers one semi-permanent, robust, and flexible bond.
Weatherstrip adhesive can permanently attach to a piece of rubber. However, you can scrape off the painted metal without fear of damaging it if you have ever chosen to remove the rubber covering.
Weatherstrip & gasket adhesive delivers a long-lasting, strong bond between the surfaces. They are also flexible enough to deal with many weather conditions and environments.
Our recommendation: 3M Black Super Weatherstrip and Gasket Adhesive.
Contact Cement
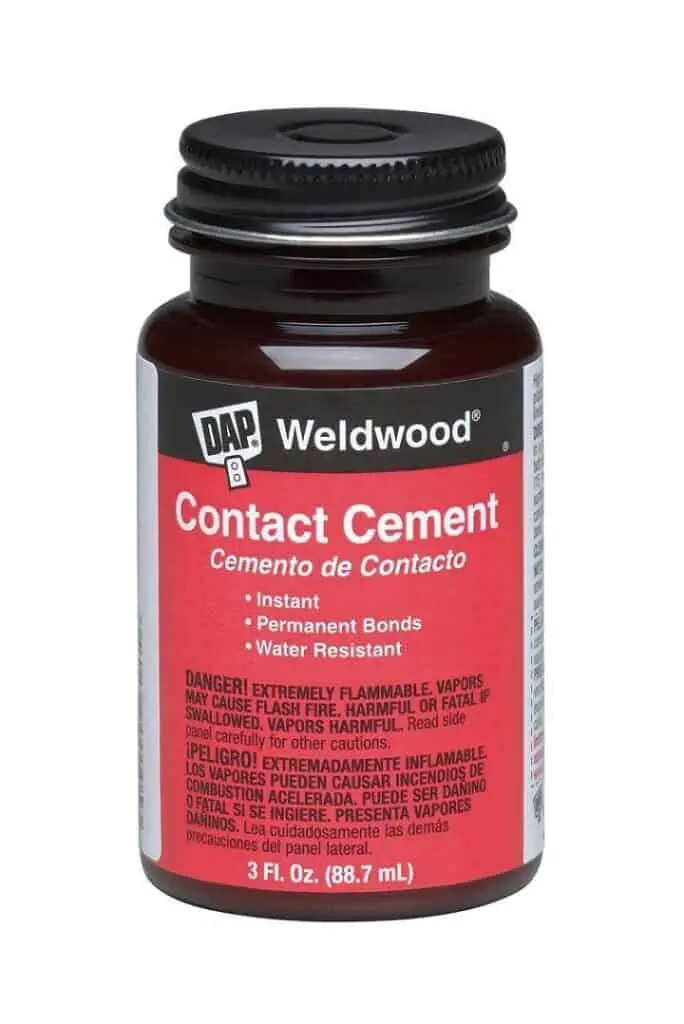
Contact cement is the way to go if you prefer a strong, adaptable, and permanent glue. You will need to inspect the paint for damage, such as cracking or air bubbles, as the contact cement will bond to the paint instead of the metal.
Any paint issues can negatively affect the adhesion and lead to the rubber and the metal separating.
Our recommendation: DAP Contact Cement.
Epoxy Resin
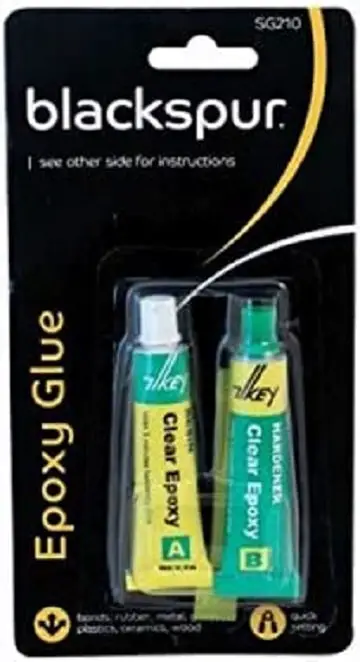
Epoxy resin is considered an excellent all-around adhesive used for various projects, both outdoor and indoor.
One of the most significant advantages of this adhesive is its extremely fast drying time. Once it has dried, it creates an incredibly durable bond.
Our recommendation: Clear Epoxy Glue Adhesive.
A Detailed Guide On How to Glue Rubber to Painted Metal
Step 1: Preparing Painted Metal Before Gluing
You will need to start by cleaning both the painted metal and rubber surfaces.
The goal of this step is to remove any dirt or debris that can weaken the quality of your chosen glue.
We recommend using soap and warm water for this step, as they can remove all chemical cleaners that might interfere with the bond. After cleaning the surfaces, you need to ensure they are totally dry before applying the glue.
For several types of adhesive, you can expect to get a better bond by roughing up the paint. All you need to do is use a wire brush to apply shallow, thin lines where you will apply the glue.
Remember to check the kind of your chosen glue before scratching the paint.
The reason is that some glues, such as contact cement, will perform well if you leave the whole paint and ensure it’s undamaged.
Step 2: Apply Glue to Bond Rubber to Painted Metal
Carefully read the guide or instructions provided by the packaging or manufacturer to see if you should apply the glue on one or both surfaces.
For most adhesives and glues, you probably will not want to apply them on both surfaces at once as it might prevent adhesion because of the chemical reaction of your glue.
Whatever the kind of adhesive you have chosen, you need to apply glue in a thin layer and ensure there are no visible bubbles or clumps.
If your chosen adhesive comes with one applicator brush, you should use it to help spread out excess glue and make a decent finished look.
Step 3. Put the two surfaces together
Once you have applied a reasonable amount of glue, it is time to join the metal and rubber together. You must press them firmly for several seconds to form a robust bond between materials.
Hold till set, typically about two minutes. If you want more time, use a clamp or heavy objects to keep the two pieces together in place till the adhesive is set.
Step 4: Give It Time to Cure And Dry
Your adhesive will go through a process known as curing. The curing process can last from ten minutes to a day, depending on your chosen adhesive.
So leave your two materials to dry undisturbed until they are entirely set before touching them.
If you detect any excess glue, cleaning it will be easy with a damp cloth while it is still wet. That way, you can avoid any inconveniences in the future.
If excess glue has dried already, cleaning it with a paper towel or cloth moistened with acetone is okay to remove the residue.
But if you have applied rubber cement or epoxy resin, removing them will require more effort as they have chemically bonded to your two surfaces.
In this case, we recommend using sharp tools, such as a razor blade or pocket knife, to remove excess glue till it is gone.
FAQs
Will Gorilla Glue Work on Metal to Rubber?
Yes. This glue can work on various materials, including metal, stone, plastic, paper, rubber, ceramic, and more.
Does Epoxy Glue Rubber to Metal Well?
The short answer is yes. It effectively allows you to bond rubber to other materials, including glass and metal.
The Bottom Line
Above is all you need to know about gluing rubber to painted metal. It is a simple and amateur-friendly process. Just choose the suitable adhesive and follow the instructions above, and you should be fine.
We hope you found our post helpful and can finish your project.
Thanks for your time!