
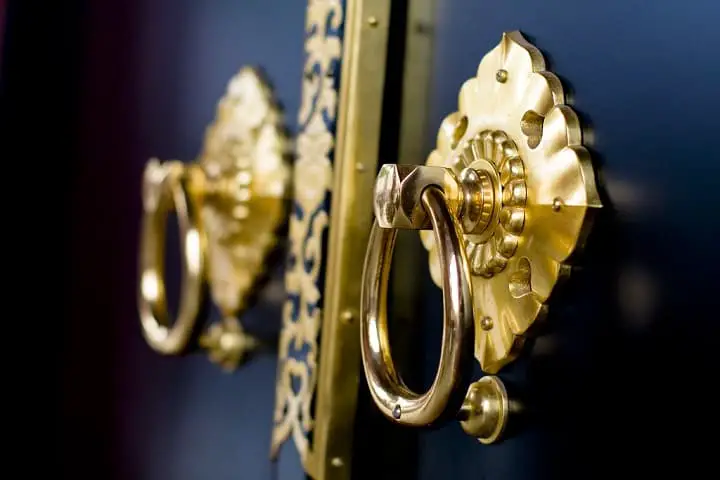
Zinc and copper are the critical elements of the alloy known as brass. Manufacturers can add other components in different quantities to brasses.
Do you wonder: Can I glue brass to wood? The good news is yes! Brass will adhere to the wood, protecting it from moisture.
How to glue brass to wood? Let’s dig into this article to get step-by-step instructions!
Things You’ll Need
Before starting this project, preparing all the necessary materials and equipment is better. Here are some things you should have:
- Glue
- Safety gloves
- Plastic spatulas
- Pop sticks
If you have never conducted this project, you may ask: What kind of glue to use on brass? Here are recommendations for adhering brass to wood.
Epoxy Resin
It’s best to attach metal to wood using epoxy resin if you have enough time to wait entirely for the epoxy to cure.
The epoxy resin is compounded in two parts and placed on a surface before bonding to the second.
It must be secured with clamps or other devices that keep these two firmly close to each other while it cures.
Using epoxy resin is also an excellent idea whether you need to cover small or large surfaces.
Since epoxy requires the longest of these adhesives to cure chemically, it must be finished to achieve 100% adherence.
It frequently requires a specific cure period of between 3 hours and 24 hours.
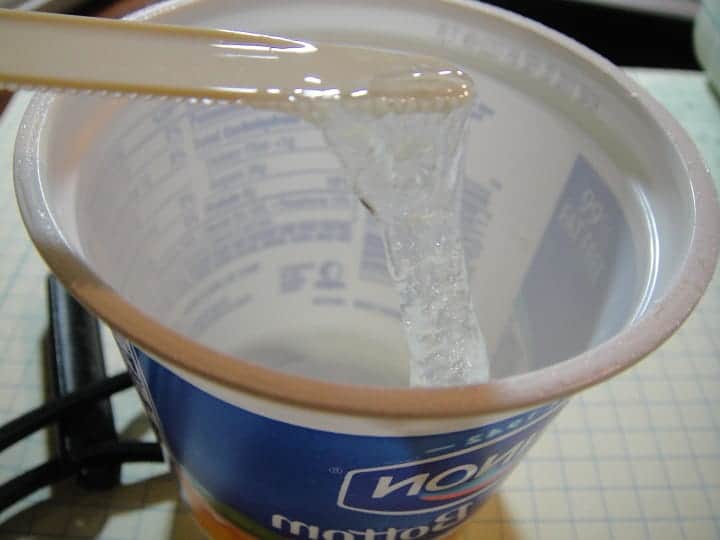
Superglue
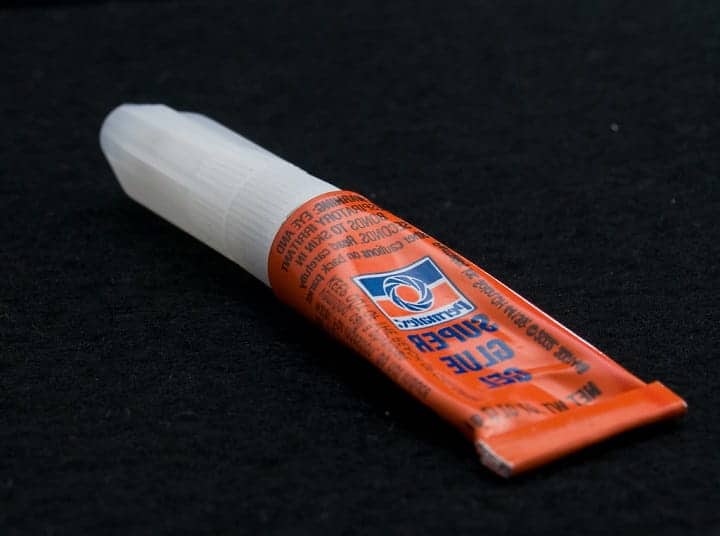
Because superglue instantly bonds flat objects together, it provides a quicker method of fastening brass to wood.
Applying filler to close any gaps around circular brass tubing will be practical.
Superglue can seep into some varieties of wood, mainly balsa wood and lighter variations. Thus you must be extremely careful.
Superglue is not flexible at all, rendering bonded objects susceptible to cracking while being quicker than regular adhesives.
Brass needs relatively little preparation before being attached to wood. However, greater accuracy will be essential when doing so.
Because wood is relatively absorbent, it will need extra caution to remove a section that didn’t stick properly.
Choosing a strong adhesive that adheres to wood and brass is crucial since brass is a hefty metal.
Silicone Adhesive
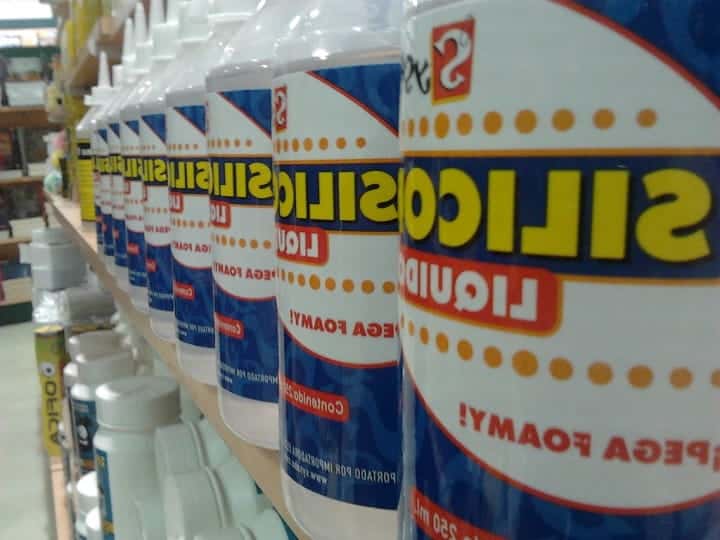
Since silicone permanently adheres to metal, it’s a fantastic option for attaching brass to wood.
The wood’s grain structure is also perfect for silicone because it easily attaches to the metal.
Those two surfaces require relatively little prep work to bind successfully, but it takes some time to achieve a total cure.
Since commercial caulking’s bonding strength is inferior to silicone glue, it isn’t advisable to use it.
Small squeeze tubes will do for lesser operations, while larger projects will benefit from large ones.
Ventilation is essential to keep the smell of silicone adhesive from becoming overwhelming because it has a pungent vinegar-like odor.
Although these products are the ideal option for long-term adherence, there are certain restrictions when applying them.
Once one of these glues is drying, further clamping and bonding will aid prevent migration or slippage.
Among the three options, what is the best glue to attach wood to brass? It’s epoxy resin.
Epoxy resin is suitable for complex applications since it won’t bend and gets along well with these materials.
How To Glue Brass To Wood? Step-By-Step Instructions
It’s time to solve this big question: How to adhere brass to wood? Let’s follow the detailed guides below!
Step 1: Prepare The Materials

You have to use sandpaper with medium-sized 500 grits to sand metal. If it is not even, you can lightly sand it to get a flat surface.
If the matter is not uniform, a sanding block might assist level out the uneven areas.
Except for hardwood, wood is porous; thus, the only preparation required is mild sanding to roughen the surface.
Step 2: Apply Glue
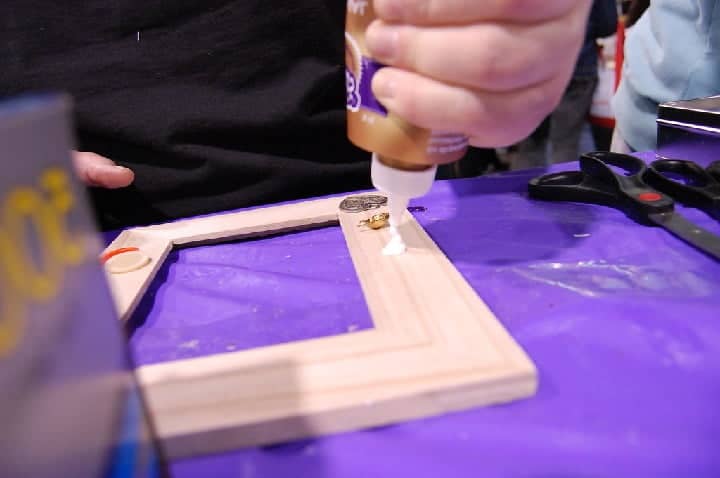
You can use flat plastic spatulas or pop sticks to make applying silicone or epoxy resin easier.
These items are available in hardware or building material stores. Pop sticks can be effective for small areas, while spatulas are ideal for large surfaces.
To avoid air pockets, apply a small coat on the wood surface, and another thin coating on the brass, and gather the parts.
The epoxy may be spread over the surface after mixing, unlike silicone adhesive, which must be squeezed out of a tube.
When handling epoxy, super glue, and silicone, always remember to wear gloves.
Step 3: Cure The Materials
Silicone and epoxy resin cure better if the room temperature is higher than the previous one.
It’s advisable to adjust the temperature to 75℉ to make the curing process go more smoothly overnight.
These adhesives require clamping because they all require time to dry, which might take many hours.
Carefully keep these objects in warm areas while the glue sets overnight since it does not work well in a chilly environment.
In a warm environment, the complete curing of epoxy resin and silicone takes 24 hours.
FAQs
What Adhesive Will Stick To Brass?
Here are the best options to adhere to metal:
E6000 Adhesive
Aleene’s 21709
J-B Weld 8276
Does Gorilla Glue Stick To Brass?
The answer is yes! It’s waterproof and versatile, creating a durable permanent attachment to various materials.
Does J-B Weld Work On Brass?
Yes! This product is one of the strongest epoxy resins to stick this material on the market.
Does J-B Weld Work On Wood?
The good news is yes! It works well on various surfaces and items, including wood.
Can Liquid Nails Be Used On Brass?
Yes! This adhesive can protect materials from harsh chemical effects. Besides, it’s easy to use on various surfaces.
If you want to know about Liquid Nails, you can watch this video:
The Bottom Line
Attaching brass to wood isn’t as challenging as you may assume if you find the most suitable adhesive and apply the correct techniques.
Hopefully, our step-by-step guides will be helpful for your DIY projects. If you have further questions on this topic, please comment below. We’re willing to answer them all.
Thanks for taking the time to follow this post!