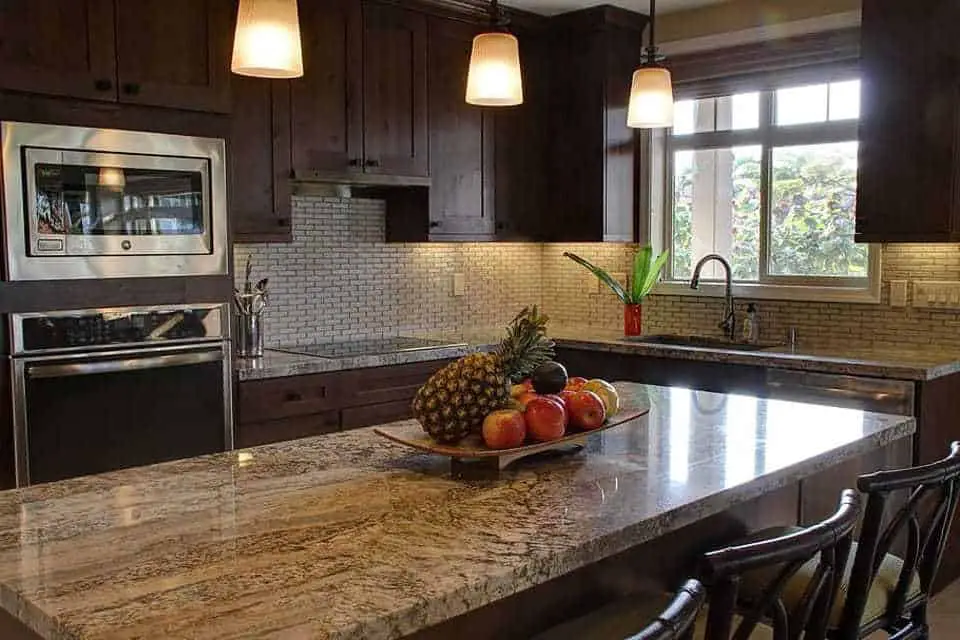
Granite surfaces are prevalent in many modern homes. That natural stone is durable, easy to clean, and beautiful, among plentiful other benefits.
From kitchen cabinets, countertops to backsplashes, coffee tables, and more, the granite material applies to all pieces of furniture.
How to glue granite to wood? First, to stick granite to wood, add a solid bead of glue, silicone to the wooden surface.
Next, set the stone top on the wood. Then, press the stone or add pressure to guarantee a sturdy bond.
Today, Gluecare will guide you to the hearty parts right away!
Things You’ll Need
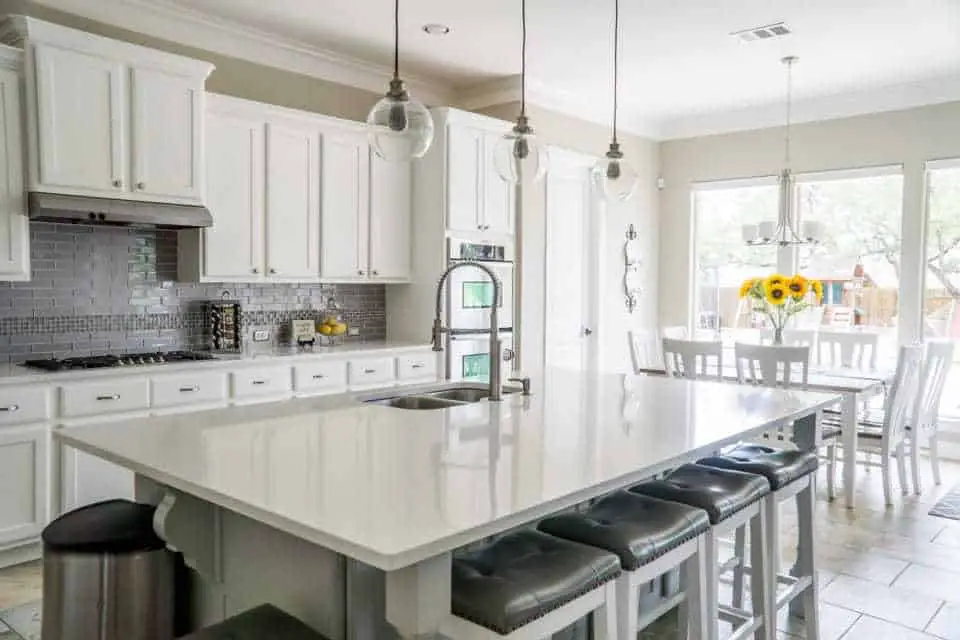
Before jumping into the procedure, ensure you have all the essential tools and kits around the working area. You don’t want to stop in the middle of the job just to find a missing towel or sandpaper, alright?
Gathering the things you’ll need can save you so much time. To proceed with the task, you need:
- Palm sander or sandpaper
- Quartz or granite counter/tabletop
- Combination square or tape/ruler measure
- Rags or paper towels
- Caulking gun and silicone
How To Glue Granite To Wood?
How to glue a granite countertop? Although the job takes some extra steps, it doesn’t require complicated tools or skills. We’re pretty sure you can follow our detailed guide with ease, even if you’re a neophyte DIY-er.
Examine and Measure Your Table
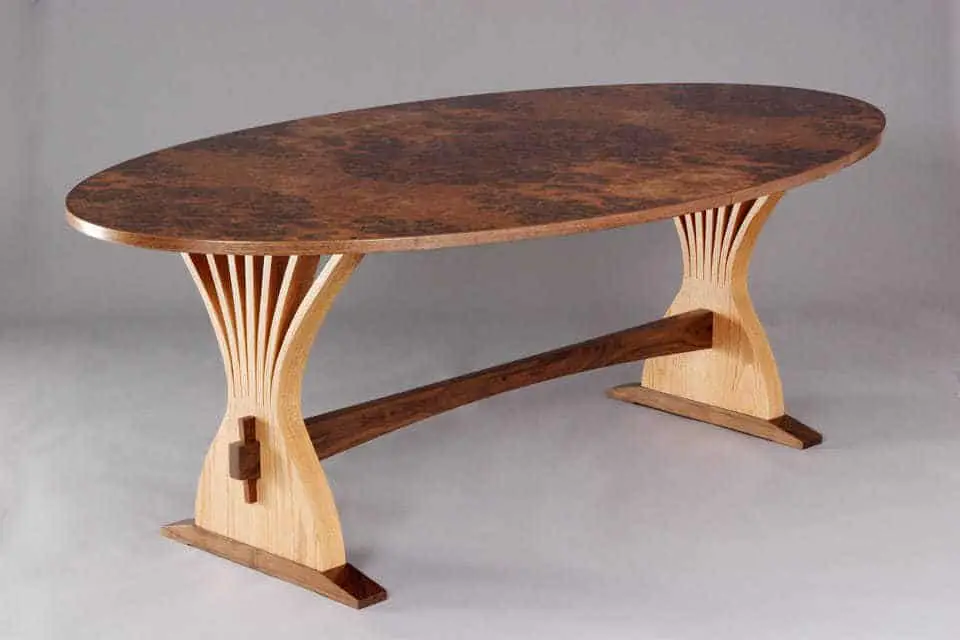
You have to ensure your table is durable and robust enough. Also, measure the size of the table thoroughly and determine the desired amount of overhang with your new top.
To figure out the right amount of overhang, you can tape some cardboard strips to your current table. This way, the feeling for how large the new cabinet top should be is more accurate.
It’s advisable to move the table around and check if you will bump it with an overhang of 2 inches or have excellent clearance. People typically use an overhang of this size for their tabletops.
Once you decide on the final desired dimensions, wander around some local quartz shops to purchase the stone.
Go for the style that matches your kitchen or living room design. Prices may vary greatly between $200 and $800 for stones of the dimensions.
Scuff/Sand Up The Top’s Perimeter
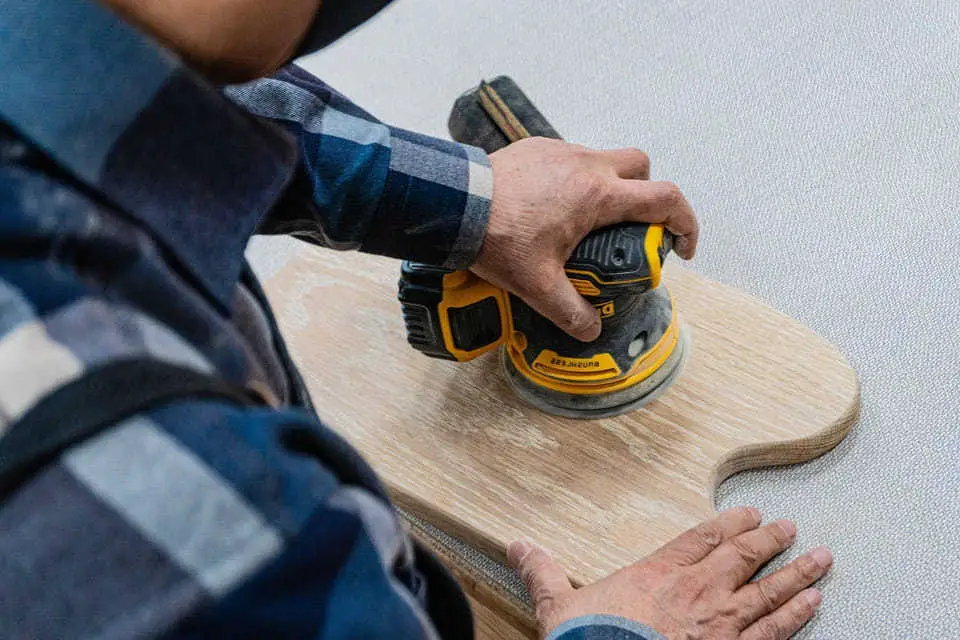
Move the table outdoors and wear a quality dust mask or respirator since the sanding will produce a lot of dust and debris.
Get rid of the poly coating and smoothen the top surface using sandpaper and an orbital sander or random block.
Aim for the external perimeter only where you’re going to apply the silicone.
Removing the polyurethane or scuffing the finish will enable the epoxy to hold up on the top way better, generating a more robust joint.
Set The Granite Top
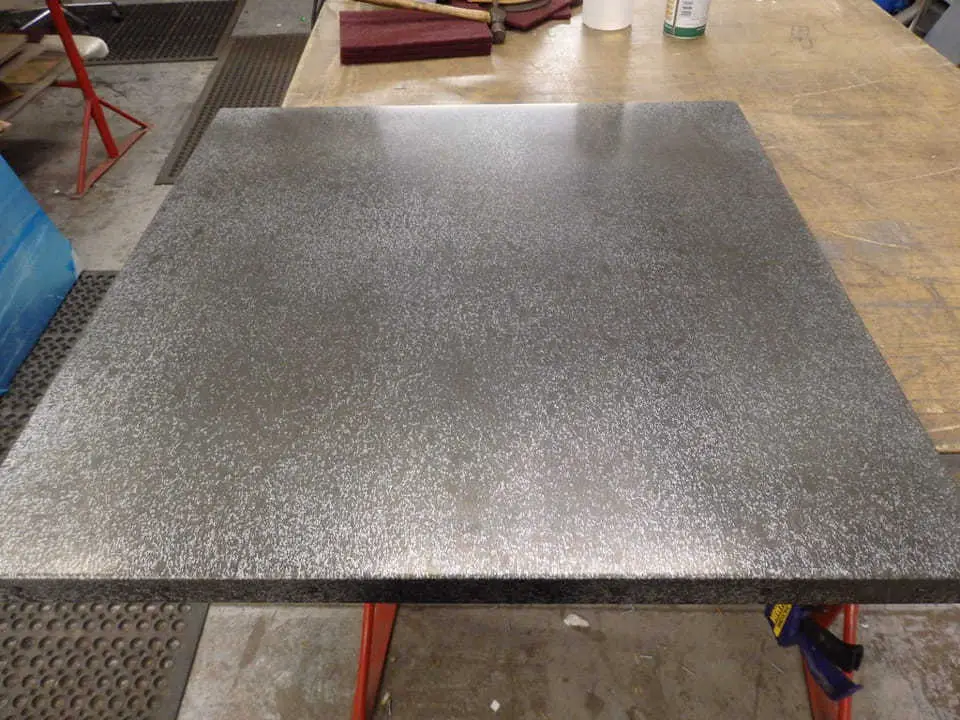
After sufficiently roughing up the granite top, it’s time to set it to the final positioning.
You can seek help from a strong friend, and you two can lift and position the top on your wooden table or countertop. Adjust its location so that you get the correct overhang surrounding the perimeter.
A combination square will help with this settlement. You can rely on it to adjust the distance accurately, and it functions as a precise spacer gauge and helps ensure the correct final position.
Apply Glue To The Granite’s First Half
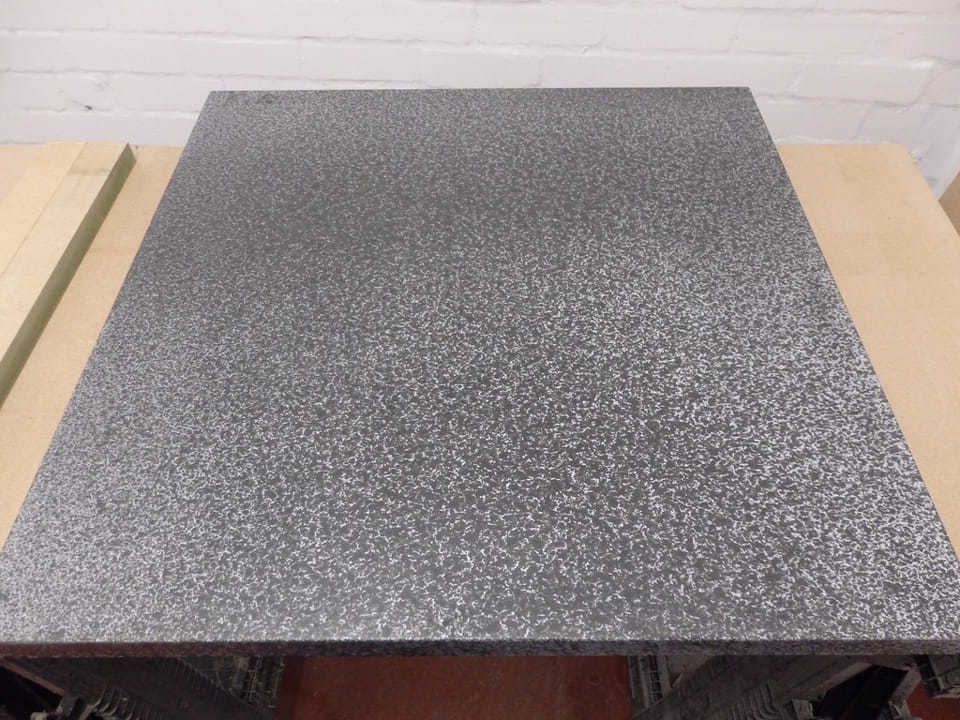
Fill the caulking gun with silicone and get down to the vital step.
Again, you need to have someone help lift the top’s one end so that you can apply adhesive. Please remember to pick it up vertically since it can minimize the possibility of the countertop or table sliding.
Once you finish the first half of the stone, carefully put it down vertically and avoid leaning on it.
Again, repeat this step on the latter side.
Press Firmly
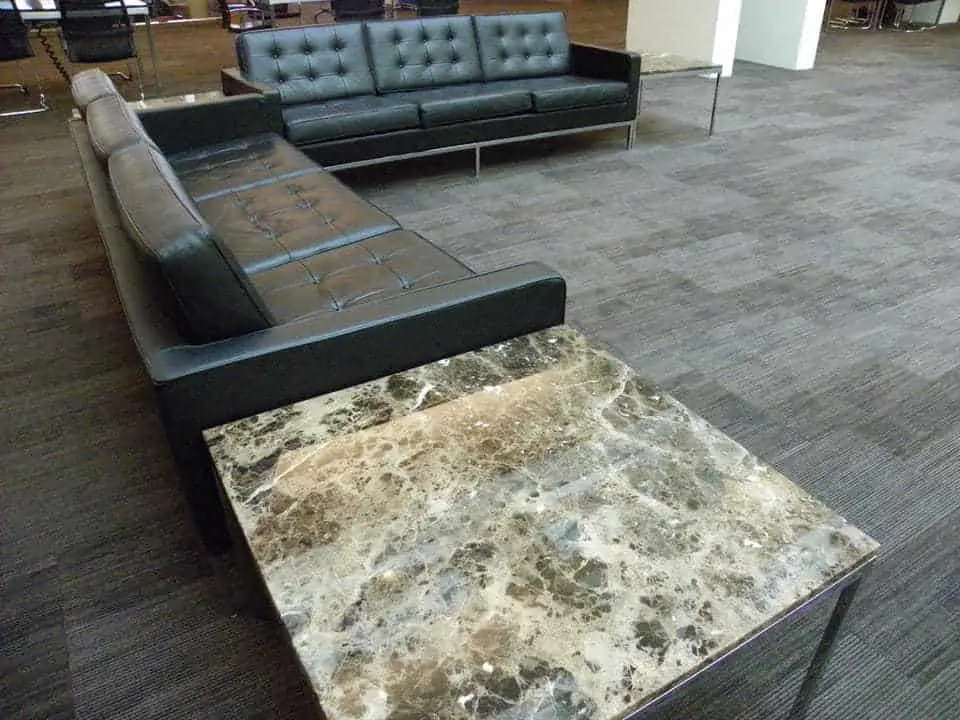
The granite and perimeter will need some pressure to sit firmly on the top, so press tightly. This way, you can guarantee a strong, tight glue bond.
After that, remove any excess or spilled epoxy from the quartz.
Then, once again, add weight or use clamps to apply pressure on the quartz top to ensure the most powerful bond possible.
Wait for it to cure for 24 hours at least.
Check The Fitting
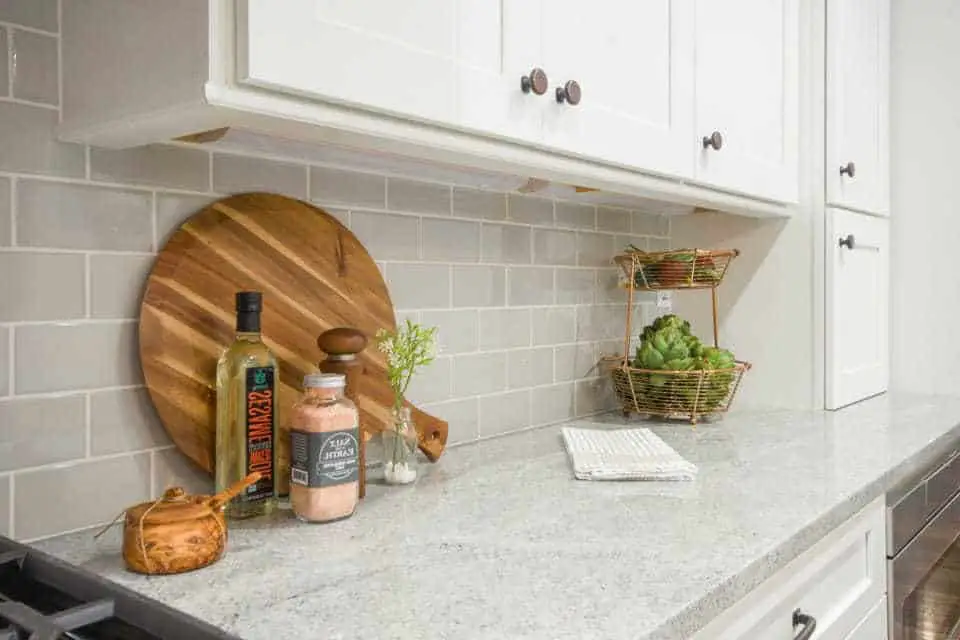
Check the fitting of the granite top with your old wood item using a ruler or combination square. If you find any misplacement, adjust the stone quickly before the glue starts to cure.
Wait For the Adhesive To Cure.

Typically, it will take the silicone 24 hours to cure at least. Yet, we advise you to avoid moving, loading, or putting any weight on the furniture within two days, just some extra carefulness.
FAQS
Concerning gluing DIY projects, the most common questions often float around the type of adhesive to use.
Each epoxy will apply to some specific materials and job sizes. We’ll give you some helpful info via the answers to the two questions below.
What Adhesive Works Best For Quartz To Wood?
The best option for this project shouts out construction adhesives, like Gorilla construction adhesive or liquid nails. These products offer the tightest, strongest bond that can be permanent.
However, if you’re planning to change your tabletop or remodel your kitchen cabinet many times more, it’s advisable to go for something strong yet non-permanent like silicone.
Why Should I Select Silicone?
The primary force activating on the furniture should be gravity only, which heads straight down. Other lateral forces need to be as minimal as possible, so solid silicone is perfect for attaching a natural stone top to a sturdy wood item.
Plus, the silicone can bond to nearly any finish, and a large bead will yield a substantial epoxy surface area.
Conclusion
Though wood furniture looks stunning, the surface is susceptible to dents and scratches – the two problems that you’ll never encounter with granite.
Since the natural stone is tough, durable, and offers superior resistance to stain, scratch, and heat, it is no surprise that many homeowners choose to remodel their furniture using granite.
To refurbish your old wooden countertop or coffee table, you should know how to glue granite to wood. With the above knowledge, your home DIY project should be a breeze.
Related article:
- How To Glue Pictures On Wood? The Simplest Way To Decorate Your Home (3 Easy Steps)
- How to Remove Gorilla Glue From Wood: 4 Easy Steps
- How To Glue Mirror On Wall Without Nails? Steps For The Best Attachment
