
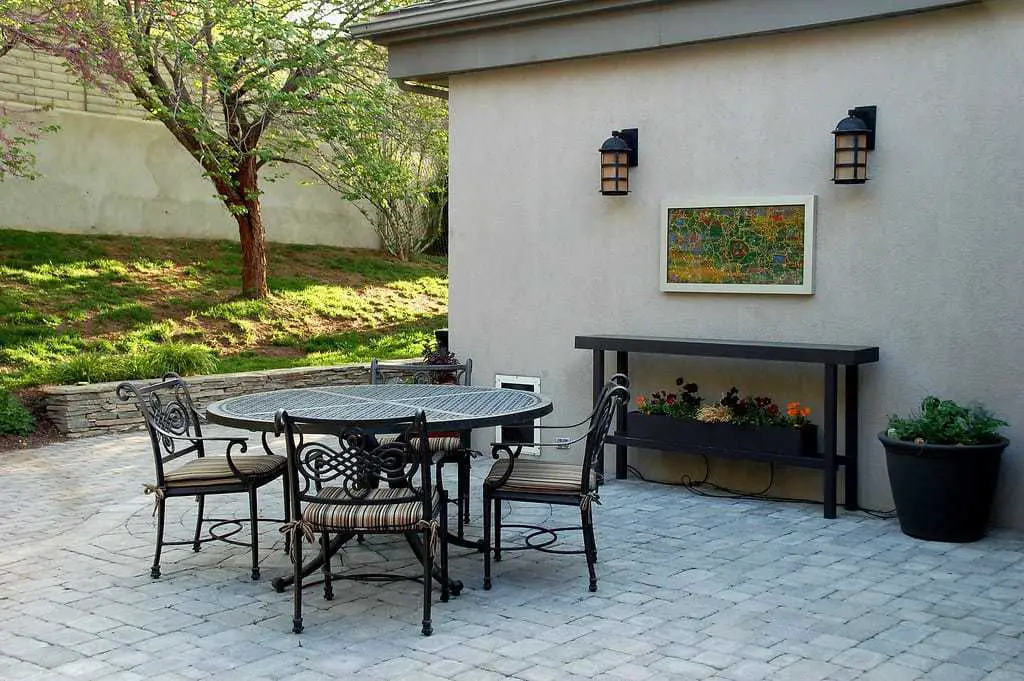
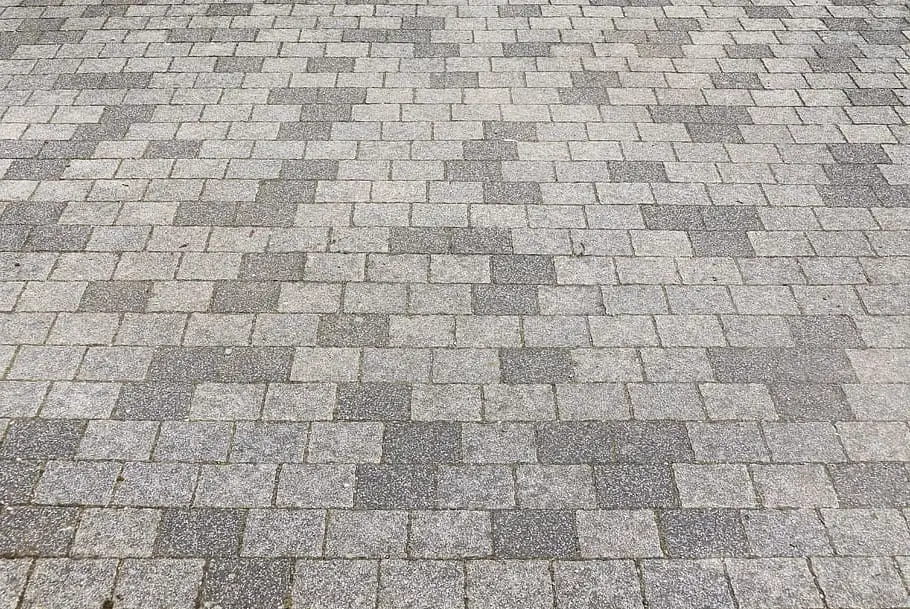
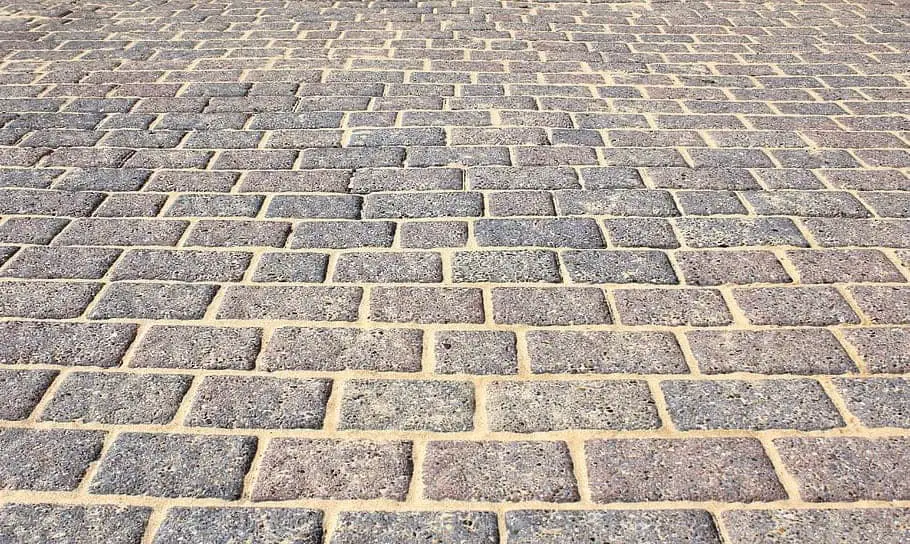
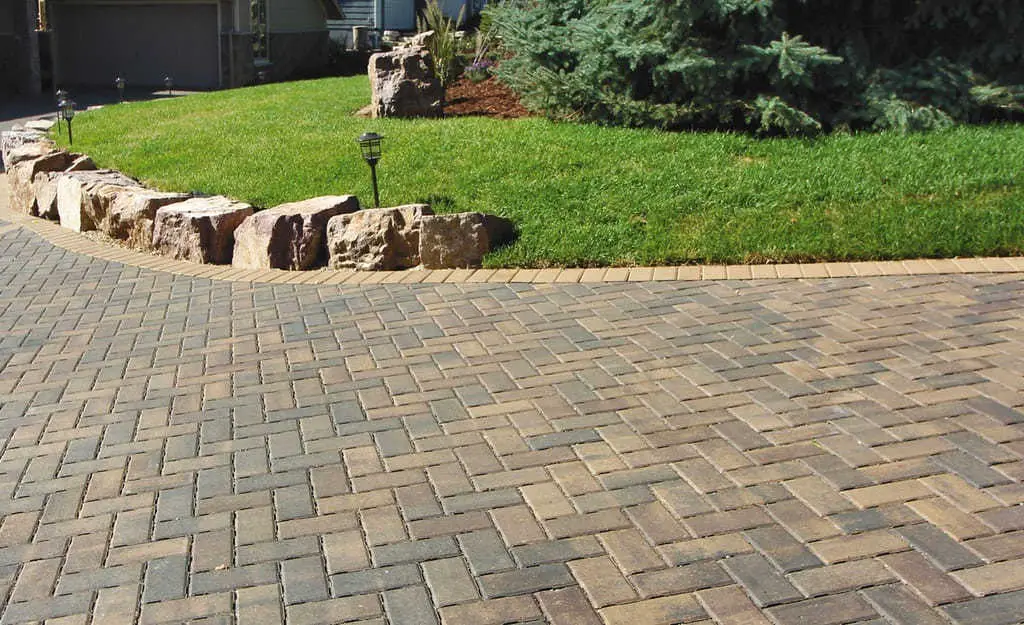
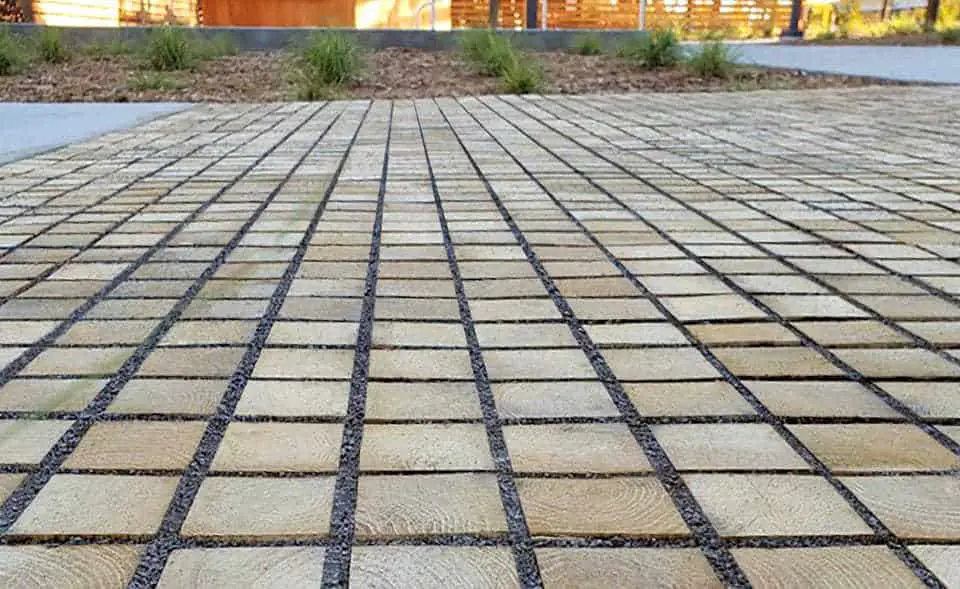
Pavers are increasingly popular in construction as they offer long-term durability, elegant design, and a variety of styles. That’s also why you often see them used in walkways, swimming pools, or gardens.
When it comes to sticking paving stones, this task isn’t too difficult, but it requires you to apply proper materials and methods.
How to glue pavers together? Click on this article of Gluecare to get the answer!
Things You’ll Need
Before you start your project, here is the list of necessary things you must have:
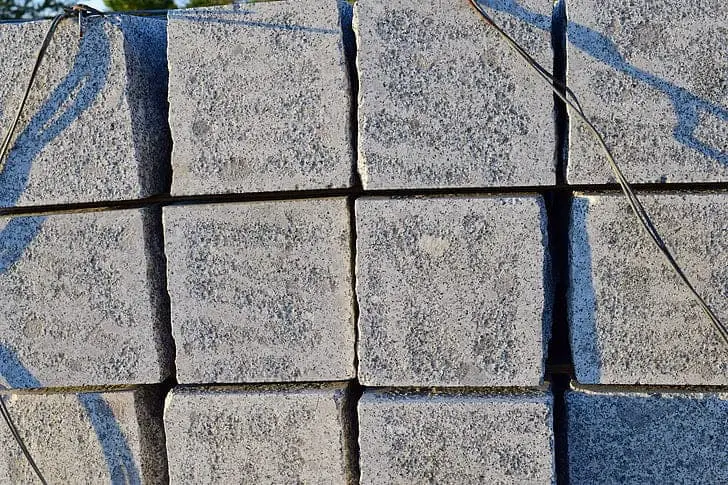
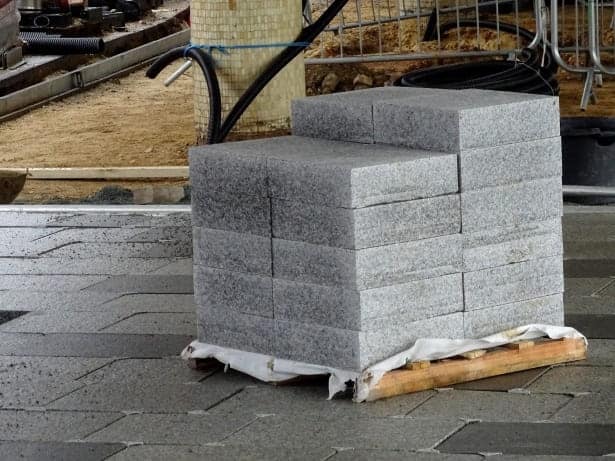
- Pavers
- Concrete cleaner
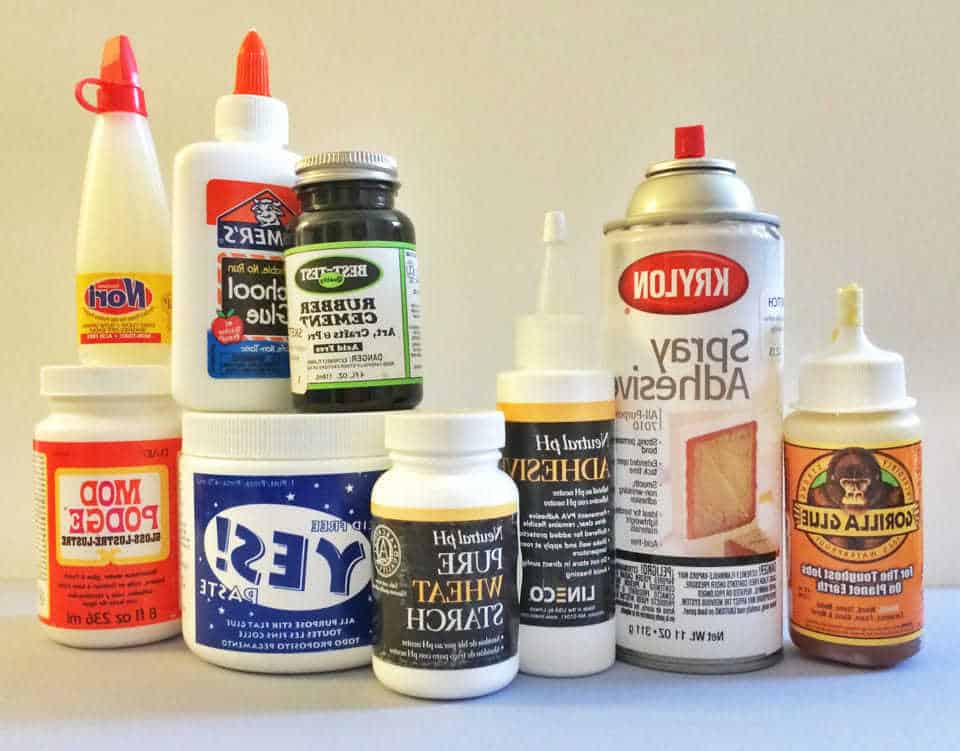
- Construction adhesive
- A caulking gun
- Measuring tape
- Edge pavers
- Broom (or brush)
- Gloves
- A utility knife
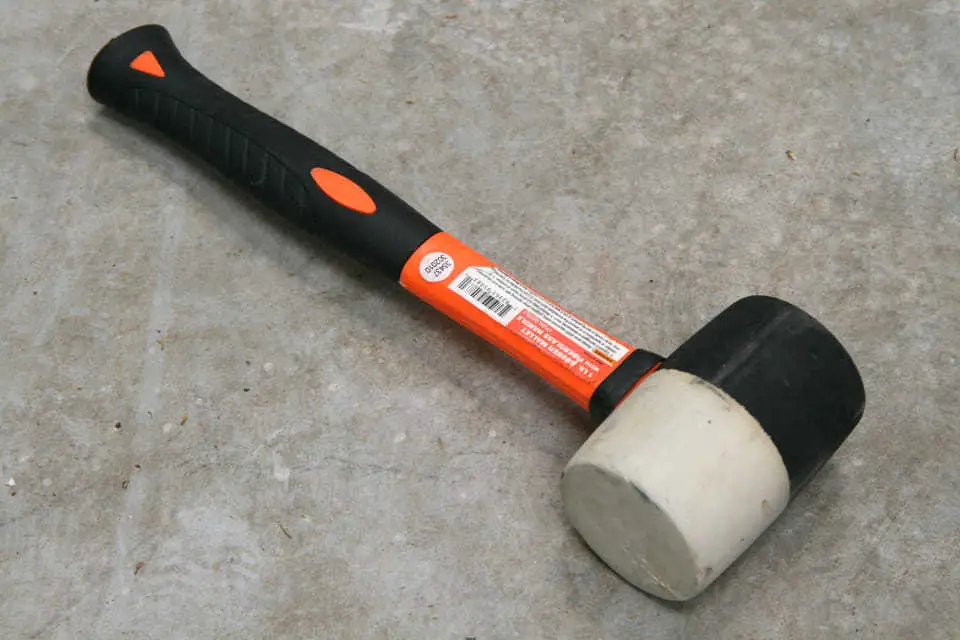
- A rubber mallet
- A torpedo level
Step By Step Instructions
You might suppose this task should need the help of an expert in the field of construction rather than do it yourself.
Of course, a professional will perform this job better, but you will have to pay a lot of money. Whereas, you can finish this work perfectly by following our advice and detailed instructions.
If you are unsure where to start, let’s take a closer look at the following section. It has what you need!
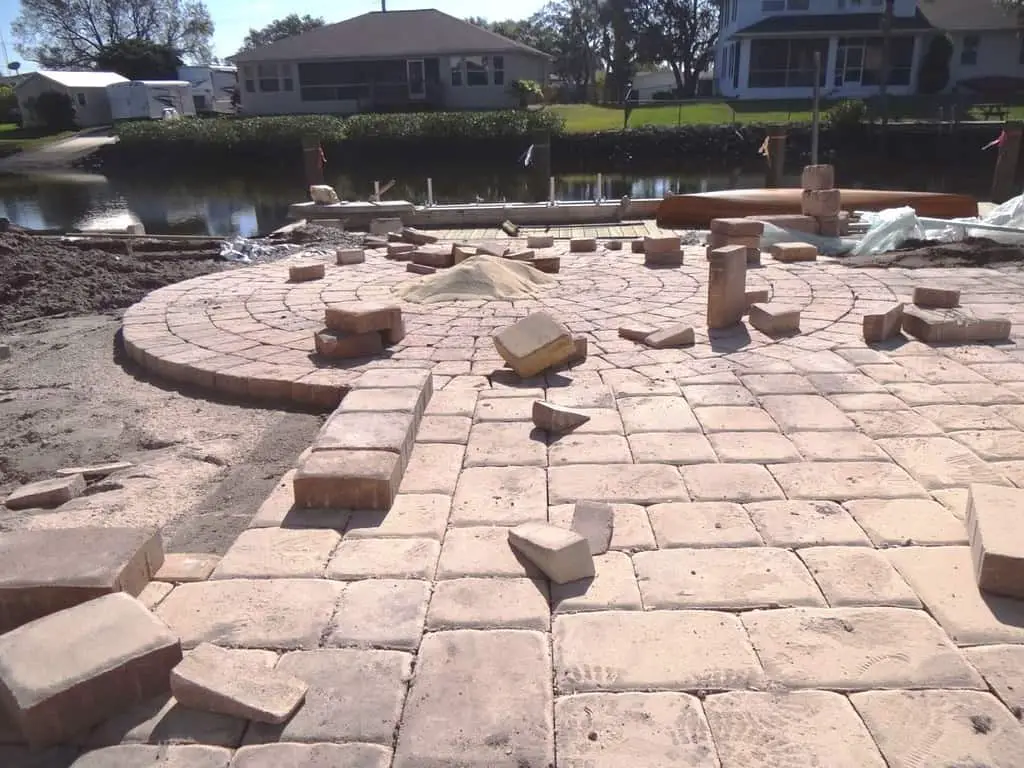
Step 1: Plan The Pattern
Before laying the pavers, you should determine the paving pattern, allowing you to adjust faster and more easily.
What’s more, measuring the gap between the bottom of all existing entrances and a driveway or patio is essential.
It would be best to make sure the space between the paver surfaces and the bottom of the entrance should be at least 3/4 inches. Apply thin pavers if the gap is less than this level.
Step 2: Make Sure Paver Surfaces Clean
Everything should be clean before attaching to increase the adhesive quality of the glue. Thus, cleaning the paving stones’ surface is incredibly important.
Use a stiff-bristle brush or broom with concrete detergent to remove all specks of dirt and dust. Then, wash with clean water to make sure no detergent is left.
Let them dry in a few minutes.
Step 3: Prepare Glue
Wear a pair of gloves to protect your hands from toxic chemicals. Then, put a load of the best paver adhesive into the caulking gun. Remove about a 1/2 inch-tip using a utility knife to cut through the end of the spout at a small angle.
Step 4: Adhere The Edge Block First
It would help if you settled the edge pavers to achieve the best structure of the whole. You can check the even level by laying on the block surface a torpedo level. Utilize a rubber mallet to beetle the stones into the right place gently.
Put two drops of adhesive with 3/6 inches in length along the concrete border and around 2 inches from the paving edge block sides.
You need to apply enough glue to cover the sides while sticking encompassing the border, about 48 inches per time.
When you lay the second paving block, weigh it down to limit the movement of the expanded construction adhesive. After around 15 minutes, take out the weights.
Step 5: Stick Other Edges
Continue stick pavers with glue. While working, remember to adjust the sides of each next block carefully. Also, use a 2-foot level to place on the block surface to check the level.
Step 6: Dry Edge Paver Blocks
After gluing edge paving blocks, let them dry within 24 hours before completing the rest.
Step 7: Fill In The Middle Blocks
Once the edges are dry, let’s finish your DIY project by applying the same technique mentioned above. Always pay attention to checking the level of the pavers.
What’s more, some spaces may not fit the area. Let’s fill them up with glue. Wait one day to make them more secure and solid. Be patient!
You can learn more about adhering to pavers via this video:
FAQs
Why Start Sticking To The Paving Edge Block First?
The border is very important. It helps you define the area of the area that you intend to make. Besides, it also helps paving stones to avoid significant shifting and cracks
Can Pavers Be Cemented Together?
Yes! Apart from construction adhesive – strongest masonry adhesive, you can consider using cement to stick pavers together. Like glue, its function is to connect paving stones together. So, if you don’t have adhesive, you can consider this material.
Why Start Sticking To The Paving Edge Block First?
The border is very important. It helps you define the area of the area that you intend to make. Besides, it also helps paving stones to avoid significant shifting and cracks.
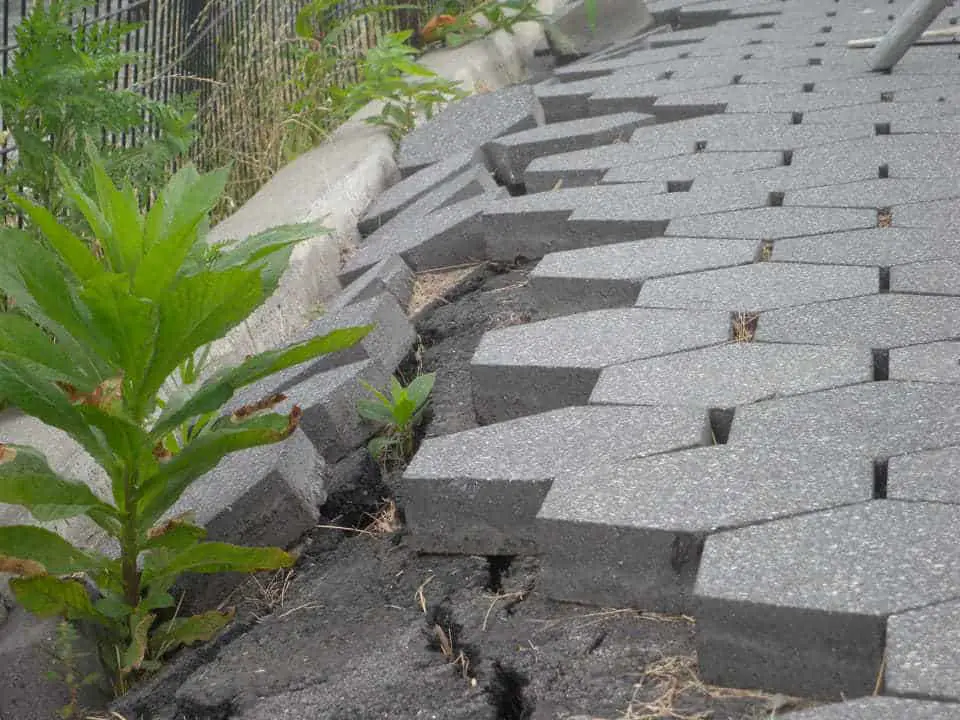
How Do You Fix A Shifted Paver?
When you don’t start with the edge first, the pavers will easily shift out of order. The solution is to put the pavers in a stay place and find a way to seal the edge blocks. Then, pour sand into the surface to fill in the gaps between them.
Alternatively, you can mix sand with cement and fill it to the brim. Use a trowel and pack it down with a screwdriver, then complete by smoothing over the spaces with a brush.
Can Pavers Be Cemented Together?
Yes! Apart from construction adhesive – strongest masonry adhesive, you can consider using cement to stick pavers together. Like glue, its function is to connect paving stones together. So, if you don’t have adhesive, you can consider this material.
Do Pavers Add Value To Your Home?
Yes, your home value is improved if you own a patio or a garden with pavers. Depending on the quantity and quality of paving stones, the value will vary. Typically, the median price of a home can go up to $15,000.
Moreover, a decent garden and patio are what customers always look for first when they are thinking of buying a house. Thus, pavers can help your home not only sell at a higher price but also be in a faster sale.
Conclusion
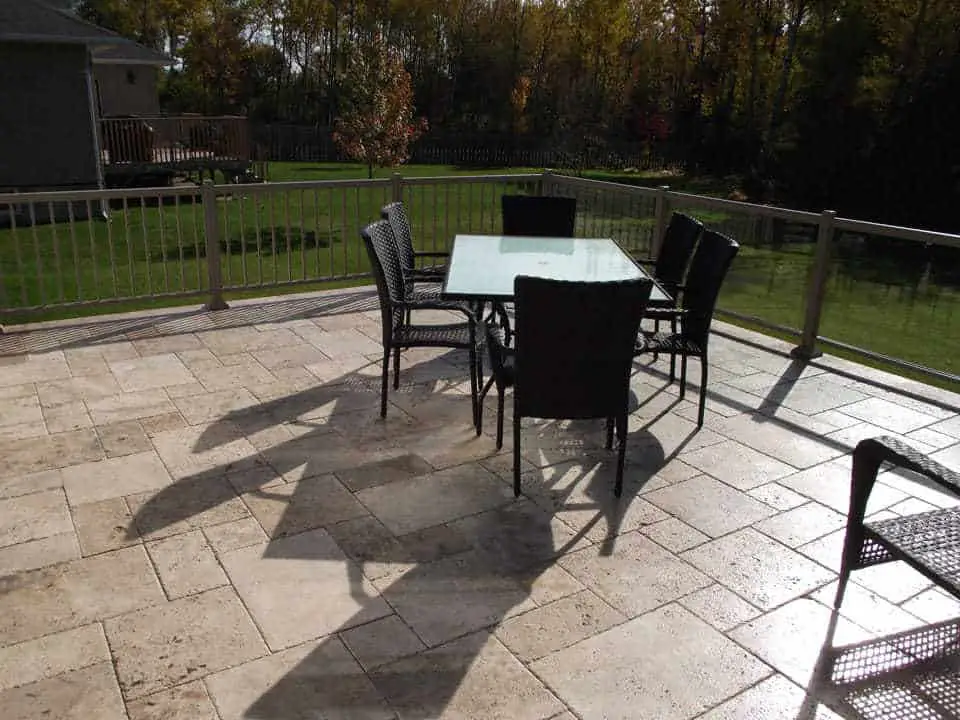
Now you have known a useful and practical way on how to glue pavers together like a professional. In short, this task is not as hard and complicated as you think.
As long as you prepare the required materials and equipment and follow our detailed instructions sequentially, you will achieve good results with a stunning paver patio or driveway!
Hopefully, this article will be helpful for your DIY projects.
Thank you for following this post!
Related article :