Silicone and plastic are smooth, making them hard to stick to each other. However, you can still solve this puzzle with reliable glue.
We will show you how to glue silicone to plastic in three simple steps. You can also learn some tips to yield the best result. Let’s read on to discover!
Things You’ll Need
Before starting, make sure you have all the tools and materials below:
- High-quality glue
- Microfiber cloth
- Weights or clamps
The cloth and weights are easy to find. You can even replace them with similar tools. However, do not overlook the importance of glue. It determines if you can succeed.
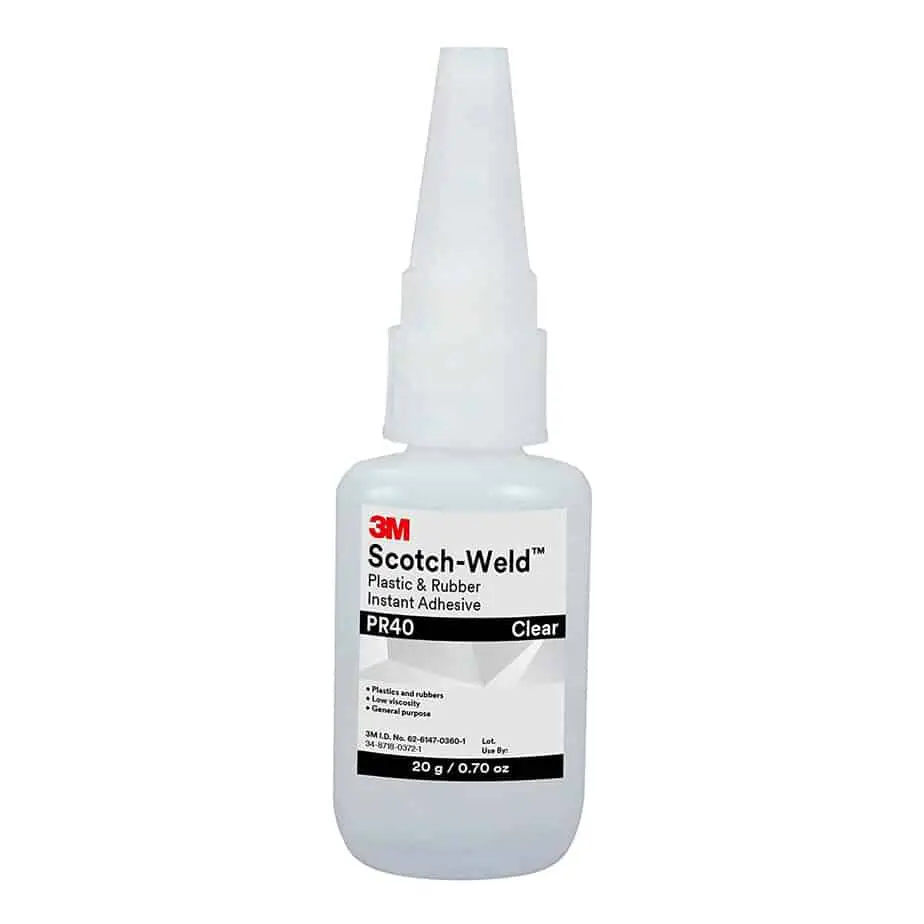
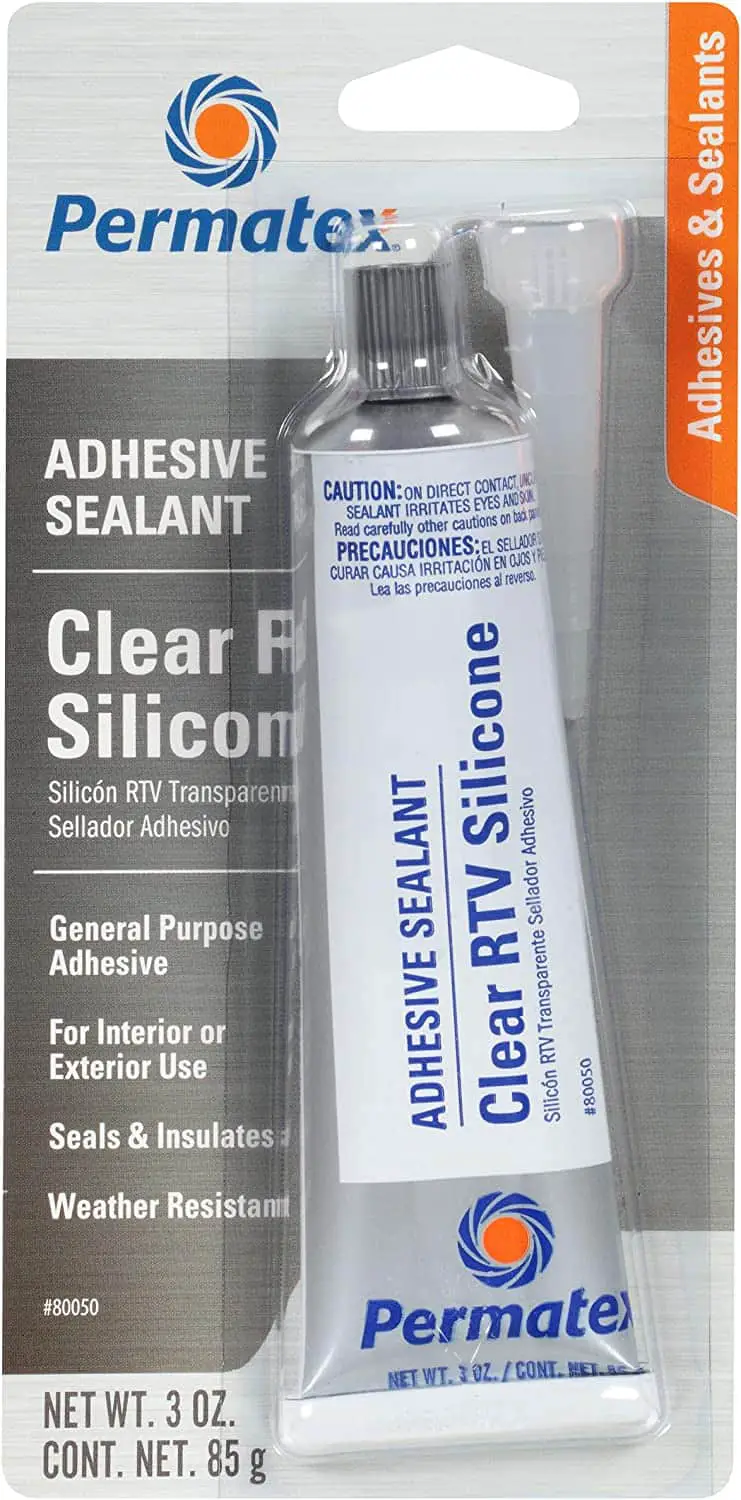
Silicone glue will be one of the best solutions for attaching silicone to most materials. The bond created by superglue and other ordinary adhesives and silicone is not as robust.
The adhesive made of rubber is another excellent choice. It works well in all types of weather conditions and is long-lasting.
Rubber-based glue
Rubber-based glue is excellent for tasks that will experience a lot of stress, motion, or temperature fluctuations.
With a flexible bond and a curing period of about 24 hours, you have plenty of time to arrange and tighten everything before the curing process starts.

Silicone glue
Most plastics work well with silicone glue, which is ideal for silicone materials. Yet, silicone can suffer from excessive heat or cold, unlike rubber-based sealants.
Silicone glue is an excellent choice for adhering silicone to plastic in works that won’t experience drastic temperature changes.

Always follow the manufacturer’s instructions to be sure the glue you choose has all the characteristics you want for optimal outcomes.
There are various brands, and each has a specified list of materials that react well to the adhesive.
Step-By-Step Instructions: How to Glue Silicone to Plastic
Gluing silicone into plastic is a simple task. Once you find the right glue, you just need to apply it to the two surfaces. There are three steps to perform:
Step 1: Prepare silicone and plastic.
Before applying the adhesive, ensure that the plastic and silicone are dry and clean. It can respond better if the silicone is warm when interacting with the glue.
To get the surfaces prepared, you should clean them. Make sure there isn’t any visible debris that will interfere with the treatment.
Plastics are more challenging to work with because they are nonporous and smooth. Some even come with a protective coating, making the glue harder to stick to.
You can scruff the plastic with fiberglass cloth or a wire brush. The surface you want to attach to can hold the glue better and establish a firmer bond if you etch thin lines across it.

Step 2: Apply the glue
It would be best to apply two layers evenly on both surfaces. Once the first layer becomes tacky, add the next one.
You may attach the two surfaces once the second coat has dried tacky. To find out how long it takes for the adhesive to achieve the proper consistency, consult the glue’s guidelines.

Step 3: Cure the glue
Most rubber-based and silicone adhesive takes several hours up to a day to completely cure, and you might want to clamp the two pieces together.
Ensure the area is warm, dry, and well-ventilated to shorten the time it requires to heal. Up until the adhesive hardens, try to hold the pieces in place using weights or clamps.

Frequently Asked Questions
Conclusion
Due to their strength, flexibility, and waterproof nature, silicone glues are ideal for attaching silicone to plastic. You will have similar qualities when using rubber-based glues, which can also withstand high temperatures.
Whatever solution you choose, keep in mind that you can gently scrape the plastic to ensure that the adhesive has a firm grip on the surfaces.
Hopefully, you will find this article helpful. If you have any questions, please feel free to ask. Thank you for reading!
