A glue gun is a tool that can be used to apply hot, fast-drying adhesives to various materials. Glue guns are most often used in crafting projects and for fixing household items like broken dishes or torn picture frames. They use an electric heating element to heat up the adhesive until it melts and becomes liquid. This article will provide you with information on how to use a glue gun safely, as well as what precautions you should take when working with one. Let’s get started!
1. Prepare the glue gun
It’s important to make sure your glue gun is in good condition and free from any damage before you start working with it. Check the cord for any fraying or rips, as well as make sure that there isn’t still old glue residue inside of the nozzle when using a previously used device.
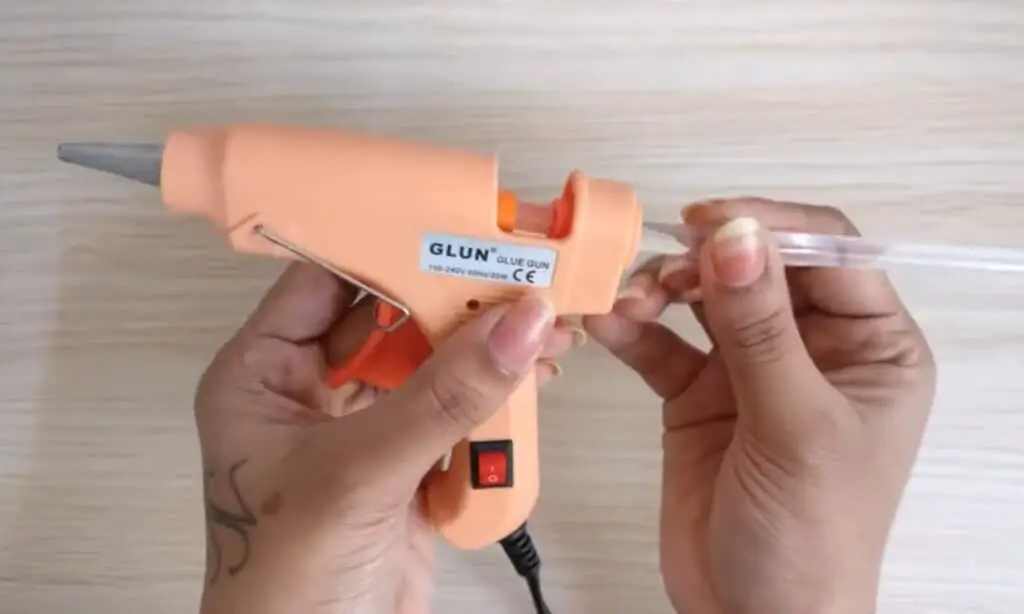
2. Load a hot glue stick into the glue gun
Insert the hot glue stick into the heating chamber at an angle and then press it down until secure. Make sure to use the right size hot glue sticks according to package directions.

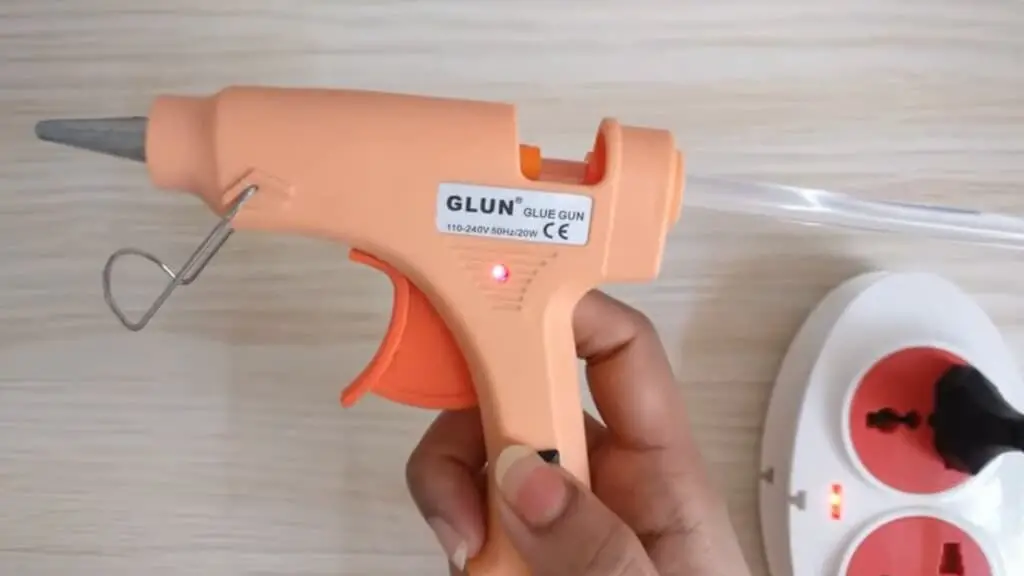
3. Turn on the glue gun and wait for it to heat up
There are two basic types of glue guns – one with an adjustable temperature and one without.
- An adjustable temperature means that you can adjust the heat level on your own, which will help if there are different materials being glued together
- A non-adjustable temperature means that the heat level cannot be changed, so this type might be better if you’re only gluing two similar materials together like paper or plastic.
Glue guns heat up quickly – usually about six minutes until they’re ready to use again.

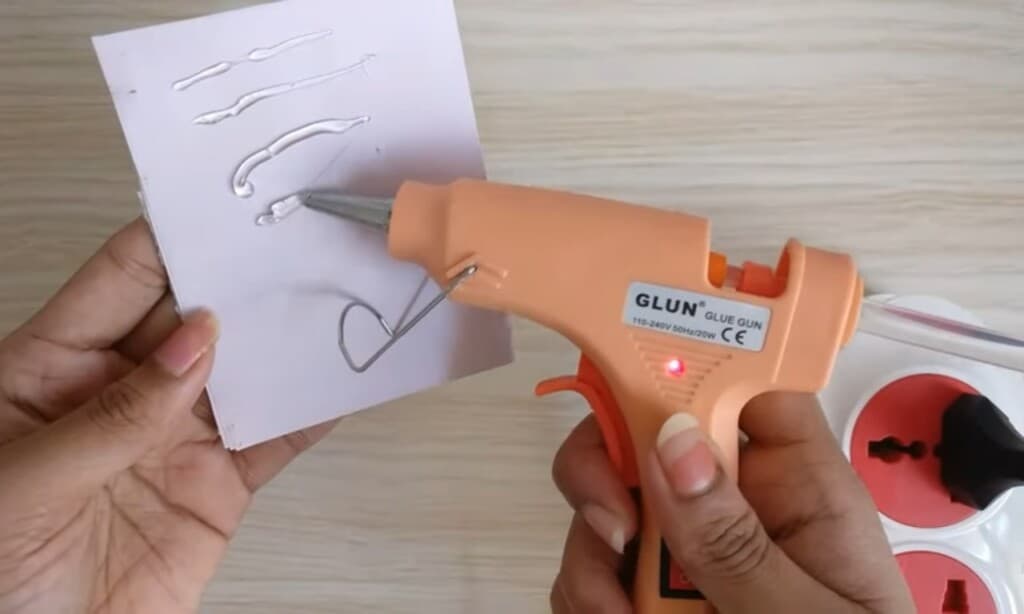
4. Test the glue gun
Test the glue on a scrap piece of paper to see if it is hot enough. It’s ready to use when the glue is liquid and visible.
- When using an adjustable temperature glue gun, you’ll need to adjust the heat level according to what materials are being used – if two similar items like paper or plastic are going into contact with each other, use a low heat setting because overheating can damage certain types of materials.
- When using a non-adjustable temperature glue gun, you can use a wet cloth to cover the nozzle to lower the heat.

5. Apply the glue with a slow and steady hand
Use one hand to hold the object and use your other hand to apply the adhesive – make sure not to touch anything else with this hand as it will likely be too sticky!
It is important to use slow-motion movements in order to avoid tearing anything up – small pieces should go first as they are easier to use.
If there are any mistakes that need fixing after using a glue gun, use an adhesive remover and allow soaked up excess hot glue to cool down for about two minutes before removing it from surfaces. It should come off easily when cooled enough and without leaving residue behind on anything else in its path.
6. Glue two pieces together
Glue two pieces together by pressing them against each other and pulling back slowly as if you are peeling off a sticker from something else (the slower you pull apart, the less likely that they will come unstuck).
If it doesn’t seem to be drying fast enough, hold it in your hand for about five seconds before releasing pressure on whatever you’re gluing together. Letting go too soon is one of the most common mistakes people make when using this tool!
7. Allow your project to dry before handling or using again
You should let hot glued items cool before handling them so they don’t come undone easily.
Clean spills immediately by wiping gently in one direction only until all residue are gone (otherwise the stain might be permanent!)
8. The best way to store your glue gun when not in use
To avoid overheating or overusing, always turn off your device as soon as you finish using it by unplugging from the power supply – never leave a heated nozzle unattended and near anything flammable like vehicle seats because they could ignite while waiting for cool-down time to end.
Wipe the exterior of your glue gun down with an alcohol-soaked cloth and use adhesive remover to remove any leftover residue on the nozzle – this will help get it ready for next use!
Wait for it cools (usually takes 5-10 minutes) before storing it away.
