
How do you glue bottle caps to wood? The answer is surprisingly simple. Bottle caps seem like a small thing, but they can do so much more than just hold your drink. They can also be used to decorate wood in an easy and fun way! In this blog post, I will show how to glue bottle caps to wood in three easy steps.
Guide To Glue Bottle Caps to Wood
Gather materials
You need some collect materials and tools before you begin. It is important to have everything at hand so that the process goes smoothly and doesn’t take too much time from your day.
There are some particularly good glues available that will get the job done.
- A hot glue gun is a fast and easy way to put bottle caps on wood. The nozzle of the gun will allow for more control than an all-purpose glue or craft/wood adhesive would offer. However, hot glue is thicker than these other glues so it can leave space between the wood and cap.
- A craft/wood adhesive or epoxy doesn’t run quite as quickly as superglue does but takes longer to dry completely. This is a good option for larger projects where it’s important that there aren’t any spaces between the two materials.
- All-purpose adhesive like super glue will be just as effective, but it will run quickly so you should have a steady hand and you will need to work quickly. This glue is also likely to leave some spaces between the wood and bottle cap.
Besides, you may need some tools (optional) to make your task easier:
- A brayer (rubber) roller/ A small paintbrush with stiffer bristles/ popsicle stick will come in handy to apply the glue with more control.
- Grit sandpaper/emery board/ metal file can be used to smooth the surface of a bottle cap and wood before gluing them together.
- Wet clothes or paper towels will be useful in removing dust and cleaning up any mistakes you make.
You can take a quick look at our list best glue for Metal to Wood

Step 1: Clean the surface and remove dust
Use a wet cloth or paper towel to clean the surface of both surfaces (bottle cap and wood) so that they are dust-free before gluing.
If there are any rough spots on the wood where bottle caps will sit then smooth them down before applying anything. You can sand it down with medium-grit sandpaper if necessary.
Dry them off before applying glue to either one of them.
Step 2: Apply glue to the bottle cap
Apply glue evenly across one side of the bottle cap (the part that will be touching the wood) with either a brush, pops stick/ brayer roller, or hot glue gun.
Apply a thin layer of adhesive to cover all of one side. You can always add more later if necessary but too much at first could be messy or cause problems with how well your bottle cap sits in place when it’s glued down.
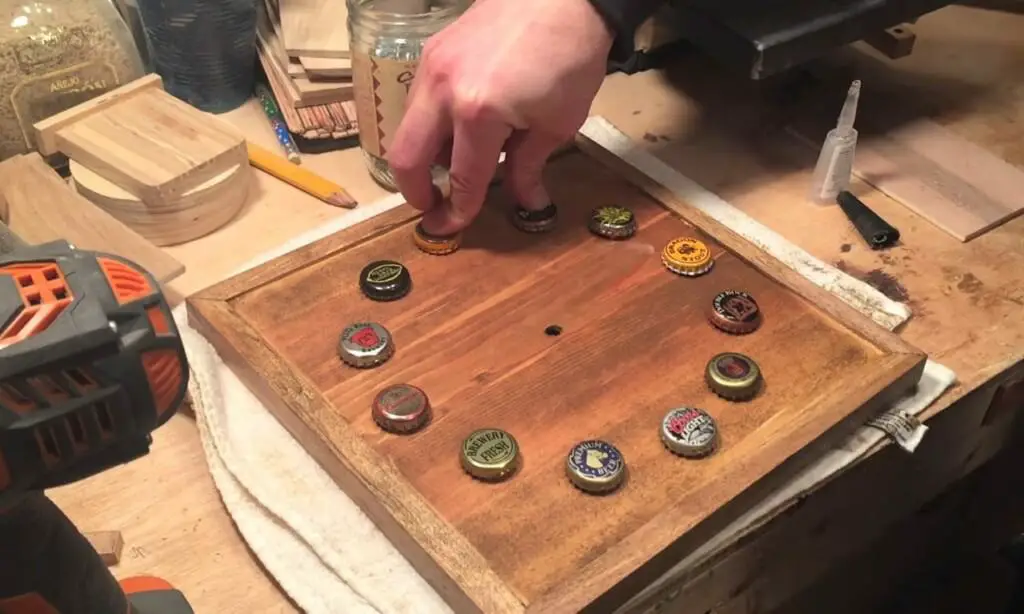
Place the cap upside down on a piece of wood with the glue side facing up then use your finger or hands to push down on top of the glue until it sticks together as well as possible. This helps ensure how well they stick together later after everything has dried.
Be sure that you allow the adhesive time to fully dry before handling. This might take 15-30 minutes depending on how much you used and how thick the bottle cap is.
Once everything is dry, check for any spaces between where the two materials meet by rotating them around slightly in every direction. If there are any gaps then add more adhesive as necessary before allowing time for drying again so that they can be stuck together properly.
Step 3: Clean up any excess glue with a wet rag or paper towel.
If there are any places that have excess adhesive, just wipe them away with a wet rag or paper towel before it has a chance to dry and cause problems later. A drop of water dripped onto the glue will help remove it with minimal effort.
IIf the excess glue is dried, use a metal file, sandpaper, or emery board to carefully remove the glue. Be careful not to scratch the wood itself when you do this because it could leave marks and damage how well your bottle cap will stick later on. You don’t want that!
Congratulations, you are done! Your new and unique wood decoration is ready to show off how cool you are in front of your friends or family members. And now that you know how easy it can be to make these decorations there will always be a reason to add more caps to decorate various things around your house like wooden tables, chairs, cabinets, picture frames, etc…And best of all, it’s cheap and fun! Enjoy yourself with this craft project while making something useful for your home at the same time!
What can you do with bottle caps?
You can reuse the caps to make things like keychains, ornaments, earrings, or anything else your imagination comes up with. You can also use them as decorations on items like your desk and refrigerator. If that isn’t enough for you, you can even brew your own beer at home by purchasing a bottle capping kit to convert any cap into a bottle top. Enjoy!
How do you flatten bottle caps?
Flatten bottle caps by using a hammer and weight.
To flatten the cap, lightly tap the edges of the cap with a metal surface at an angle. This will make it flatter without getting rid of its shape. Once you’ve done this, place some heavy item (e.g., books) over it to avoid any change in position while it “sinks” to your desired thickness–usually about three millimeters for bottle caps used in craft projects or even a little more if you want them to be thicker for things like coasters or jewelry lids.