
In this how-to guide, we will show you how to glue cardboard together. Cardboard is a great material for many different projects including creating props and paper mache. We will start with how to prepare the surface that you are gluing your cardboard pieces onto and then move on to how to do the actual gluing process. After reading through this guide, you should be able to glue any two pieces of cardboard together in just a few minutes!
How to Glue Cardboard Together
1. Gather the necessary materials
Gather all of the materials you will need to glue cardboard together. This will include the following materials:
- Cardboards: make sure that both pieces of cardboard are clean and dry. If they have any dirt or dust on them then your adhesive will not stick properly. To prepare the surface, wipe each piece of cardboard down with a dry cloth and make sure to remove any excess debris.
- An appropriate adhesive: The two types of glue that work best for this how-to guide are super glue and hot glue because they both dry quickly, which is important to keep in mind since we only have a few minutes to glue our cardboard together before the adhesive dries up. You can also use other types of glue-like glue sticks, wood glue, or even white glue.
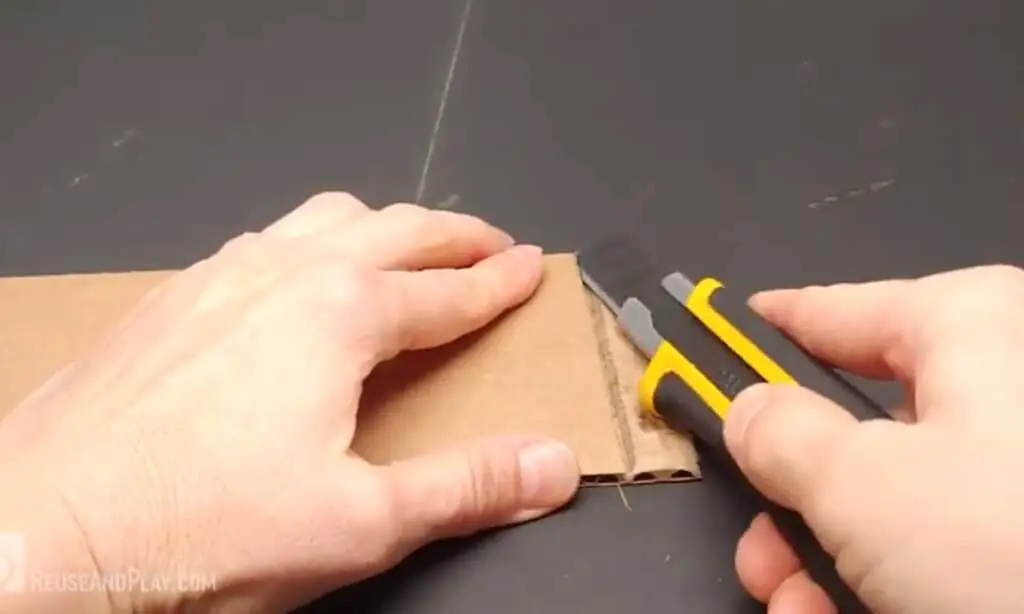
- Cutting tool: you can use a craft knife, X-Acto knife, scissors, or paper cutting board for cutting your cardboard. Make sure that your blade is sharp before starting any gluing process!
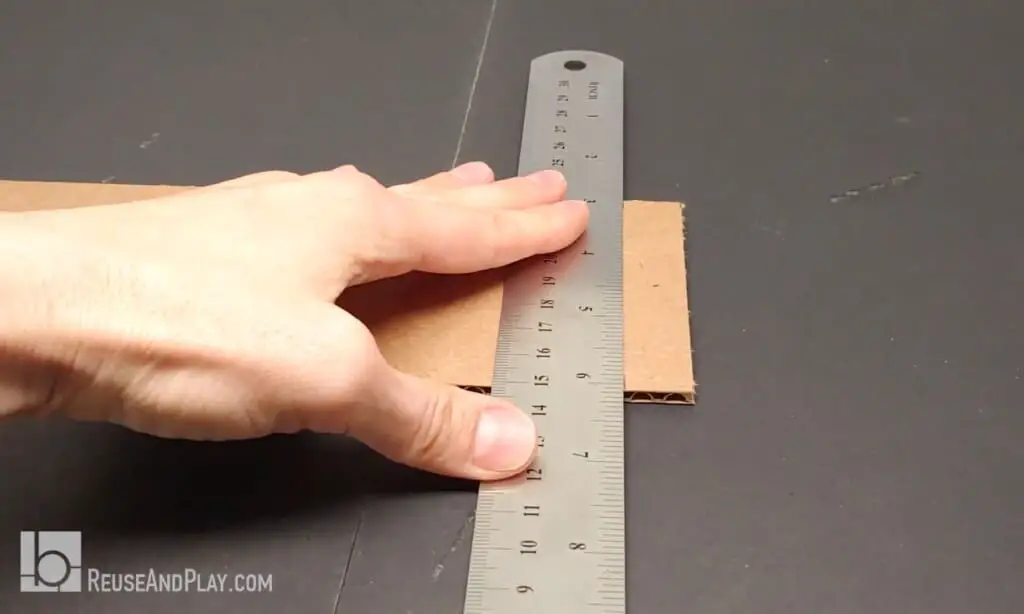
- A ruler or measuring tape
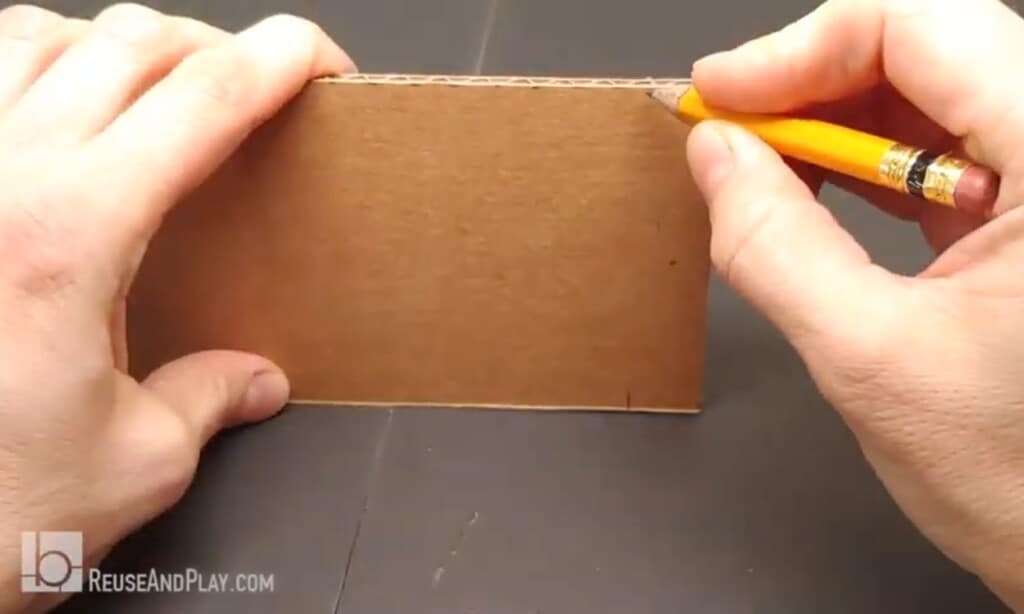
- A pencil (optional): you may need a pencil to mark where you are going to cut your cardboard.
- A flat surface to work on (optional): it is helpful if you are able to use a large, flat surface for the actual gluing process so that nothing slips out of place while the glue sets. Plus, they make it easier to clean up after the project is done.
Now that you have all of the materials together, let’s move on to how to actually glue your cardboard pieces.
2. Measure the cardboard and cut it to size
Create a plan for how you want your cardboard to look. Once you have your plan drawn out, measure the length and width of each piece using a ruler or measuring tape and mark it with a pencil.
Once you have your measurements, use the cutting tool to cut your cardboard pieces to size with your desired shape (e.g., square, rectangle, circle) and dimensions. You should cut your cardboard pieces slightly larger than your measurements to give the adhesive a bit of room to bond properly and adjust when needed.
3. Glue each piece of cardboard together and let dry until it is sturdy
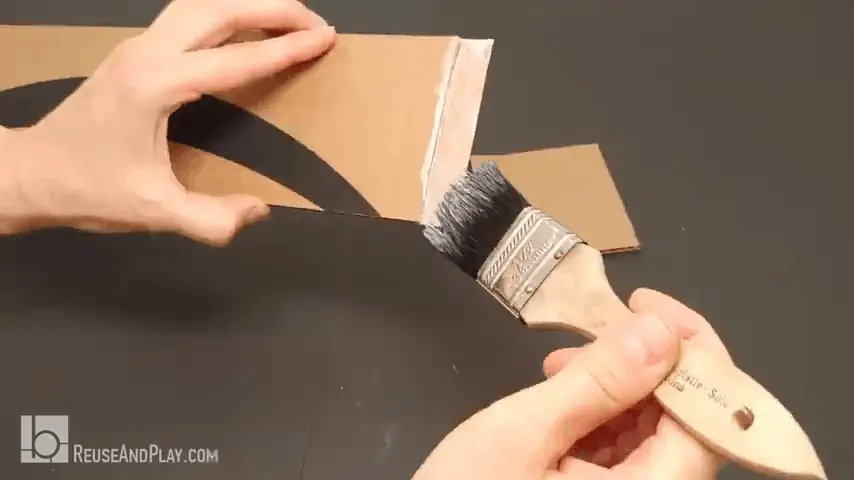
Apply glue to one piece of cardboard and spread it evenly across the surface.
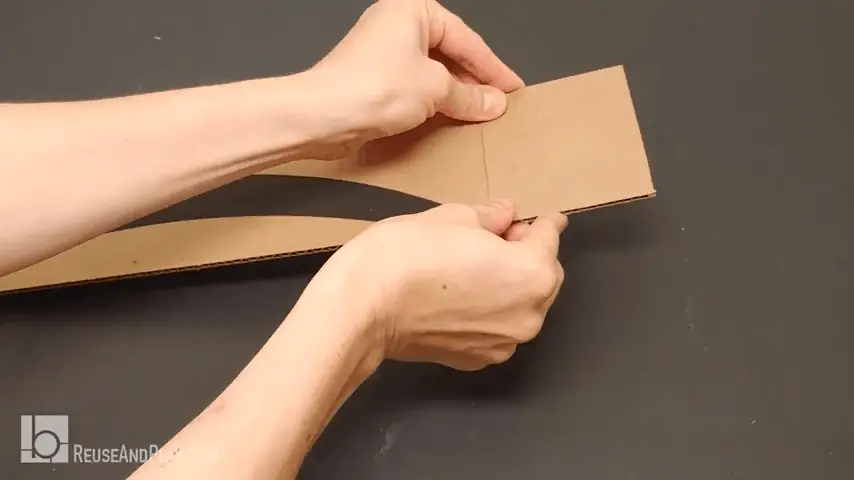
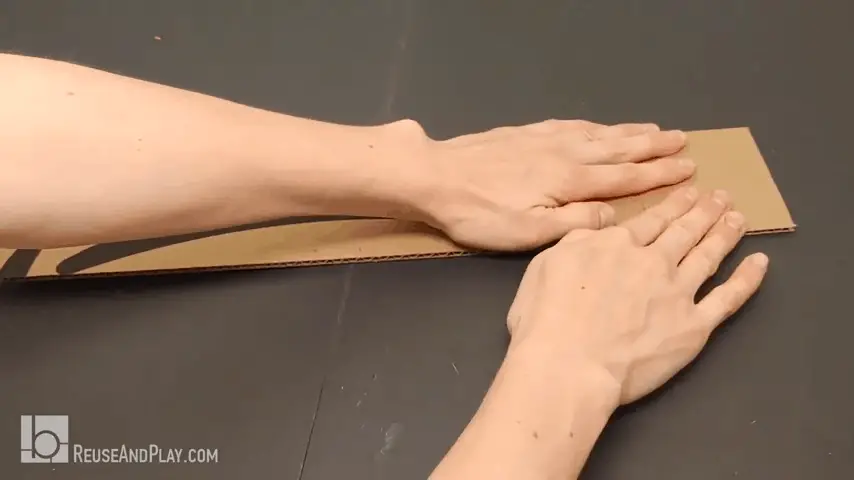
Press them together carefully and hold them down firmly. You will want to give the glue a few seconds before pulling back slightly in order to allow any air bubbles or excess adhesive that might be present time to dissipate. Add weights if necessary until dry.
It often takes about 15 minutes or more for the glued cardboard to dry depending on the strength of your adhesive, how much adhesive you used, and how big your cardboard pieces are.
Once the glue is completely set, test out how sturdy your new project is by gently bending it. If the two pieces slip out of place when you bend them, then apply more adhesive and allow to dry for a few minutes before testing again how sturdy your project is.
4. Remove any excess glue and other debris from your project
Remove any excess glue that might have spilled out by wiping it down with a cloth or paper towel before allowing them to dry completely.
5. Add embellishments like stickers or paint if desired
Add a personal touch by painting, drawing, or decorating with stickers or markers!
Now that your project is complete and sturdy enough for everyday use, enjoy the fruits of your labor!
FAQs
Can you use Gorilla glue on cardboard?
Yes, though use it sparingly because this type of glue can harden faster than other types of plastic glues. Cardboard in particular has no fibers to hold the moisture so Gorilla glue dries significantly slower on cardboard versus using a low-viscosity white glue, but not nearly as quickly as superglue or epoxy.
When starting out with any project, don’t start pouring out a bunch of liquid! Apply small drops at a time to create an even film across your surface and then hold firmly together while applying pressure. When the adhesive starts to thicken and become more like rubber again, you’re done.
What is the best glue to stick fabric to cardboard?
White craft glue is the most popular glue for sticking fabric to cardboard. I have successfully used Elmer’s but any white craft glue should do the trick. The main thing you want to remember when gluing fabric and cardboard together is that you should be generous with your application of glue, don’t skimp! This will ensure a tight seal and more durable result, not only will it cost less money but it’ll also save time in the long run as there will be no need for repairs down the line.
How do you make cardboard stronger without glue?
Tape over the glue and paper in between layers of cardboard. This strengthens it without adding any extra weight or thickness. You will need to coat your adhesive with a layer of paint to make it waterproof, but this step is optional. Voila! Stronger cardboard without the use of glue.