
This blog post is going to give you 5 tips and tricks on how to glue glass together. Whether you are using a hot glue gun or silicone adhesive, these tips will help ensure your project comes out looking flawless. Let’s start with how the best way to measure how much of each product you need for your project!
- Tips and tricks on how to glue glass together
- 1. Choose the right type of glue for your task
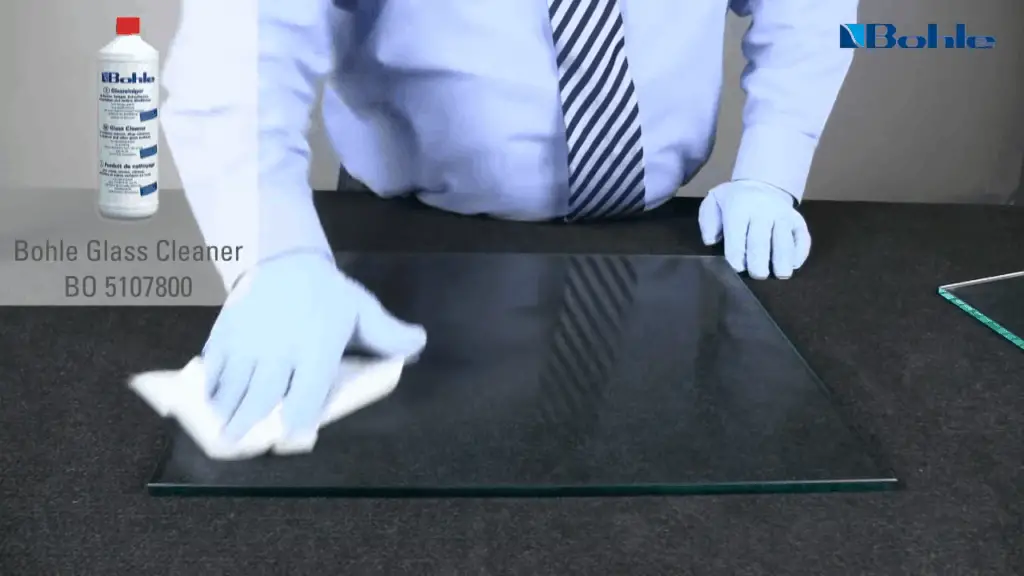
- 2. Clean the glass surfaces with a damp cloth
- 3. Apply glue to one surface and spread it evenly with a putty knife or a brush
- 4. Position the other piece of glass (use tool to keep the position if needed)
- 5. Wait for 24 hours before handling or moving your project
- 5. After 24 hours, remove any excess glue
- Conclusion
- Frequently Asked Questions
Tips and tricks on how to glue glass together
1. Choose the right type of glue for your task
It’s important to determine what type of glue you need for your task according to the damage level on your frames, the size of the areas that need to be glue, and any special features they may require like being food safe, heat resistant, or waterproof.
- For small fractures or chips, both epoxy and super glue will work. Epoxy is usually a bit more expensive than standard super glues you can find at any local store, but it’s stronger and less likely to crack over time so if you’re looking for something long term this would be your best bet.
- For larger fracture surfaces or larger areas that need to be glued together, you’ll need to use a thicker glue like Gorilla Glue or E6000. The great thing about these glues is how well they fill in cracks and make them invisible before drying so it’s really up to personal preference on which one you want to work with. Silicone is also a great choice for larger areas as it’s both waterproof and flexible so you don’t have to worry about the glue breaking or cracking.
- For heat-resistant applications, epoxy will work the best.
- For glass that will be used in food applications such as glasses for drinks, you’ll want to stick with a safe and FDA-approved epoxy so there are no chemicals from the glue leaching into your food.
- If you’re looking for a waterproof bond, silicone glue is your best bet.
2. Clean the glass surfaces with a damp cloth
Clean both surfaces you are going to glue with a damp cloth. This will remove any dirt, dust, and grime that can affect how well the adhesive sticks.
3. Apply glue to one surface and spread it evenly with a putty knife or a brush
Apply a thin layer of glue to one surface and spread it evenly. This will ensure the two surfaces are fully covered with adhesive before proceeding.

- Tips on how to avoid bubbles when gluing glass together: Heat up the hot glue gun first!
When using a hot glue gun, heat up the tool beforehand for 15-20 seconds to make sure all that cold liquid sticks where you want instead of forming pesky little air pockets in your design.
- Tips on how to get a better bond when gluing glass together: Use lots of glue!
Silicone is tough but it doesn’t always have the same adhesive qualities as hot glue. To ensure stronger bonds, apply a generous layer and let it set for at least 20 minutes before applying any pressure or weight against your project.
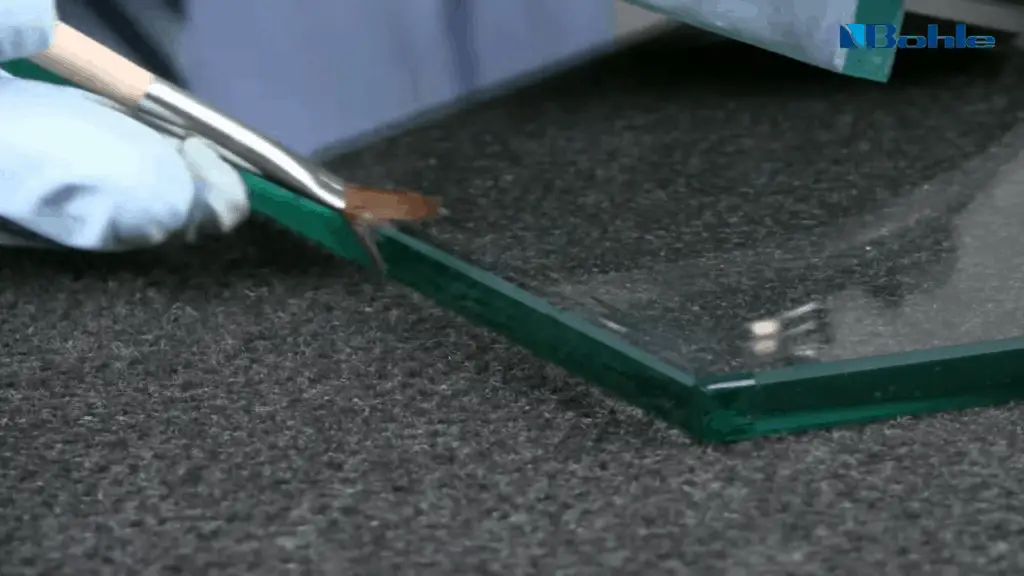
- Tip on how to sand edges after bonding two pieces of glass together: A little coarse grit will help you achieve that perfect finish!
One way to sand down rough edges (after you’ve glued them) is to use either medium-coarse or fine grit wet/dry sandpaper. If there are areas where silicone has gotten onto places it shouldn’t be like textured surfaces, just wipe over.
4. Position the other piece of glass (use tool to keep the position if needed)
- Tips on how to get the perfect bond when gluing glass together: Allow each side of the adhesive time to set up before applying pressure
Again, silicone is different from other adhesives in that it will not dry out and form a crust like hot glue does. You need 15-30 minutes for this stuff to go off before you can apply any weight or force against it.
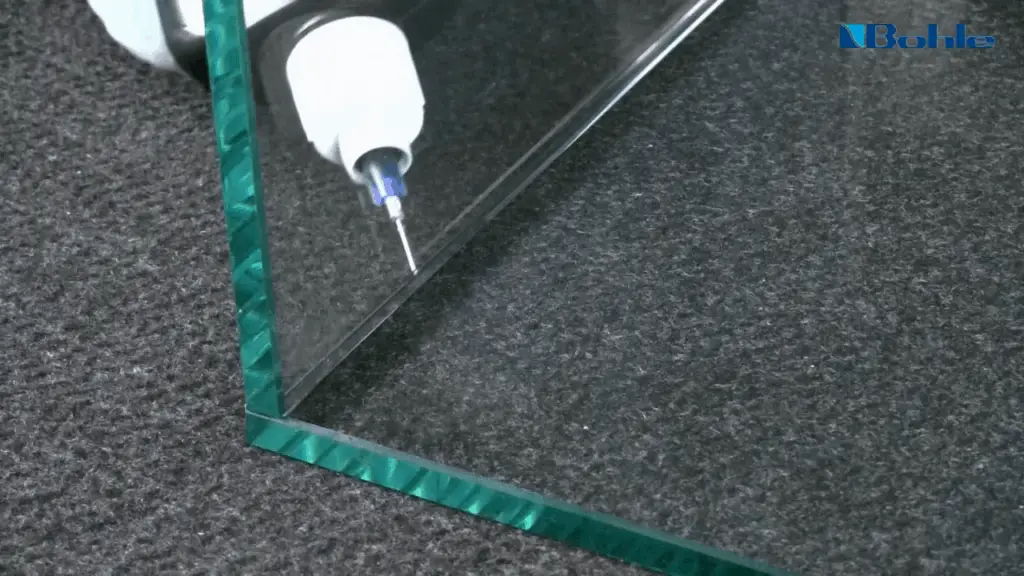
- Tip on how to get super strong bonds with silicon glue: Apply thick bead around edge instead of thin “film” layer
A good way to ensure a really solid seal between two pieces of glass is by applying one thick bead (like shown) along all four edges rather than just a film layer across them.
5. Wait for 24 hours before handling or moving your project
Silicone takes 24 hours to fully cure before you can move it or handle it. Try not to disturb the project for this amount of time unless absolutely necessary, as any movement could break apart the bond.
5. After 24 hours, remove any excess glue
- How to properly clean silicone adhesive from your hands? Soap and water will do the trick!
If you get any of this stuff on your skin, just wash with soap and water for best results. The only thing that may dry out is in between your fingers but a little lotion should take care of it pretty quickly.
- How about removing dried hot glue from project: Use acetone or paint thinner as needed
To use an alcohol like acetone (found at most pharmacies) soak the area gently with liquid until all residue has dissolved.
Be careful not to put too much pressure against delicate materials such as paper products because they can be harmed by rough scrubbing if handled incorrectly.
Conclusion
If you want to have better imagination of how to glue glass together, check out the video below:
These tips and tricks will help you get the most out of your glue glass. Glue is usually a one-time use thing, but these methods can make it last much longer!
We hope that this article has helped to give you some ideas for how to keep using your glue glasses over and over again. If not, we’re happy to answer any other questions about our products in the comments section below 🙂