
In this blog post, we will be exploring how to glue puzzle together. This may seem like a simple task but it can actually be quite complicated depending on the type of puzzle you are trying to assemble. We’ll cover how to do this with both classic puzzles and 3-D puzzles in order for everyone reading our article to have the same knowledge base about how best to complete such an important task.
Steps to glue puzzle together
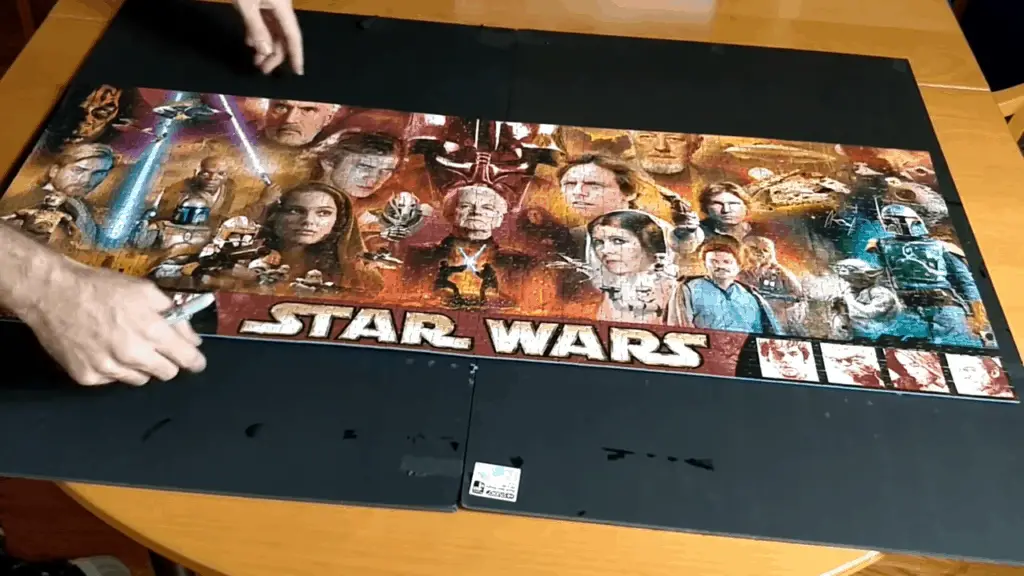
1. Gather all the pieces together and place them on a flat surface.
- Gather all the pieces and place them on a flat surface for each type of puzzle (classic puzzles, irregular shaped puzzles).
- Select how many people will be working with you so that there are enough hands available to work quickly.
- Use an ironing board as your workspace if it’s too hard to find another large table or floor space. Make sure that no furniture is blocking any parts of the boards because this will cause problems when trying to fit in shelves later on.
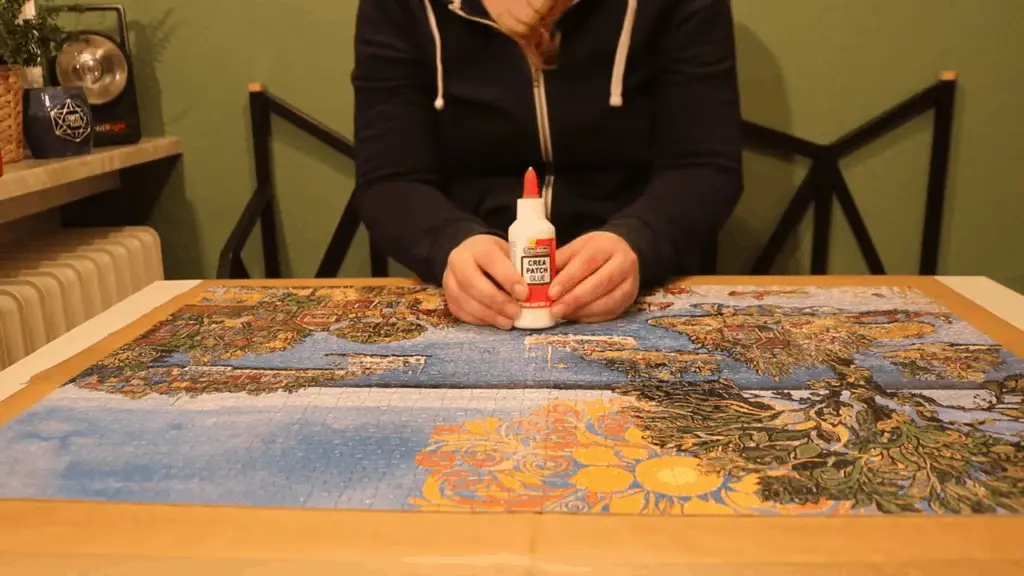
2. Find a glue that is appropriate for the puzzle’s material (e.g., wood, metal, plastic)
Find out how thick your pieces need to be: some puzzles require thicker pieces than others because they will have different properties when being joined together with glue due to their thicknesses and densities.
- If the puzzle is made of wood, look for a glue that is made of natural materials such as animal skin, bone and other organic things.
- If the puzzle is metal or plastic, look for a glue that will adhere to these two types of substances.
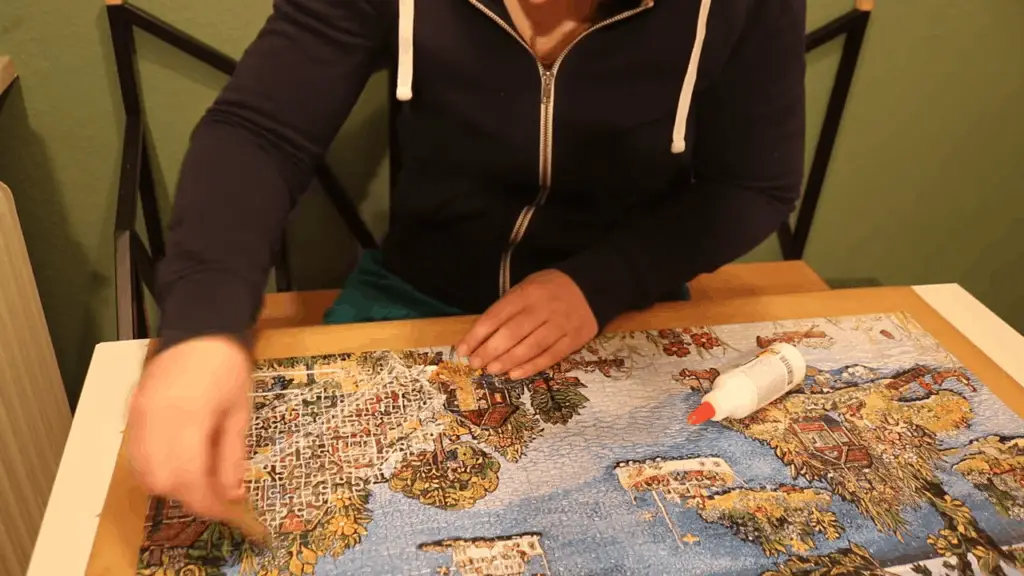
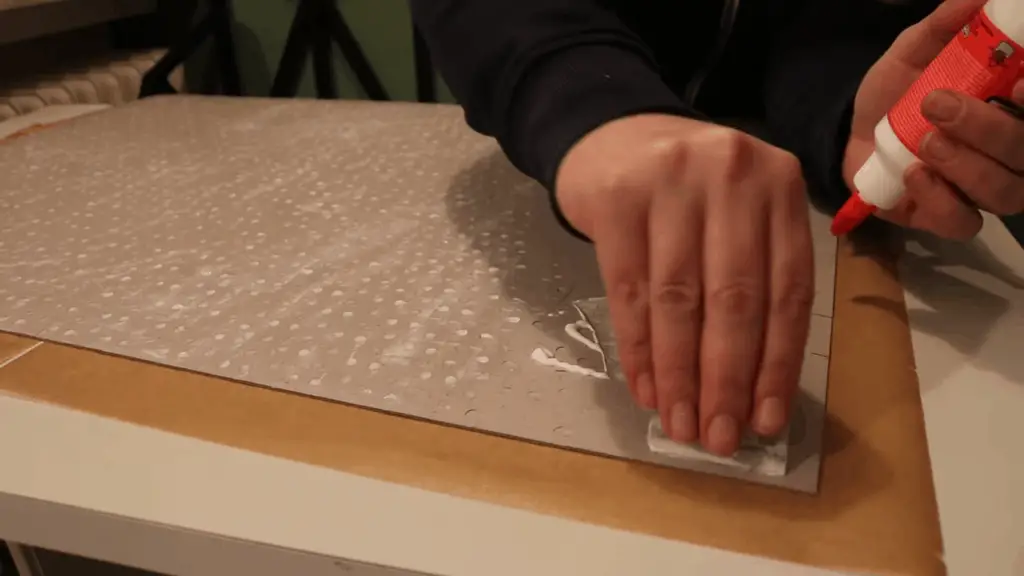
3. Apply the glue on the front side of the puzzle piece
Apply the glue to one side of each square edge, starting with an outside corner. Make sure that you are only applying a thin layer on this first side because it will spread out when trying to apply another coat in order for both sides to become glued together nicely and tightly without any air bubbles or creases left over.
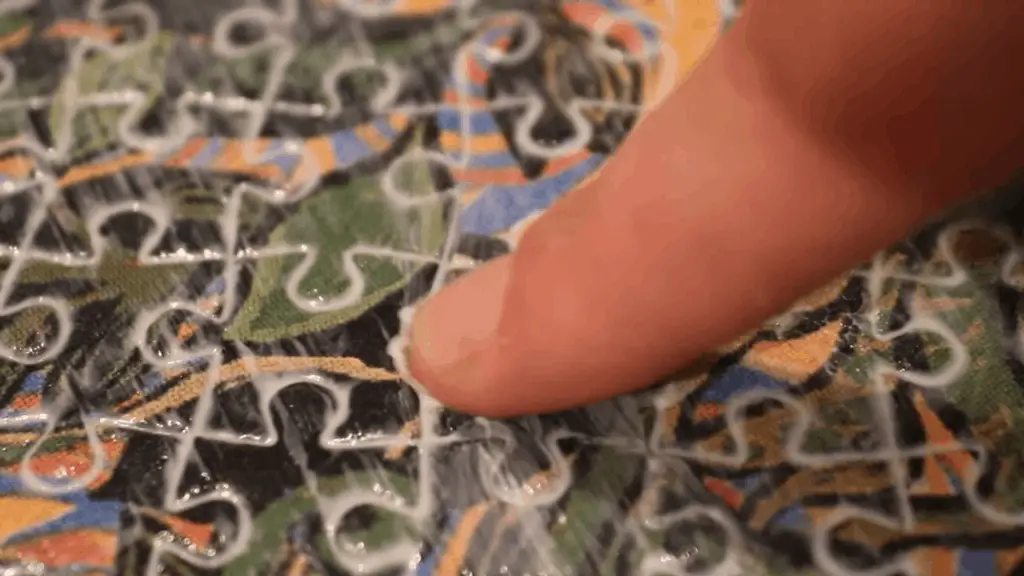
4. Line up two pieces so they are touching at their edges, but don’t overlap them yet . Press down firmly with your fingers to make sure they stick together at the glue.
This is how you create a single layer of pieces in order to work on one side of all the puzzle at once before moving over to start working from another direction (e.g., left-to-right or right-to-left).
Line up two adjacent pieces so that they are touching each other but don’t overlap them yet: this will make it easier for you and your helper(s) when trying to complete the puzzle because, if there’s enough room between these two pieces, then somebody might accidentally move an individual piece out of place while lining up with others around it and potentially have to go back again later on as well as take more time than needed doing the whole process.
5.Let it dry
The most important thing to make sure in this step is how thick your pieces are going to be glued together so you need to find out what type of material they’re made out of because it affects how much time it’ll take for the adhesive to dry on both sides (e.g., wood takes longer than metal).
6.Apply glue on the back side of the puzzle piece
Apply glue to one side of each square edge, starting with an outside corner.
The same rule applies here as previously mentioned: make sure you’re only applying a thin layer on this first side because it will spread out when trying to apply another coat in order for both sides to become glued together nicely and tightly without any air bubbles or creases left over.
7.Repeat step 3-6 until the puzzles are firmly connected
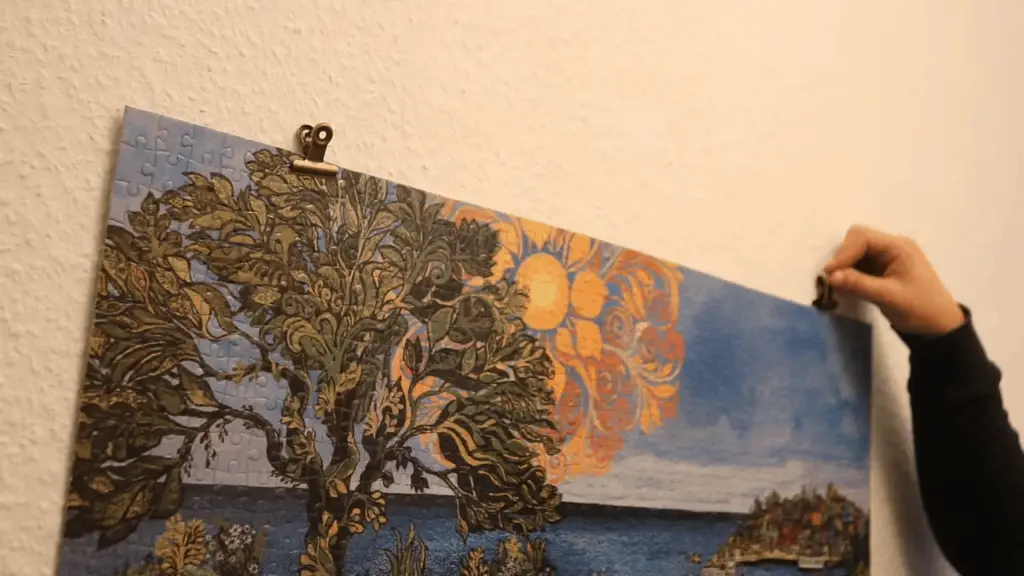
And now your puzzles are perfectly glued together! Let’s proudly put it in your favourite corner!
Conclusion
I hope this blog post has helped you in some way. If you have any questions, please feel free to email me at the address listed below. Thank you for reading! 🙂
If you want to have better imagination, check out the video below: