
Bricks are used for a wide range of applications, from building houses to making fences. However, if you want your brickwork to look good and last long-term, it’s important that they’re properly glued together. The following article will teach you how to glue bricks together with the best results possible!
How to Glue Bricks Together
1. Gather tools and materials
Gather all of your materials and tools before beginning the process. You should have these things on hand in order for everything to go smoothly:
- Safety first! Goggles, gloves and a respirator mask are especially important to wear when you’re working with strong adhesives like this.
- Bricks, of course! Either broken ones, flat edge bricks , or re-used brick s will work fine. Just make sure that they’re clean and dry before you start working with them.
- Tape measure/straightedge ruler if needed (for measuring)
- Adhesive applicator like a brush, a trowel, caulking gun, or applicator roller. Make sure to choose one that’s appropriate for the size of your project.
- Mixing bucket and stir stick in case your adhensive need to be mixed.
- A bucket of water: It’s helpful to have a bucket of water nearby as well, and maybe some paintbrushes and/or rags to clean up any spills or splashes. You can also use this opportunity to wash off dirt from the brick surface by scrubbing them down with soapy water if necessary.
Depending on what kind of project you’re doing, there are different types of adhesives that will work better than others. Brick adhesives come in different types and strengths so make sure that you get one that is compatible with your particular project.
- For small projects like making a decorative brick sign or adding some bricks around your garden- regular superglue should do the trick just fine – if not perhaps some epoxy for extra strength might be worth looking into.
- For larger projects like building a wall or repairing an old chimney, you’ll want to make sure that your adhesive is waterproof or at least resistant enough so it won’t be affected by water exposure. In that case, brick mortar may be necessary. Mortar can also bond bricks together with a strong bond and comes in different colors so you can choose between white, grey or black.
- If you don’t want any visible seams in your finished product like when building an outdoor wall, waterproof construction adhesive would be best; however, this type tends to take longer to dry so make sure not to rush things as well!
Now that you’ve gathered everything together, it’s time to get down to business!
2. Prepare your adhesive
This step will depend on which glue/mortar product you are using so follow those instructions carefully!
- If you are using a ready to use adhesive, don’t worry about mixing first- just apply directly from tube/pail!
- If you are using mortar, mix the powder according to manufacturer’s directions on the packaging. Make sure that everything is mixed thoroughly until it has a smooth consistency without lumps of bonding materials left over – this will ensure strong joints between bricks for your new project!
- If using epoxy, mix both parts thoroughly until they are completely combined into one color/consistency .
- If you have purchased an applicator gun type product, then mix according to manufacturer’s directions first and load up your applicator.
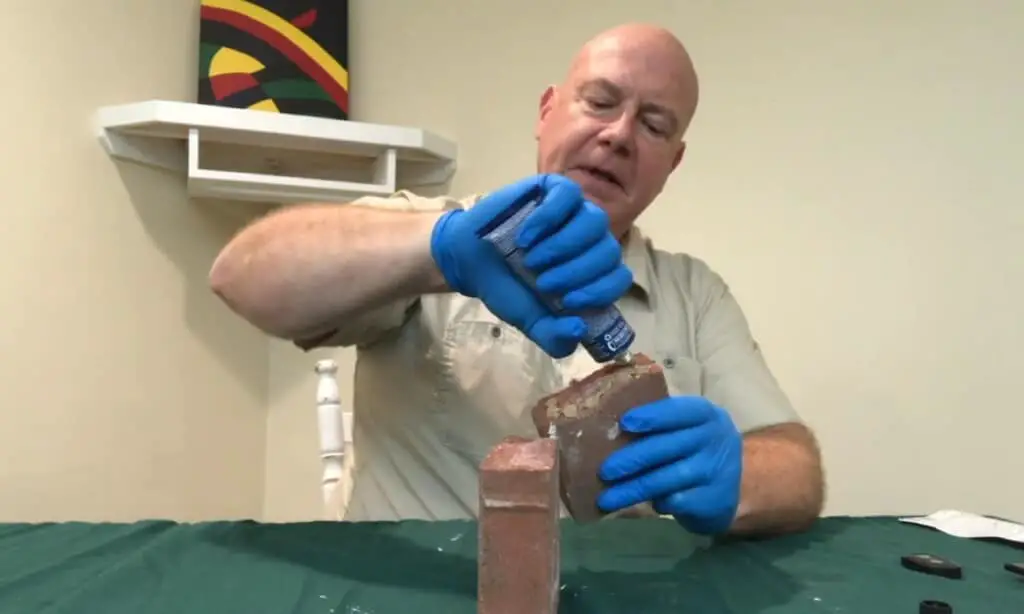
3. Apply a thin layer of glue on the bricks
Now it’s time to get your hands dirty!
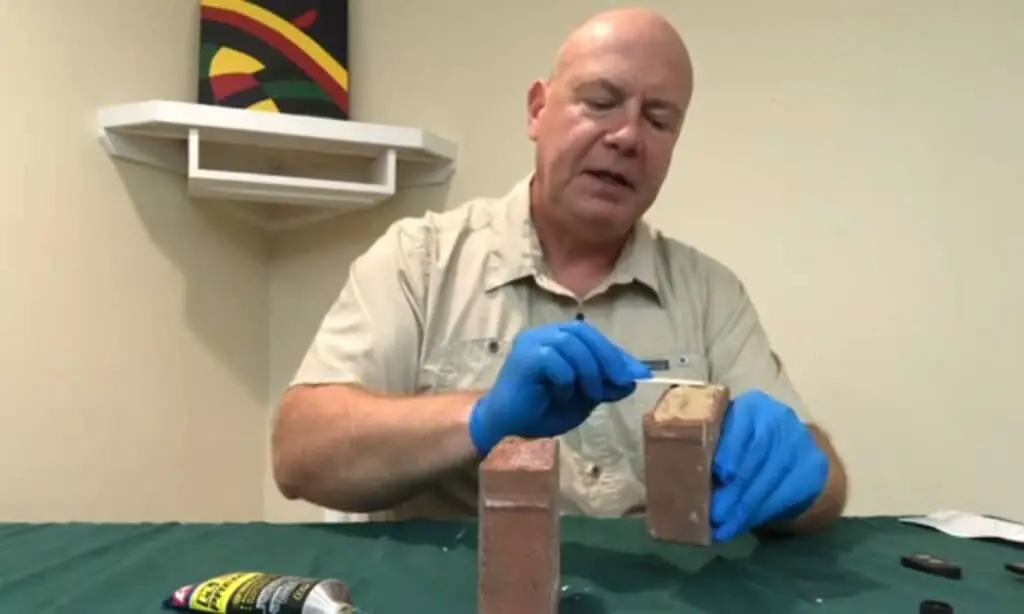
Choose a brick as a base and apply the adhesive onto one side of the brick you are gluing together. You can use a brush, roller, or squirt the adhesive directly onto the brick surface. Be careful not to apply too much! You are trying to create an even layer so that way it won’t run over either side of the bricks you are sticking together.
If using mortar, try applying in one direction first before rotating 90 degrees and finishing off if needed for a smooth finish- this is especially helpful when building walls where visible seams don’t look as good. Be sure to also wipe any excess away from joints with your trowel or squeegee- otherwise, there might be some visible lines left behind afterward.
Be careful while applying not to create any air bubbles in between the two surfaces that could cause problems later on when you go to put another layer down. If this does happen, don’t worry- just carefully introduce some extra pressure with something like a caulking tool until they pop back out again. Don’t try too hard though as doing so might actually break the bricks.
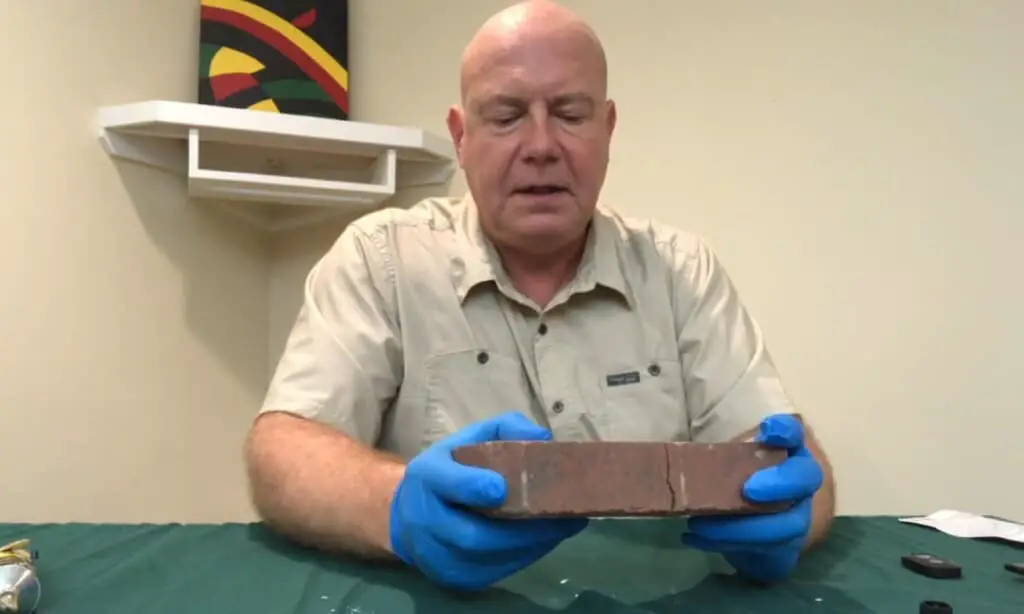
Place the second brick onto the first one you’ve glued and make sure that each brick is touching its neighbor before moving onto the next step!
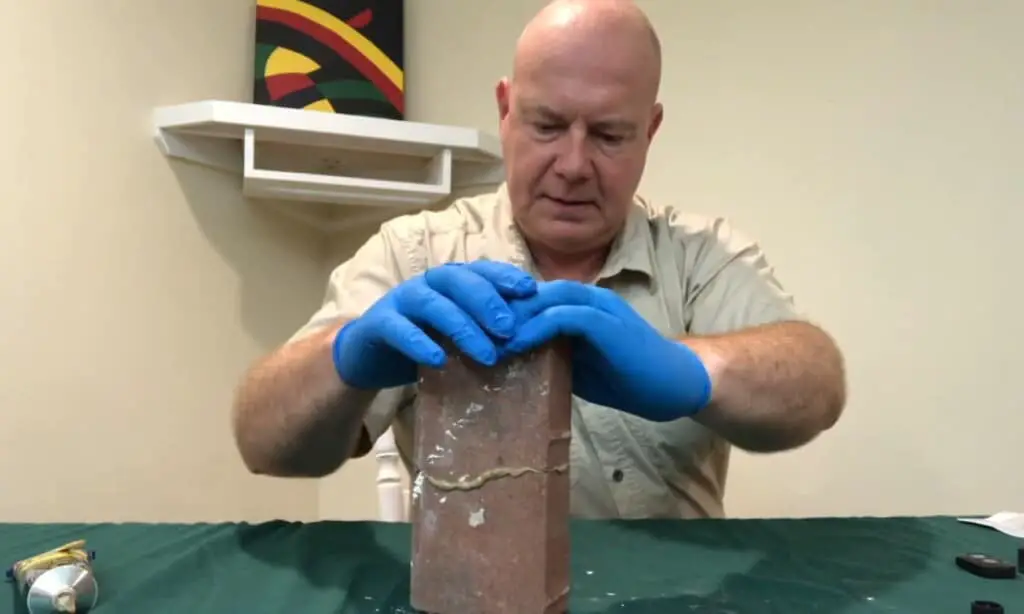
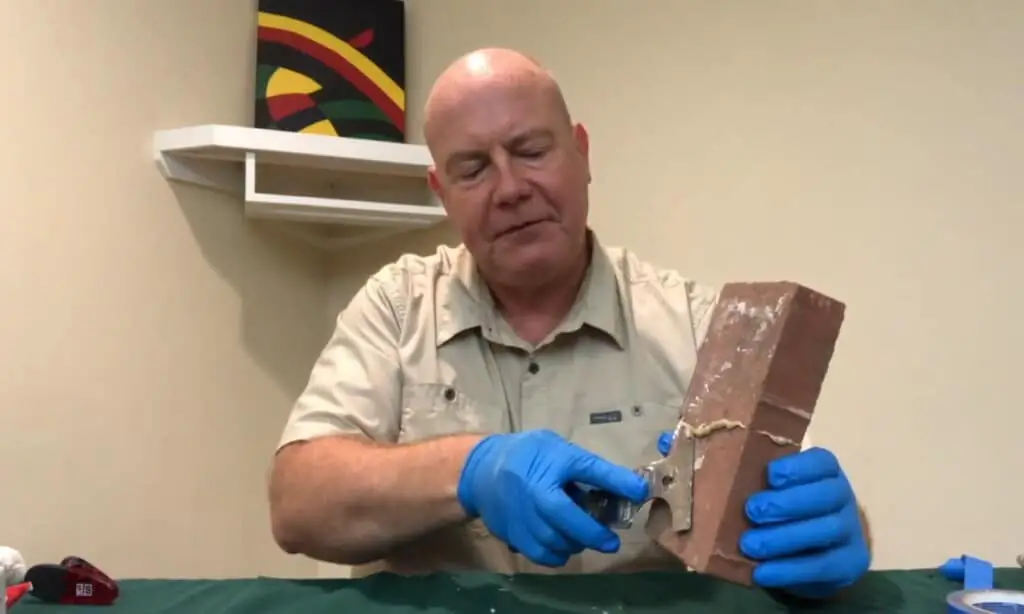
4. Press the bricks firmly together
Press both bricks firmly together and hold for at least 20 seconds to ensure a strong bond between them- you can also use one or more rubber mallets if needed! Make sure that the joints are flush against each other with no gaps between bricks or protruding adhesive! Just be careful when working around edges especially since they might still be a little moist – too much pressure can cause them to crumble easily!
You can also use a brick clamp to hold the bricks in place if you have one.
5. Allow the glued bricks to dry
You should NOT see any excess mortar stuck on bricks where they meet- this will cause gaps that are very difficult to fill later! If there is some leftover, feel free to remove it now with a trowel or scraper before it dries completely and becomes impossible to do so without damaging bricks themselves.
Now that everything is all set, you should allow the bricks to dry overnight before using them in a specific project. Be patient with everything and you’ll have an awesome project in no time!
FAQs
Can you use Gorilla glue on bricks?
Yes, Gorilla Glue is flexible and strong enough to be applied to small flat surfaces. You could even use it on a brick wall for certain projects! It won’t work as well as mortar because it doesn’t adhere to large expanses of materials readily, but it’s still very useful in certain circumstances.
It’s recommended that you always wear gloves when handling Gorilla Glue so that your fingerprints don’t show up on the surface after the glue dries. Clean your hands with soap and paper towels after finished applying the glue too. And if you’re using any other type of adhesive, wait at least 24 hours before you paint over the area or try putting up wallpaper or other decoration – give everything time to dry completely first!