
Do you need to glue granite together? If so, then this is the article for you. Granite is one of the most popular stones in use today because of its durability and low cost. It can be found in everything from kitchens to bathrooms. However, due to their weight and natural inclination toward moisture, there are some challenges when it comes to installing granite countertops or other types of stone. This article will discuss how to glue granite together with a step-by-step process that will make your next project easier!
How to glue granite together
1. Clean your granite
Cut pieces of granite to the size and shape you want for your project if it’s necessary, then clean the area you are gluing with a wet rag. This will remove any old glue, dirt, or grime from the surface so you can get a strong bond with your glue!
2. Apply the adhesive
There are many types of adhesive to glue granite together out there, however, It’s important to make sure whatever type of adhesive you choose is appropriate for your project needs before moving forward.
- If your project will be exposed to moisture, then use a glue specifically made for stone. These glues are water activated and will bond your granite together very strongly after being wet!
- If you’re glueing something that won’t have daily contact with water or isn’t going into a high traffic area, there are several types of glue on the market including epoxy puttys which can fill gaps in the seam as well as create an adhesive surface between stones.
Once you’ve chosen the glue that is right for your project, you need to follow carefully the glue’s directions for application. Some types of glue need to be mixed together, while others can be used on the glue already on the granite.
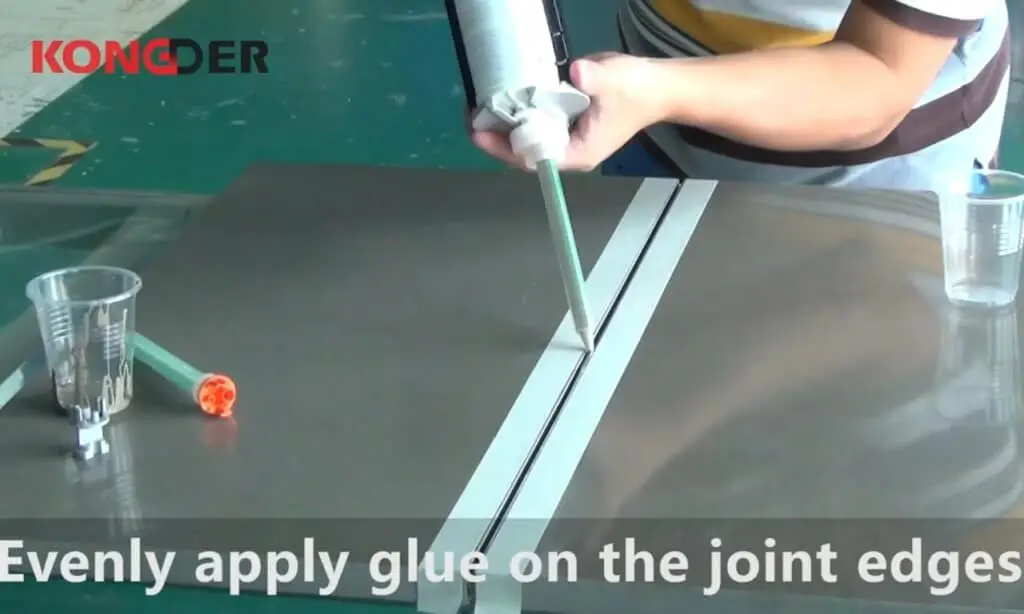
Now it’s time to apply glue to glue granite together!
The best way to do this is by using a glue gun to apply glue on the joint edges. However, if you don’t have one lying around the house then simply use an old paintbrush and brush on your adhesive as evenly as possible. Make sure to glue the entire surface of both pieces.
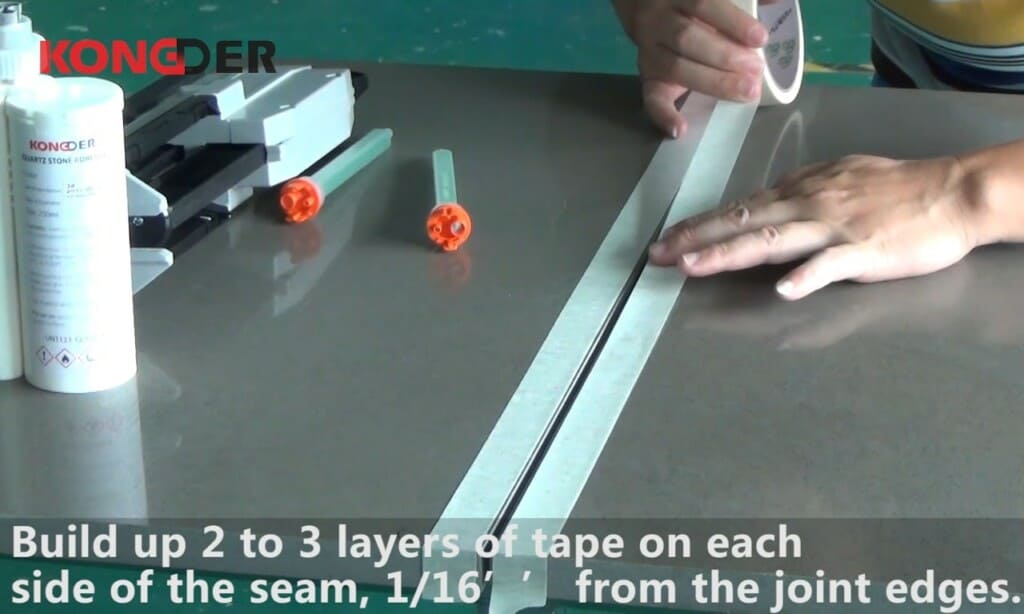
Tips: Before applying the glue, you can build up some layers of masking tape to line on two sides of the seam, this will make clean up much easier later!
3. Press the glue seams together
The next step to glue granite together is pressing the seam tightly together. This will ensure you get a strong bond and no air bubbles between your stones!
Use a clamp to press the glue seams together. If you don’t have a clamp, then try to push them hard toward each other. If your joints aren’t tight enough then air will get in between them and weaken the glue bond!
Check if there are any gaps, then push some more glue into your seams to fill them.
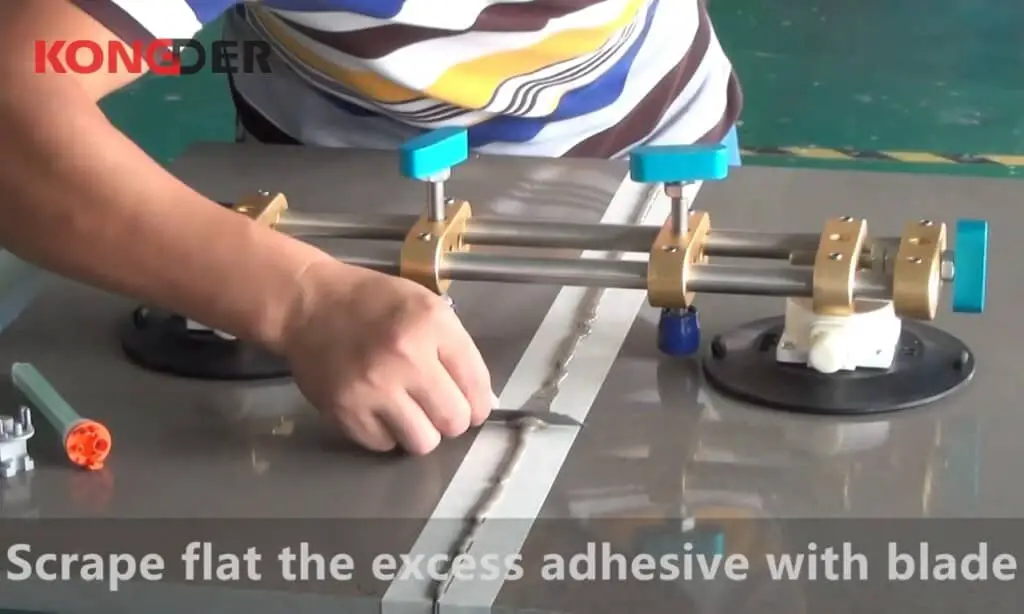
If any glue seeps out while applying pressure, simply scrape flat the excess glue with a blade or anything flat and hard enough. Remove the tapes if you use them in the previous step.
4. Allow time to dry completely
Once the glue is applied to glue granite together, you’ll need to wait for it to dry completely. This may take several hours or even a day depending on the glue used and environmental factors such as humidity levels etc.
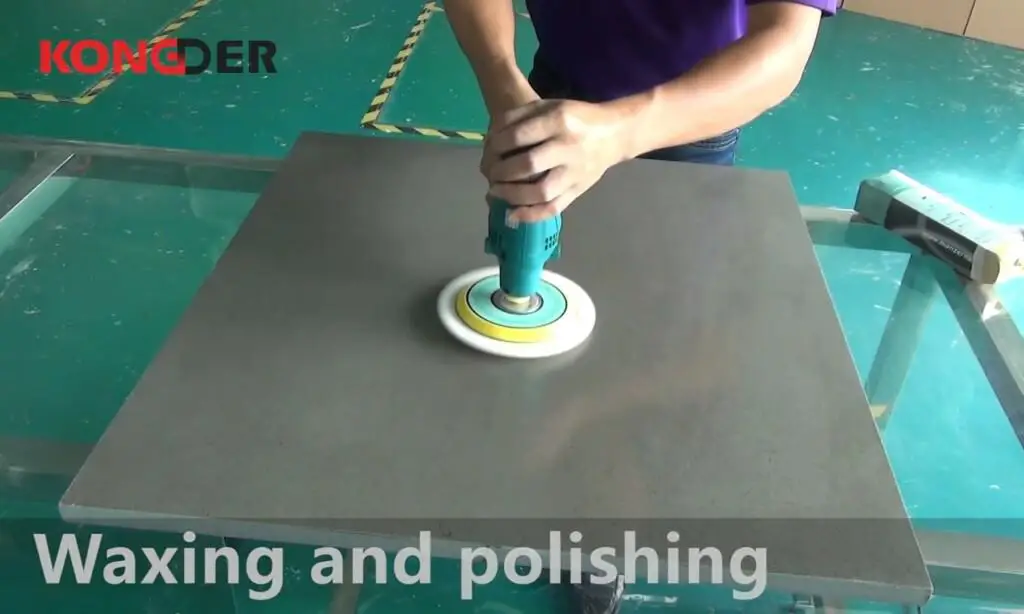
Make sure not to put any heavy objects directly on top of glued seams until they have dried. Once it is fully set, rush flat with a sharp blade to remove excess glue. Sand down the excess glue with sandpaper or a grinder to smooth out glue lines.
That’s it! Now you know how to glue together with glue granite with a step-by-step process that makes the job easier than ever before! Don’t forget to follow all safety precautions when using adhesives, cutting tools, etc. Be very careful not to cut yourself. Always wear protective gloves for protection just in case of an accident happen while applying adhesive glue on stone edges for gluing them together. Granite is one tough material but even materials this strong have their limits so always take every precaution necessary during installation. In addition, never leave any chemicals on top of the surface without proper ventilation as they might cause damage over time.

Thanks to: Miki Xiao
FAQs
Will Liquid Nails stick to granite?
Yes, Liquid Nails is a two-part epoxy adhesive and will stick to granite if it’s given enough time to dry completely.
The idea behind the question was whether liquid nails would be able to stick to such a hard material as granite. The answer is yes, liquid nails is an adhesive and adheres well with anything that does not contain sulfur or chloride vapor at ambient temperature. However, there are specific products for different surfaces that will provide maximum bonds; orange peel texture, metal (tin), paint (enamel), etc.
How long does granite adhesive take to dry?
According to the manufacturer, it can take anywhere from 30 minutes to six hours for the adhesive to dry.
One of the most important considerations is which surface you are applying it to, as some surfaces absorb water quicker than others (meaning drying time will be less). Another consideration is how thinly applied it is; thinner applications mean faster drying times.