Concrete and metal have a reputation for working well together. They are commonly used in various constructions, like bridges or buildings.
These materials are famous for their strength and will become more powerful when combined. It may be challenging to bond with them simultaneously.
How to glue metal to concrete? Let’s look through this article to get guides for the best result.
Things You’ll Need

Before performing this task, ensure you prepare the following materials and tools in advance:
- Glue (Epoxies, Silicones, Urethanes)
- Clean cloth or brush
- Electric trowel
- Rubber mallet
- Safety equipment
Ensure you always have appropriate safety equipment ready before beginning any project.
It would be best if you prepared gloves, a respirator, and eyewear, as adhesives may cause damage to your respiratory system inhaled.
Respiratory gear will also be essential to avoid inhaling cement dust and fly ash, which can irritate the lungs.
In terms of glue, it’s best to select the best products. What is the best glue for metal to concrete?
You can consider three common types: Epoxies, Silicones, and Urethanes. These chemicals will offer a strong and long-lasting connection if correctly applied.
Let’s learn more about them and select the best suited for your task.
Epoxies
Epoxy glue is among the most common adhesives to attach metal to concrete. It is highly versatile for a wide range of applications.
Epoxy resin and hardener are the primary materials making up this epoxy adhesive.
The National Concrete Masonry Association states that epoxy adhesive is safe to apply on fiberboard-filled concrete.
The ideal temperature for this adhesive is over 180℉, and the pressure should be at least 60 psi.
Silicones
Due to their excellent adhesion, silicone glues are perfect for attaching metal to concrete.
Additionally, silicone is versatile and resistant to brittleness at extreme heat. It is still possible to remove it afterward using pressure and heat.
Because of this, the siliconized surfaces don’t need to be sealed, and the finished bond is impervious to moisture.
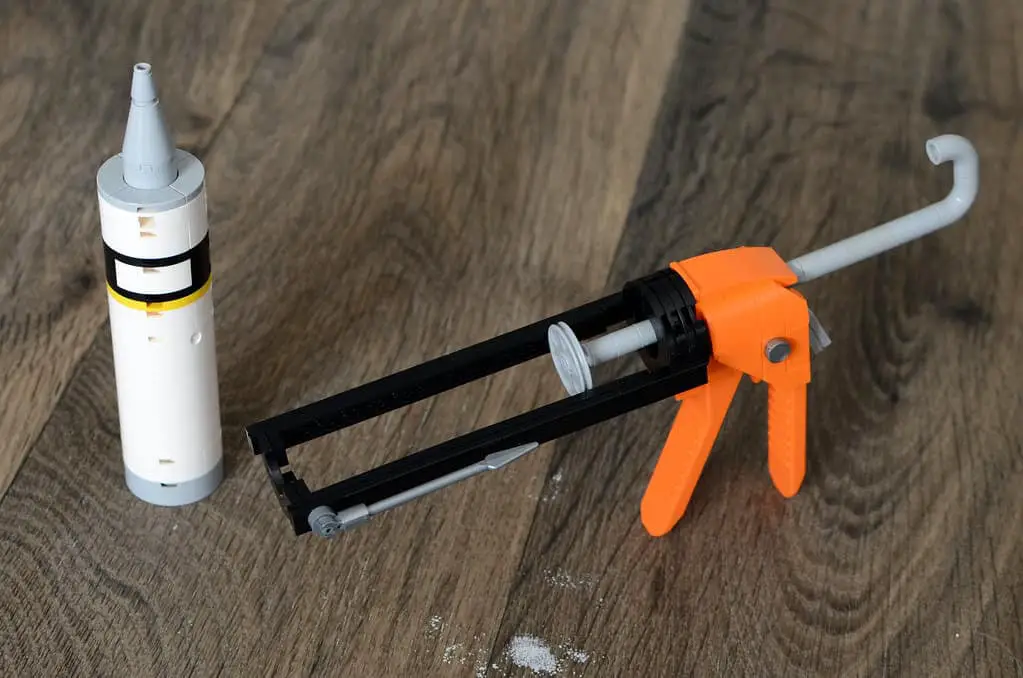
You can easily apply most silicone adhesives with a caulking gun or other similar function tools.
Urethanes
Urethanes also have benefits similar to epoxies but boast longer response times and better flexibility.
Additionally, urethanes work well with fiberboard because they feature fewer disadvantages.
The popular type of adhesive is the two-part glue that requires heat to cure.
This adhesive type is known as aromatic urethanes. It thermoses and sets at room temperature.
You can apply it to the concrete after mixing. However, this type will cure within around one hour.
How To Glue Metal To Concrete: Step-By-Step Instructions
Once you’ve selected the most suitable adhesive for your project, it’s time to attach the two substances. Follow the steps below:
Step 1: Prepare The Surfaces

It is essential to clean the surfaces of the materials before using the adhesive.
This step will make the adhesive bond better. You can use a clean cloth or brush to remove dirt, debris, or dust from the surfaces.
Step 2: Consider Potential Hazards

It’s crucial to be conscious of the risks associated with using the wrong kinds of the adhesive before the gluing process.
An attack with chemicals is the first danger. Many adhesives respond with concrete and create toxins.
Moreover, it may cause a fire. The concrete around the bond may melt when it gets hot enough, creating a fire risk.
The third hazard may be heat shrinkage. The adhesive may shrink and compress as a result of the heat from the cement response, becoming more thin and susceptible to break.
Step 3: Apply The Glue

If you use urethanes or epoxies, you can consider an electric trowel, a specialized tool for concrete construction.
Before bonding, it’s better to drill a hole to create a firmer attachment between the two materials.
Spray water into the holes to remove all dust before gluing. Use a clean cloth to remove the remaining dust.
Attach the two substances using a rubber mallet. Apply glue to the drilled holes after inserting them into the concrete holes.
Put adhesive around every hole.
Step 4: Wait For The Adhesive To Dry Completely
After using the adhesive to attach the materials, you need to give it some time to dry. Allow epoxies 24 hours and urethanes 12 hours to dry completely.
It’s crucial to fully cure the adhesive once the set period has passed to prevent it from softening while being used.
If you use specialized urethane, using a heat gun to cure it firmly in the right conditions is a great idea.
If you use epoxy, a heat gun will be helpful to cure it at around 120℉. If you don’t know how to use this tool, you can refer to this video:
FAQs
1. Will Gorilla Glue Work On Metal To Concrete?
The answer is yes! Gorilla glue is a moisture-activated polyurethane adhesive that works well on various materials, including these two materials.
2. What Glue Will Stick To Concrete?
You can consider Loctite Extreme Glue Gel. It comes with Flextec technology and a versatile formula, which allows it to bond materials quickly.
3. What Glue Works On Concrete And Metal?
Adiseal is one of the most versatile adhesives working well on these materials as it’s a high-strength glue.
4. Will Liquid Nails Glue Metal And Concrete?
The short answer is yes! Liquid Nails products are created to glue surfaces, including these substances.
5. What Is The Strongest Epoxy For Metal?
Devcon Plastic Steel Epoxy is one of the most potent adhesive types and is suitable for all metals.
It features a steel alloy with a superior ultimate tensile force of 2,600 psi.
The Bottom Line
It is not as challenging as it might appear to glue metal to concrete. You’ll be able to achieve it with the appropriate methods and tools.
Hopefully, you will succeed in performing this DIY project with our step-by-step instructions. Thanks for reading, and see you in the next post!
