
I guess you are looking for the answer to the question “how to glue metal to metal”? Metal is a wonderful engineering material with lots of great properties. But one downside to metal is that it doesn’t always hold together well, especially when you want to join pieces so they are stronger than the sum of their parts. We have some good news for you though: there’s an easy solution! The key is using the right type of glue that can be applied either as liquid or paste and will bond tightly between two surfaces with minimal gaps, which means less chance for leaks and more strength overall. In this blog post, we’ll show you how to use the right adhesive for your project and what kind of projects work best with this technique.
Guide to glue metal to metal
1. The most important thing to remember when gluing metal together is that you need a good, strong glue.
Choosing the best glue for your metal is essential. Metal glues are generally in three categories: adhesives, epoxies, and superglue.
- Adhesive glue works well with any type of material that doesn’t have lots of tiny grooves or pores on its surface since they tend to seal those off which leaves less room for bonding materials between it and whatever you’re working on.
- Epoxy glue has an extra chemical compound mixed in so when applied both components become fully cured faster meaning more time can be spent actually constructing what needs to happen instead of waiting around doing nothing only needing five minutes here or there during various stages throughout construction before having to wait another hour just to glue something else.
- Superglue is good for very quick fixes or making small repairs but it’s not a strong as adhesive or epoxy and there are special types of glue that super glue can’t adhere to . You can see how does super glue work here
2. Make sure your surface is clean and free of dust
Dust off your surface by hand or use a degreaser to remove all particles from the area being glued so it’s clean and clear of any debris that could interfere with bonding surfaces together.
However, be careful when cleaning these areas as certain abrasives may damage sensitive edges or cause microscopic scratches which will leave fewer places for glue to adhere too during application.
Notice – Use an oil-free metal cleaner if the glue you’re using is not compatible with oils.
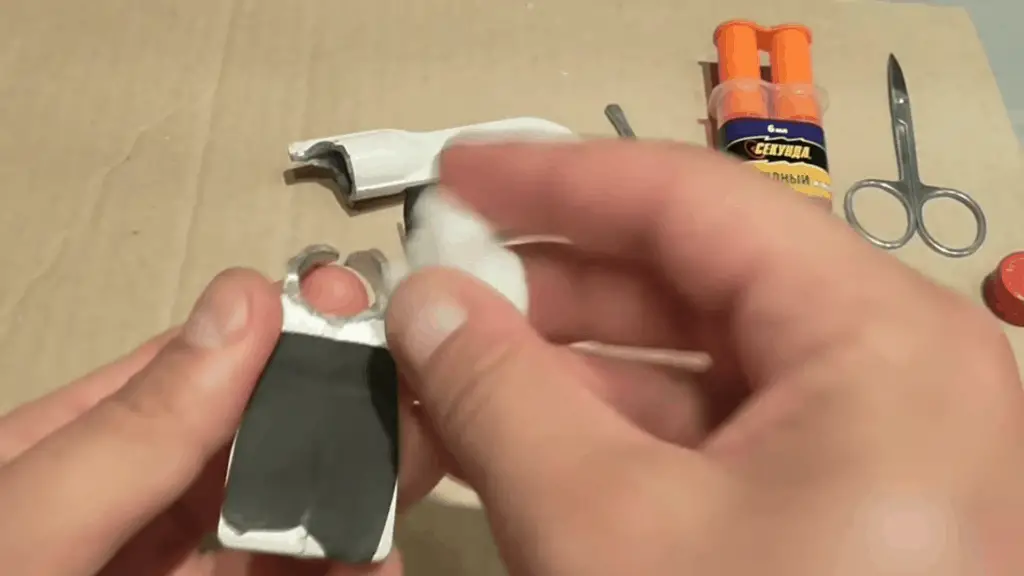
3. Apply glue to both pieces of metal and spread evenly over surface
Apply the glue with a paintbrush or roller to ensure that it is evenly spread out with a thin layer. If glue has been applied too thickly, it may not cover the surface of both pieces well enough to find a good bond with each other which will leave air pockets that lead to leaks or defects.
You can put masking tape around any areas you don’t want to be glued so they don’t get stuck in place.
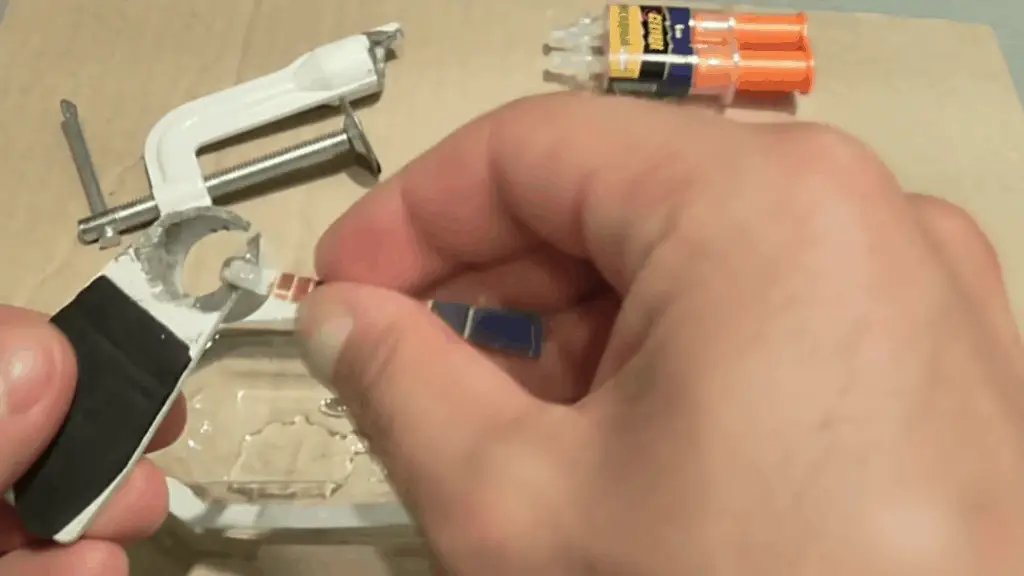
4. Place the pieces together, making sure they are aligned correctly
Join your pieces together carefully, press firmly across all surfaces, and hold them together for 10-15 seconds until everything has been joined securely in place.
Place a weight or clamp on the pieces to hold them in place as they bond together for best results.
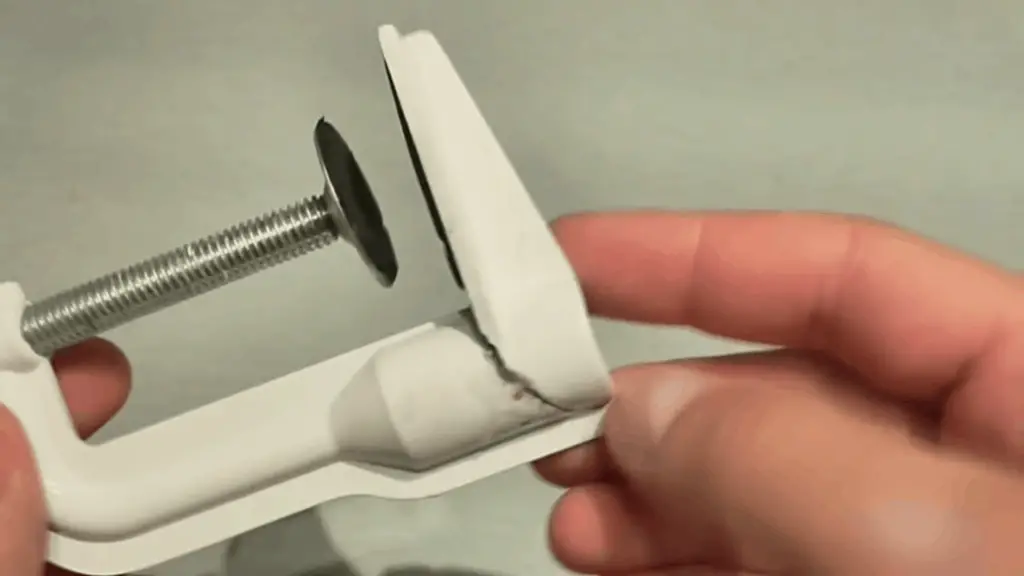
5. Allow adhesive enough time before moving object once it has been glued together
Allow gluing enough time to cure before handling the object as it will be more fragile and less durable until fully cured. Leave it alone for at least 24 hours before touching the glue joint again.
You can see the video below to learn more about how to glue metal to metal.
Related articles: