
When aquascaping a tank, marine aquarium enthusiasts usually use dry rock or live rock to create a foundational reef structure. They cover its bottom with hand-crafted stones, so the aquarium takes on a unique custom charm.
How to glue rocks together? The task includes four effortless steps that beginners can follow easily:
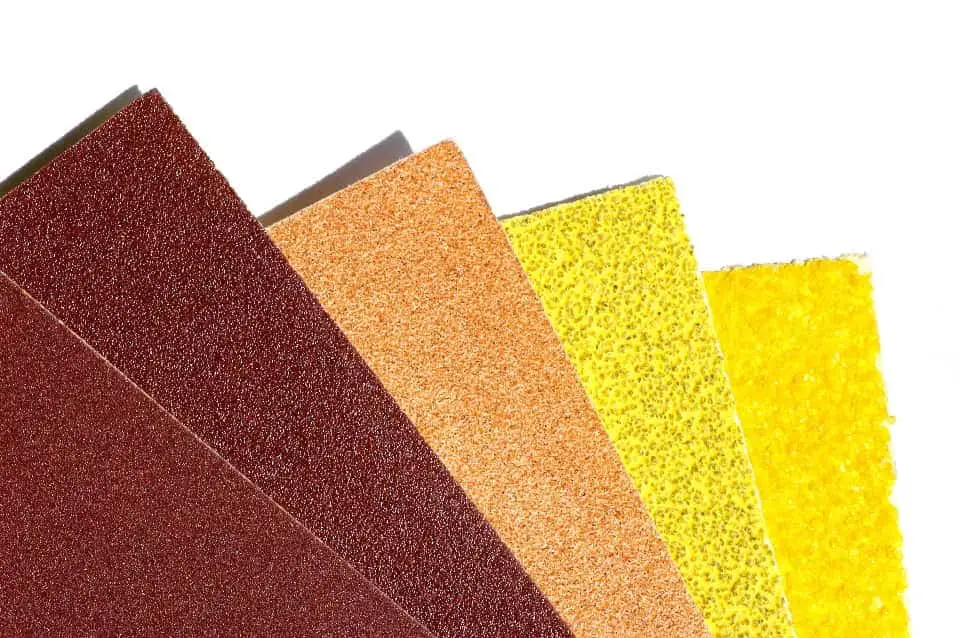
- Sanding
- Prepare the ventilation
- Work with glue
- Let the glue dry
Now is the time to delve into the step-by-step guide on gluing rocks together. Gluecare will also answer some typical questions relating to this topic.
Things You’ll Need
Before jumping into the process, you need to gather the kits below:
- Rocks
- Sandpaper
- A tablecloth
- Adhesive
Gluing rocks together calls for a strong glue suitable for the finish. Jewelry glue excels at small projects, whereas large projects with heavy rocks require another stronger product, like a constructive epoxy.
Whichever glue you pick, read the instructions carefully to guarantee the best result.
How To Glue Rocks Together: Step-By-Step Instructions
This thorough guide shows you how to glue rocks together for aquascaping and other decoration purposes.
Step 1: Sanding
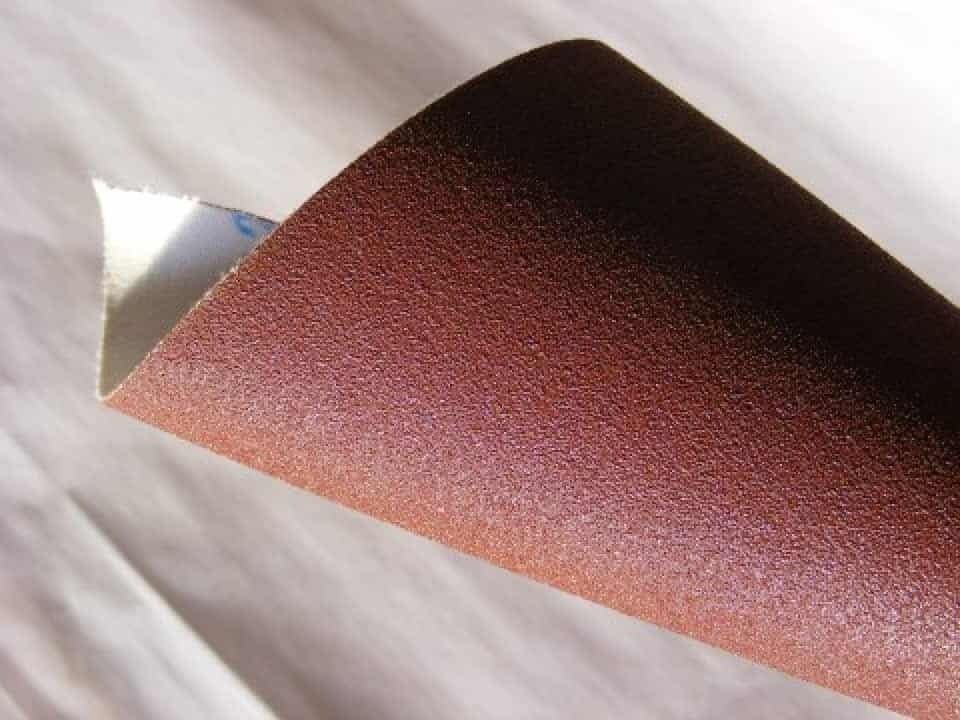
Sand the spots where the rocks meet using fine-grit sandpaper so you can gain a better adhesion. Then, wipe off the dust with a clean cloth.
Step 2: Ventilating
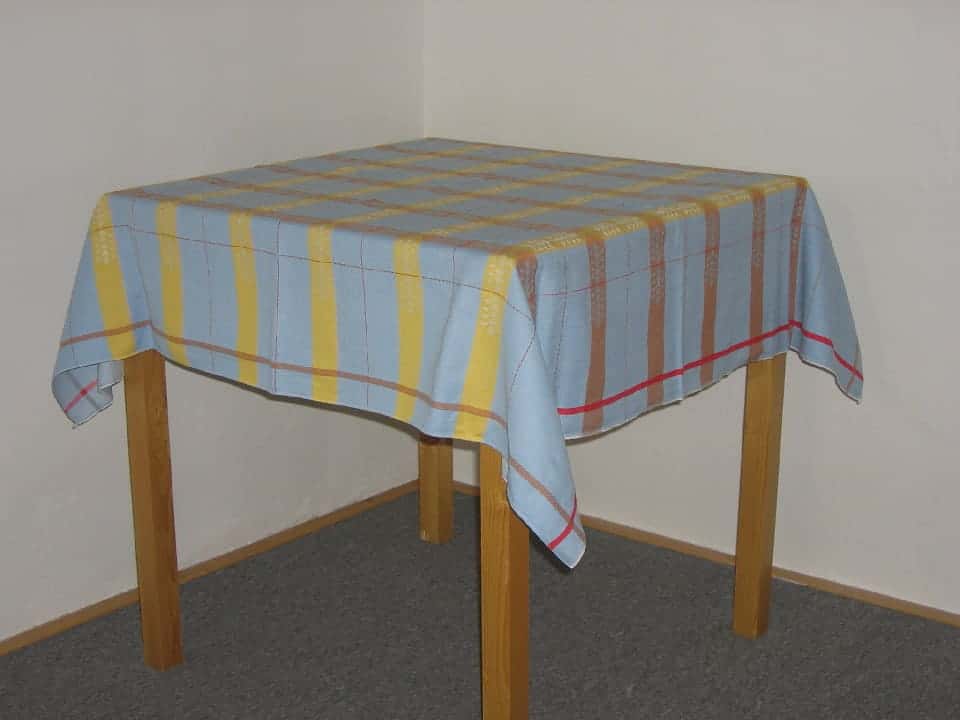
A tablecloth will help with ventilation.
Provide the work surface with a well-ventilated environment using a plastic cloth. Place the adhesives and stones on top of the tablecloth.
Strong glues will emit exceedingly strong fumes. Thus, it’s necessary to ensure effective ventilation.
Step 3: Apply The Glue

If you’re using a dual-part liquid epoxy, you’ll need to pour each part in an equal amount into a paper container.
Next, apply the adhesive to the rocks with a small cotton swab or brush.
Rocks may slip if you use liquid glue, so place them in a stable position where they can’t move. You can bind the stones together using painter’s tape.
Should you be working with a dual-part putty adhesive, knead each part in an equal amount into a paper container until the two colors blend well with each other.
Position a tiny piece of putty between the rocks, then press them together.
If you’re using jewelry adhesives or superglue, add a scanty amount to small bond areas of a larger amount to bond larger surface areas.
Step 4: Let The Adhesive Cure

Wait for the bond between rocks to cure completely. The product package will tell how long it takes the adhesive to dry.
Superglue can dry within minutes, whereas jewelry adhesive and epoxy resins may take a few hours.
FAQS
The topical question aside, many home craftsmen have also made inquiries about how to choose the right adhesive for this task and the suitable adhesive for natural rocks.
How To Choose the Right Adhesive?
Concerning epoxy for rocks, epoxy putties will be an excellent option as it allows you to set the rocks and control the sticky before they solidify.
Like clay, the downside to using putty is that it arrives when treated.
Meanwhile, liquid adhesive resins are both complicated and straightforward, bonding stones that don’t fit well with each other. It may induce some rocks to look wet in the applied area.
On the other hand, special jewelry glues and super adhesives function accurately where small bonds should be, like gluing sleek, small gems on top of a big-sized cultured stone on a necklace.
Most products still offer flexibility when treated, while some will dry rocks hard completely. It’s better to check the package labels for specifications in advance.
Every type of glue comes with upsides and downsides. When choosing adhesive, you need to consider your project’s size and material to figure out the right one to apply.
What Is The Best Adhesive For Natural Rock?
The epoxies for natural rock tiles are plentiful. They will all yield efficiently and fast applied, sturdy, and charming tiling if used correctly.
We’ll clue you into the two most common types of epoxies for natural rock tiles.
The first to mention is a cement-based adhesive, also called mortar. This type comes in two small sorts: thick bed and thin-set tile glues.
You can use them for sticking most natural rock tiles together, provided that they’re non-porous like granite and marble. The popular color selections are grey and white.
The second type of adhesive for natural stones is construction epoxy, one of the strongest sticky products on the market.
With the proper formulation, strong-construction epoxy applies so well to natural rock tiling. These products are usually flexible, making them perfect for outdoor tiling.
Conclusion
Creating beautiful sculptures and playing around with rocks is far from difficult yet so much fun if you know how to glue rocks together.
With the right kits and smooth stones on hand, you can conjure up a lot of stunning decoration projects and bring a rustic vibe to your house.
We’re looking forward to seeing your beautiful DIY results!
Related post: