Puzzle arrangement is a great pastime and stimulates creativity very well. Completing a job always gives us an unprecedented sense of excitement.
To preserve the blocks for a long time, gluing them is the most accessible method. So, how to stick together a puzzle? Please follow these steps:
- Flatten the puzzle.
- Glue the front side.
- Glue the back side.
- Frame and display the puzzle.
For more detailed step-by-step instructions, read the article with Gluecare!
Things You’ll Need
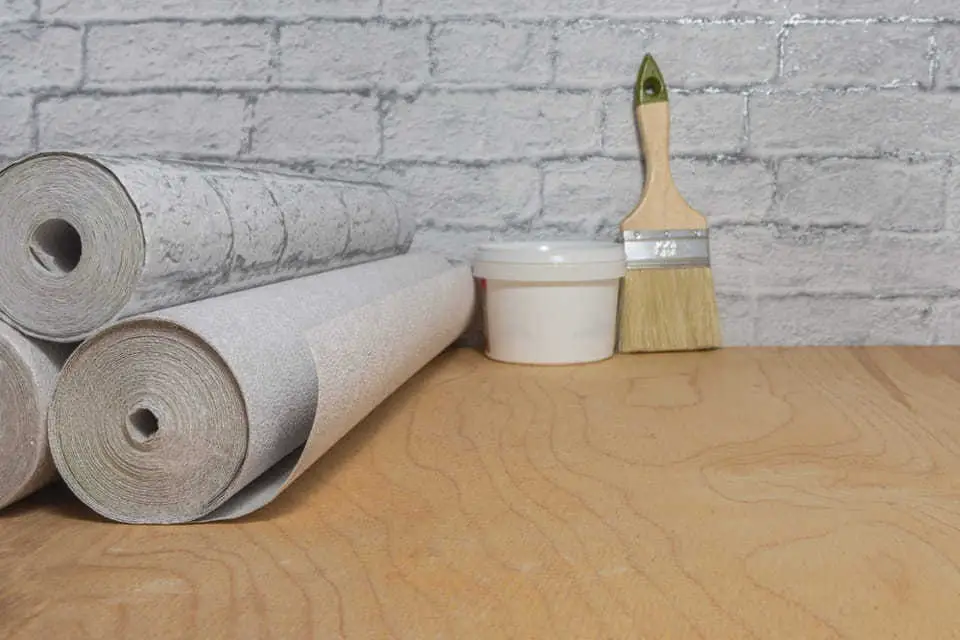
Before entering the formal process, you need to prepare the following tools. They will assist in the process of gluing your jigsaw.
- A complete jigsaw puzzle.
- Puzzle glue.
- Paintbrush (or sponge).
- Wax paper (or parchment).
- Rolling pin.
Selecting the type of adhesive plays a significant role.
While you have a wide variety of adhesives on the market, not all of them are right for your gluing project. It is best to choose liquid glue because of its ability to spread quickly and at an affordable price.
Craft glue has a formulation that combines lacquer with an adhesive. It has the effect of joining the blocks together and creates a transparent, glossy layer after drying.
How To Glue Together A Puzzle?
After we have prepared all the materials, we will enter the official process to fix the puzzle. “Let’s get started!
Flattening The Jigsaw Pieces
Thoroughly clean your work area before attaching work. It will keep the process going smoothly and won’t let the adhesive be all around.
There are often tiny gaps in between the pieces. You don’t want the adhesive to seep through and land on the table. If left for too long, your work may stick to the table.
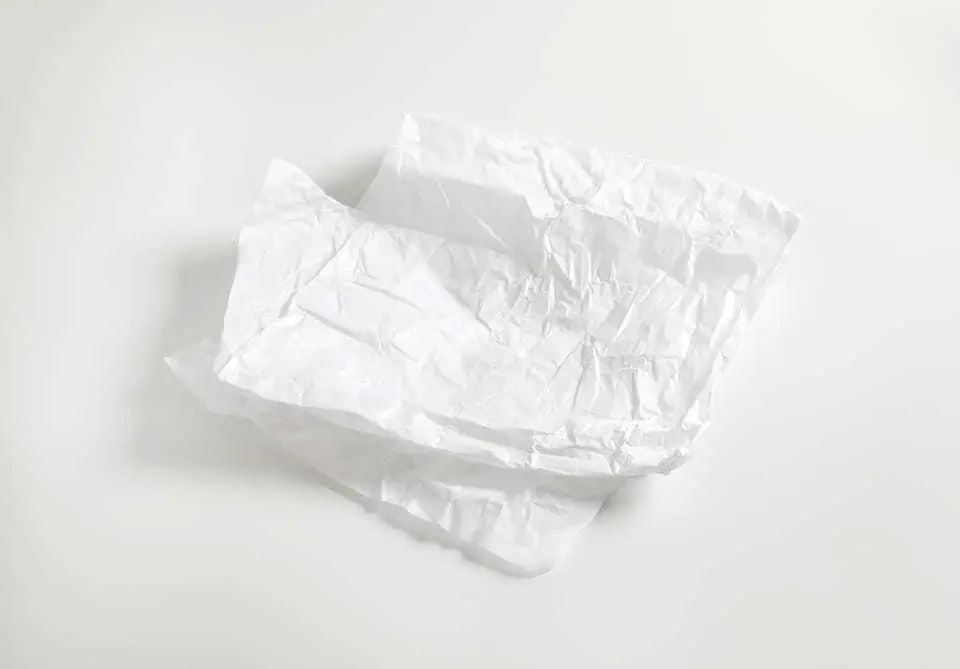
It is best to choose parchment or wax paper to line the bottom of the work.
Brush off any dirt and lint from your jigsaw pieces. Use a rolling pin to flatten it as much as you can. No one will like their work to curl to one corner after completion.
Gluing The Front Side
After making sure your jigsaw is flat and clean, start applying the adhesive.
The central area is the best place to start. It allows you to spread the adhesive evenly to all corners of the work. Do not put too much glue because it will make the bond uneven if you are not quick.
Use a sponge or paintbrush to sweep the adhesive all over the flat surface, adding a little bit at a time.
You can also use a plastic spoon, business card, or other flat objects to spread the glue evenly if you don’t have a paintbrush available. But these tools are easy to stick to the adhesive and will cause trouble later on.
When touching the edges of the picture, you will sometimes see a little excess glue. The way to remove them is to push them away from the edges with the tool you’re using.
Give your artwork time to dry. It’s better not to move it because now the links are fragile and can break at any time. Depending on the adhesive, they will have different drying times.
Gluing The Back Side
Gluing the back side is an optional step in the process. Follow the instructions if your work is too large and you need to add some solidity before displaying it.
It would help if you used a piece of cardboard under the puzzle to provide stability before flipping. With models that are too large, ask for help from many people.
Continue lining the parchment or parchment paper under the picture to ensure the glue doesn’t seep underneath.
Apply puzzle adhesive to the center of the image and use a paintbrush to spread it evenly.
When you reach the outside edges of the corners, you’ll likely have some glue left over. Use your paintbrush or sponge to push this glue away from the puzzle’s edges and onto the parchment.
Let it dry. Usually, it can take from a few hours to 24 hours to make sure the glue is completely dry.
Framing And Displaying The Puzzle
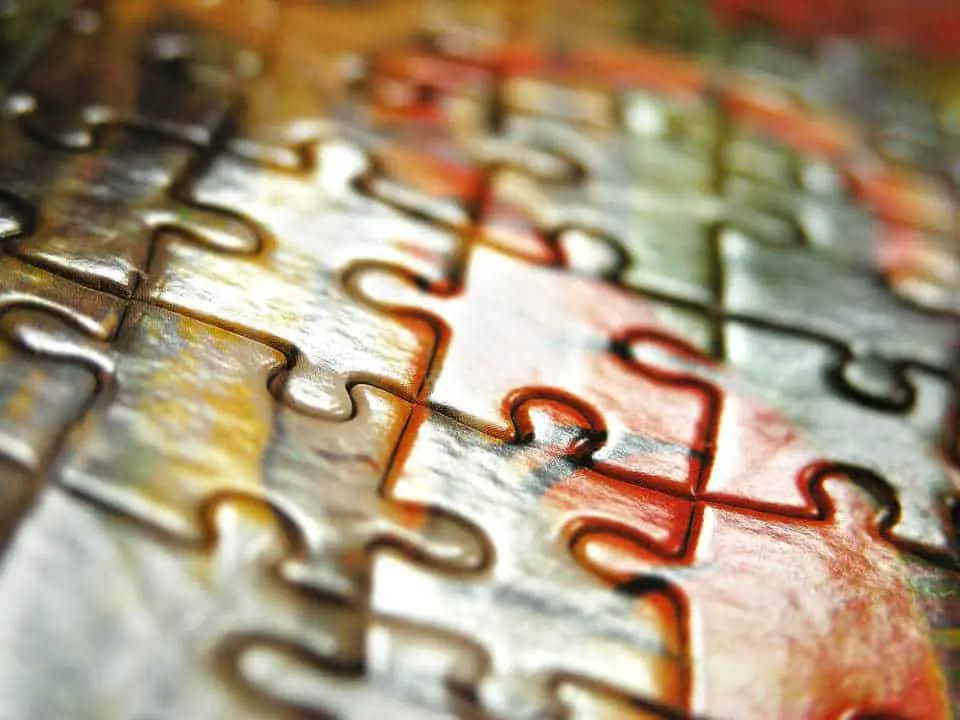
Once your jigsaw has come together, please attach it to a foam board before framing. Without this step, your artwork will warp and break over time.
Loosen your jigsaw board from the cardboard, lay it face down on top of the board, and trace the outline around with your pencil. This step allows you to align whether the board needs to be expanded before hanging.
Select a suitable frame. Ideally, the frame size should be larger than your jigsaw. You need to measure this number precisely because it affects other stages.
Apply adhesive on the board where you want to fix the work. Make sure the coating is even when finished. Gently place the puzzles up and down so as not to move them too much.
To ensure a strong bond between the flat block and the board. Block a few heavy objects and let them dry for 24 hours.
Once the work is dry and solid, hang the painting, and you can admire your work.
Frequently Asked Questions
To learn more about how to glue together a jigsaw puzzle, read on.
How Do You Frame The Puzzles Without Using Frames?
Sometimes, buying picture frames is an unnecessary expense on your spending list.
If you mount your work without using a picture frame, the overall will be very monotonous and do not guarantee the durability of the adhesive. You can follow the instructions below to make a photo frame yourself at home.
You can watch this video for more details.
How To Glue Together A Wood Puzzle?
The process of gluing and gluing a wooden puzzle is quite similar to that of a classic puzzle. All you need to be aware of is that it is heavier and will require the assistance of others to move the work.
The steps include:
Prepare tools and clean the work area.
Flatten and clean the work.
Glue on the front and back.
Frame and admire the work.
Puzzle experts recommend using clear dry glues. These are the best glues for gluing puzzles. You can also use epoxy resin to glue your puzzles, but the material is challenging to use.
Final Thoughts
We hope this article helped you to know how to glue a puzzle together for framing. A splendid jigsaw puzzle looks like an actual work of art. You can completely surprise the guests who visit your home and marvel when they see it.
Thank you for reading.
Related article:
- How to Glue Fabric to Wood: Effective Materials and Methods
- How To Glue Plywood Together? 9 Easy Steps With The Best Glue
