
Plywood is an ideal material for most construction projects. It is a result of thin wood layers glued together. This gluing process will make plywood a trustworthy material for building thicker, more robust, and lightweight constructions.
How to glue plywood together? Gluecare will help you stick plywood together step by step. Let’s figure out some tips right below!
- Tools & Materials
- How To Glue Plywood Together?
- Step 1: Prepare the workstation
- Step 2: Choose the exterior sheet of plywood
- Step 3: Apply the suitable adhesive
- Step 4: Spread the glue on the sheet of plywood
- Step 5: Lay the second plywood sheet over the first sheet
- Step 6: Clamp these plywood sheets
- Step 7: Drive the screw
- Step 8: Take off excess adhesive
- Step 9: Allow the adhesive to set
- Step 10: Finish the project
- FAQs
- Conclusion
Tools & Materials
How to attach plywood together? You cannot complete the task if you do not prepare the right tools and materials for this project. Here are some things you should have:
- Brayer or roller
- Wood glue
- Drill
- Drywall screws/wood screws
- Sawhorses
- Plastic putty knife
- Plywood
- Work gloves
- Safety glasses
- Clamping cauls
- Plastic sheet/newspaper
- Work gloves
- Safety mask
- Safety glasses
- Spare wood
How To Glue Plywood Together?
After preparing essential tools, it’s time to start your work. Remember not to miss any information if you want the best result.
Step 1: Prepare the workstation
The first thing you need to do is to prepare the workstation for your plywood. It will involve some activities, ventilating this workstation for example. Clear away anything such as dust that could trigger obstruction.
How do you glue plywood together? Put on heavy-duty gloves, a protective mask, safety eyeglasses, and one coverall. You will never know when and where the glue can stick on your body.
Step 2: Choose the exterior sheet of plywood
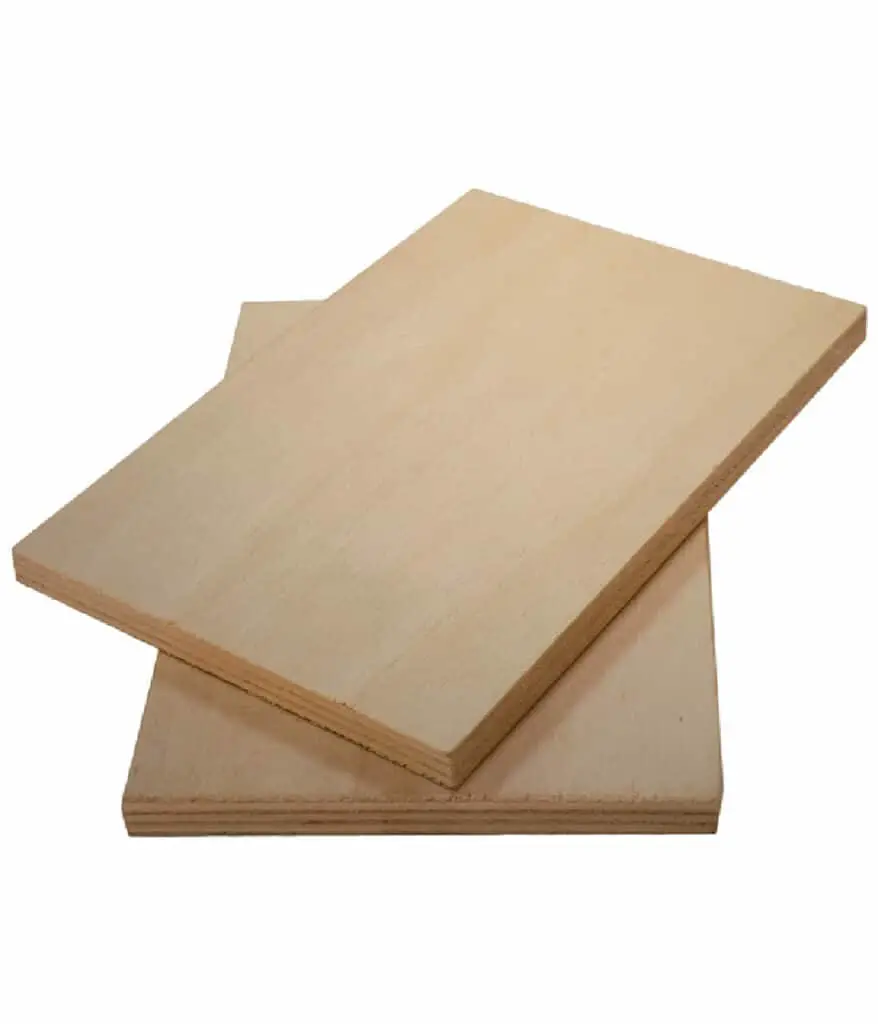
It may not be a big problem, but choosing the exterior sheet of plywood is better. Among many plywood sheets, it should be the most beautiful and sturdy one.
Step 3: Apply the suitable adhesive
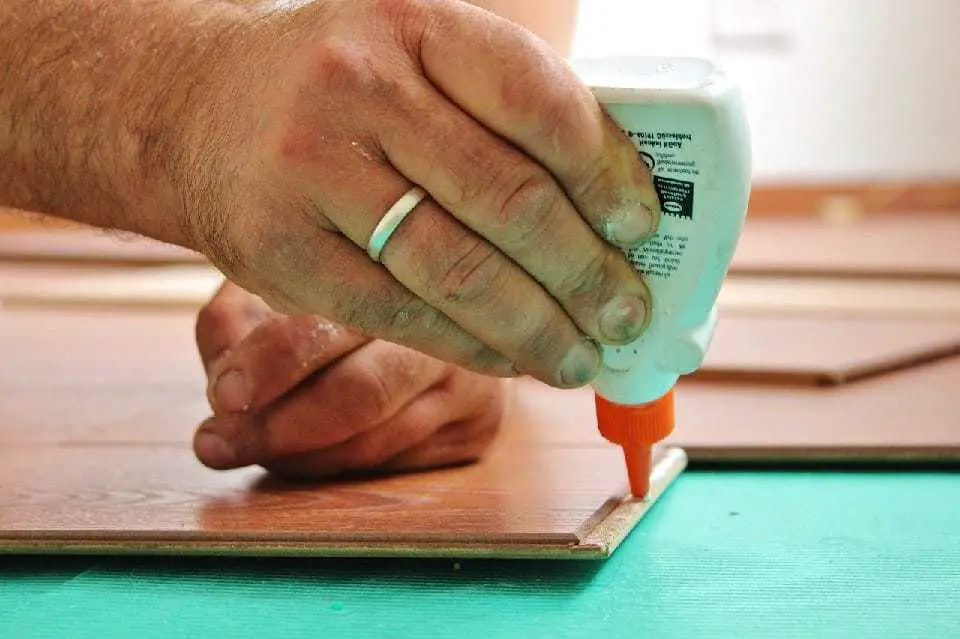
Not all types of adhesive will work with wood material. Then, you need to pick up suitable glue.
Take into consideration the right amount of glue for plywood sheets. Too little may not result in a firm hold. Also, too much may cause a slippery texture. As a result, it can take more time to clamp.
How to glue marine plywood together? There are no specific methods to glue pieces of plywood, given that just enough can stick all works together. But you do know how to apply; you can follow zigzag or slight wavy lines.
Step 4: Spread the glue on the sheet of plywood
To spread the adhesive on every cm of the plywood, you should choose one of three tools to do the job:
- a brayer
- a roller
- a squeegee
Make sure you prepare enough glue to spread a smooth layer on one side of the plywood. This action will help you lay the next sheet of plywood firmly.
Step 5: Lay the second plywood sheet over the first sheet
After you finish gluing the first sheet, move to the next one. How to glue two plywood together? Lay the second sheet over the first one and keep doing it until the final.
There are chances you can introduce some air when layering the second sheet of plywood. A pro tip that can help you is to put the scrap stick on the glued side and then place the second sheet on these sticks.
Next, slightly remove these sticks one by one. Consequently, the plywood sheet can gently land on the glued side and minimize the number of air bubbles.
Step 6: Clamp these plywood sheets
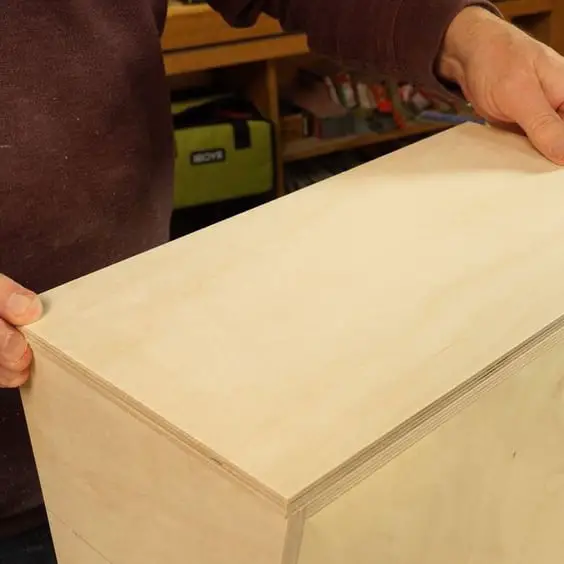
Once you glue all sheets of plywood, it’s time to clamp these sheets. Always make sure all edges get perfectly aligned before connecting them.
There are a variety of clamps that you can utilize to stick the sheets together while the glue becomes dried.
You can take advantage of cauls to apply pressure to large pieces of plywood. It is better to lay wax paper on the plywood sheet to avoid any clamping marks.
Step 7: Drive the screw
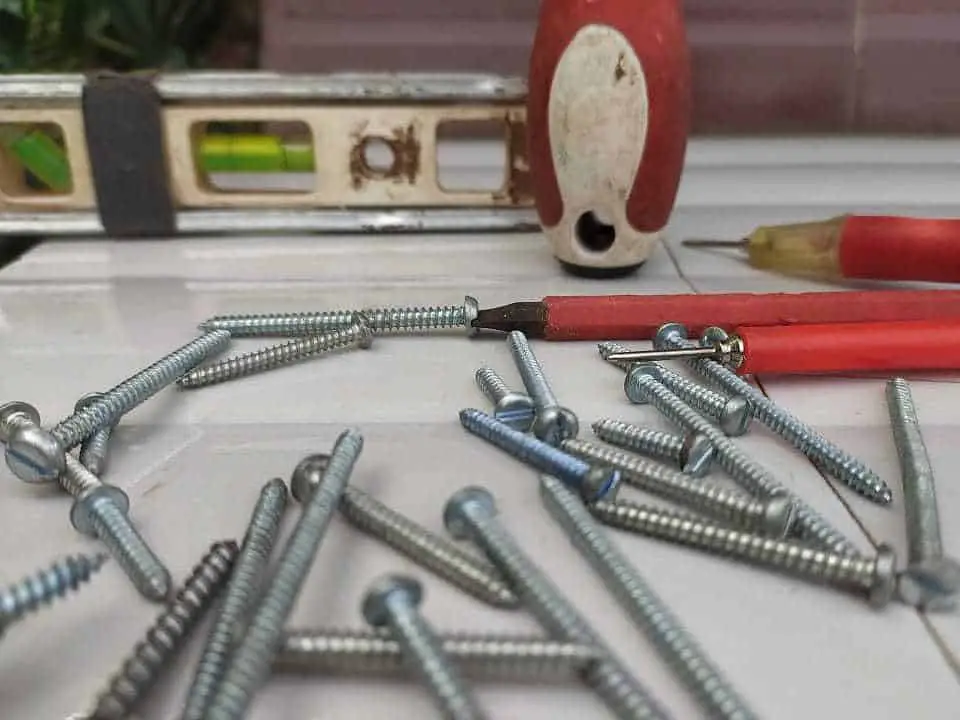
How to glue plywood sheets? It is popularly acceptable for you to screw these sheets together while the glue gets dry. You can utilize either the wood screw or the drywall screw for this step.
Step 8: Take off excess adhesive
It is crucial to clear off excess adhesive sticking out from the glued plywood. You can clean the adhesive with the damp to take off all glue traces.
If the plastic putty is available, you can use it to remove excess dry adhesion.
Step 9: Allow the adhesive to set
The glue will not dry right away after you apply it to the sheet of plywood. In other words, you will have to allow the glue to set for a firm hold.
Step 10: Finish the project
If you like the appearance of plywood, you can ignore this step. The reason is that this step will require you to put on one protective coat. While plywood is a reliable material, it is likely to wear and tear in the future.
Here is the video that will help you glue plywood together:
FAQs
This section is for someone who wants to dig for more information about the gluing process of plywood.
What is the best glue for plywood?
Polyvinyl acetate is one of the best wood glue. It comes in white and yellow color.
Other options are polyurethane glue and urea-formaldehyde.
Can you utilize contact cement to glue plywood together?
The contact cement is a bad idea to glue pieces of plywood together.
Instead, utilize a waterproof glue for plywood that often has exposure to water and humidity – for instance, the Titebond ii for the interior projects and the Titebond iii for the exterior one.
Suppose you need to avoid the plywood from becoming deteriorated or rotted; waterproof it. You can use one combo of sealant and oil or simply silicone caulk.
Conclusion
Once you complete reading all the instructions, it’s time to carry out the plywood project right now.
You will realize that gluing plywood is crucial as it gets involved with repairing the furniture, bookshelves, cabinets, subfloors, house roofs, desks, and many other structures. You have to ensure that you choose the proper plywood type and the appropriate wood glue.
Hopefully, you have found the article helpful. Thank you for reading!
Related article: