
Felt is a fabric made by matting, condensing, and pressing wool fibers together. It can be used to cover the surface of furniture or other items to provide protection from bumps and scratches. Felt can also be used as padding in some chairs and sofas.
If you’re looking at how to glue felt to wood, then this article is for you! From start to finish, I’ll walk you through how to get that perfect bond. Be sure to follow the steps closely, and your project will turn out just how it should!
Guide to glue felt to wood
1. Gather your materials
With almost any project, it’s important to make sure you have everything you need in hand before you start. If you don’t, then your project can take longer than needed and chances are high for problems to arise. Here’s what you’ll need when gluing felt to wood:
- Glue
- Wood boards
- Sheets of felt
- Scissors or X-Acto knife
- Paintbrush or a foam paint roller (for applying glue to the felt only)
- Ruler or tape measurer (to ensure proper stretching of the fabric in all directions)
- Pencil and eraser (helpful, but not necessary)
- Sandpaper (helpful, but not necessary)
You’ll need to pick out your particular glue depending on the size of your furniture (whether or not you plan to cover the entire piece), whether or not you’ll need to be waterproof and how long you want the bond to last (more on that later).
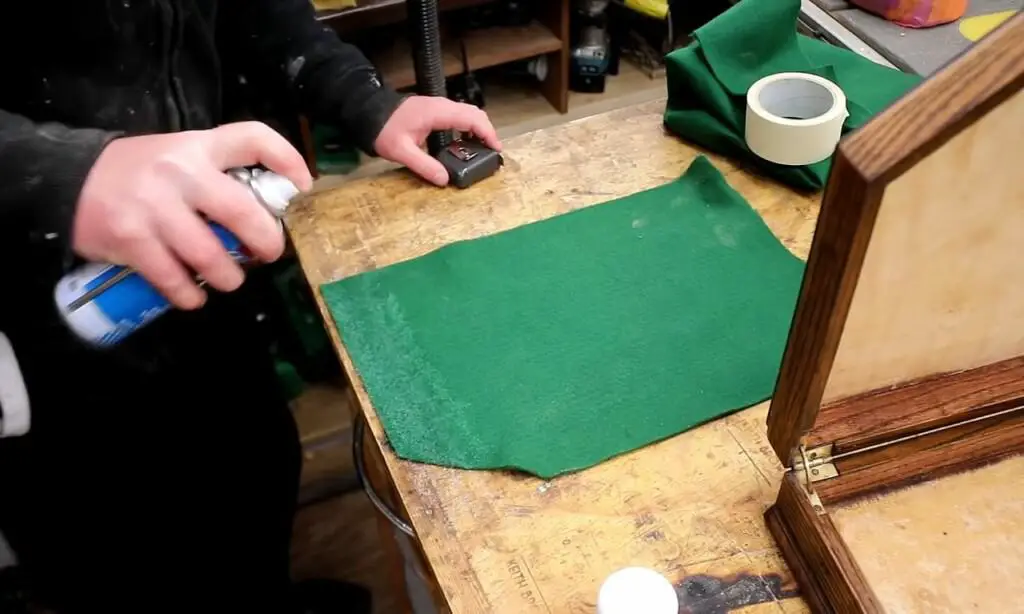
- If you’re covering a large piece of furniture with felt (like an entire couch), you should use spray adhesive or contact cement.
- If you’re just covering a small part of the piece, you can use rubber cement or a hot glue gun for temperature bond and placement options. The benefit of using rubber cement or hot glue is being able to easily remove the felt from wood when you no longer want it. If you need a stronger bond you can use epoxy, which is stronger but takes longer to dry.
- If the furniture isn’t waterproof or if it’s for decoration only, then hot glue is your best bet. Glue is strong but has its limitations—it is not intended to hold up against water damage.
You may not need all these things, but it never hurts to be over-prepared! Glue, scissors, wood board, and sheets of felt are practically a requirement. Once you have your materials gathered, set up your workspace and you’re ready to go! Glue felt to wood whenever the conditions are right and are sure to follow these steps.
2. Prepare the felt and wood boards
After you have all of your materials in hand, it’s time to prep the felt and boards before attaching them together!
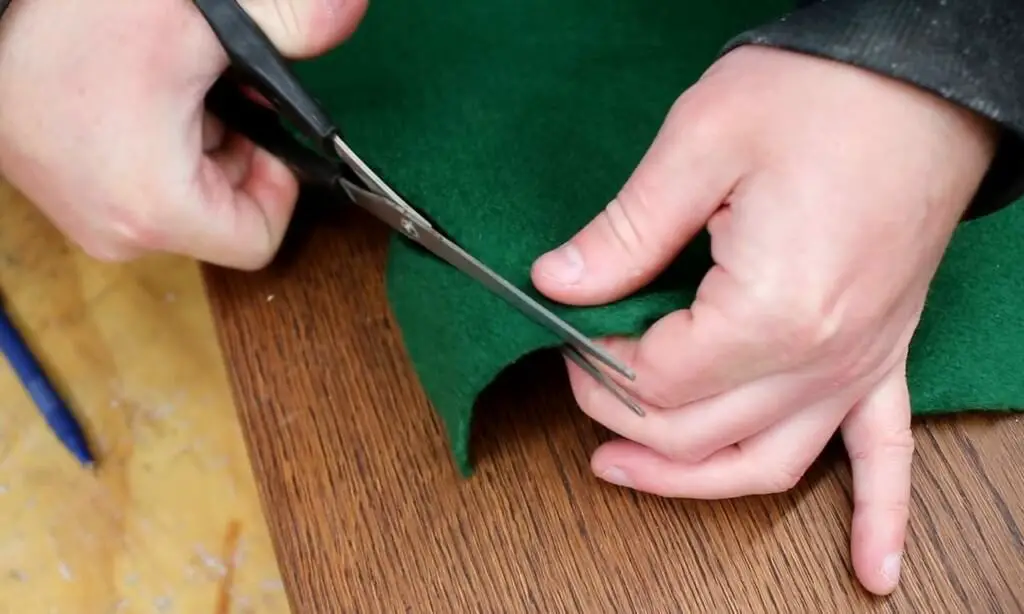
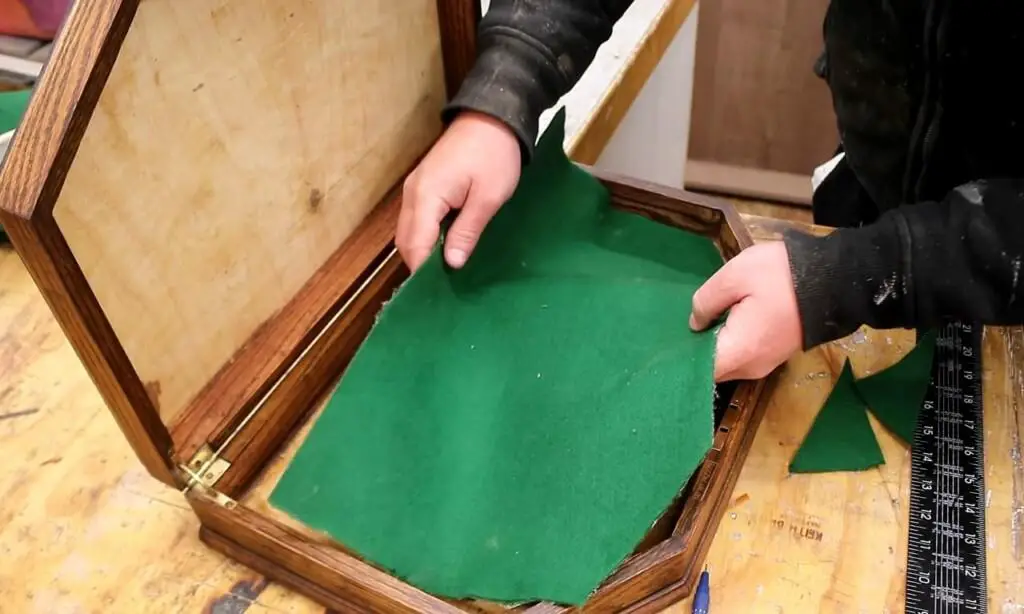
First off, measure your pieces of felt and cut them to a size and shape that matches perfectly with your wood. If you plan to use a big piece of felt for your project, then you’ll want to make sure you get extra long sheets of felt. You can trim off the excess felt later if needed, but it’s important to buy felt that will cover whatever surface you might be trying to protect.
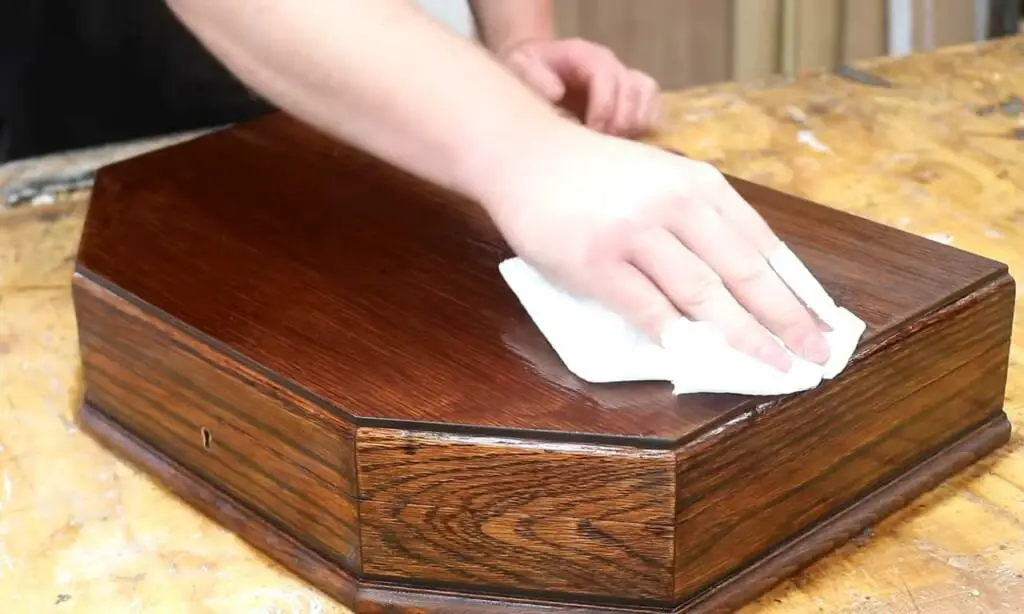
To ensure a quality bond, you’ll want to make sure that the surface of your furniture is completely clean and free from dirt or debris. You should also remove any existing felt/padding if there’s any leftover from past projects or damage. If you’re covering up or repairing a chair, couch, table, desk, etc., then use sandpaper to rough up the surface. Don’t be shy when using it—the more scratched up the surface is, the better your bond will be! You can also do this with torn or frayed edges of the felt.
Clean the surface with a damp cloth, allow it to dry completely, and then move on to the next step! Glue felt to wood in preparation for attaching it.

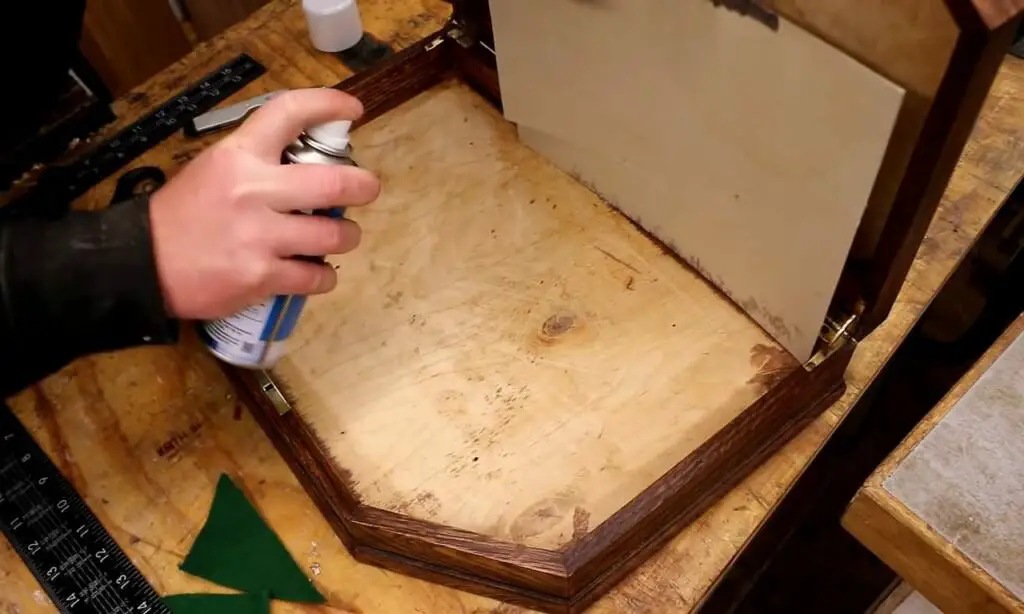
3. Apply the glue
Apply glue to the side of the felt you want to attach to your wood. Apply glue to the side of the felt you want to attach to your wood. You can also apply glue on both surfaces for a stronger bond, but it’s important to make sure you don’t overdo it.
You can use a paintbrush or foam roller for this. The benefit of using a paintbrush is that it will allow you to give more detailed control over where and how much glue is used. Make sure to apply enough so that it will cover whatever surface you planned on attaching to your piece of furniture, however, you don’t need to put on too much! Glue can be messy and heavy, so if you’re using the right amount then you won’t have any problems (and no need for excess cleanup).
Tip: To give your project extra strength, you could also add some craft foam on top of both layers of fabric for an even more durable finish.
3. Place the felt on your wood board
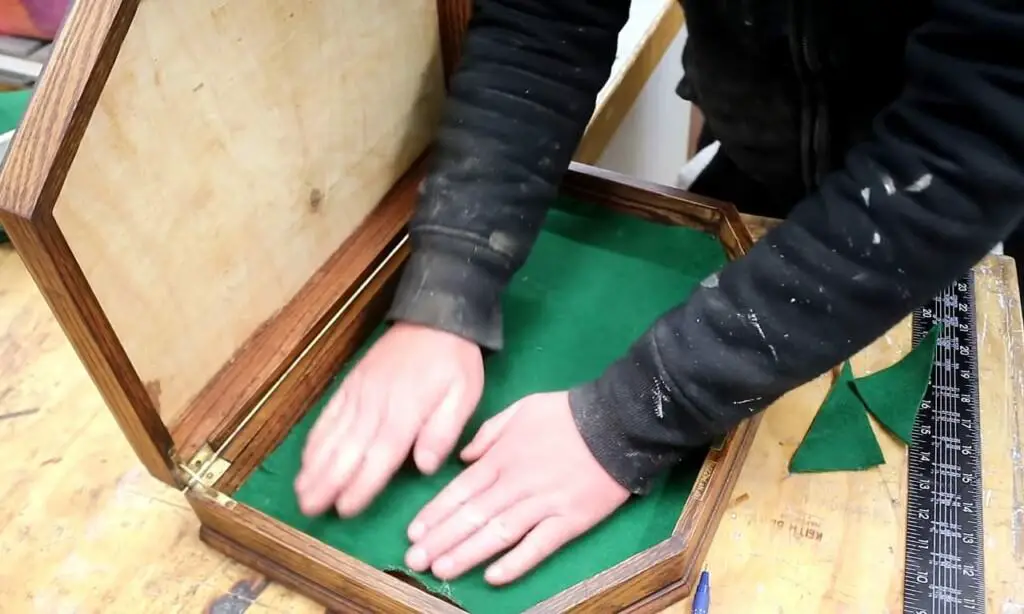
Once the glue is applied to one side, place it onto your wooden board. Make sure the felt is straight and laid down flat before you press it onto the surface.
If you’re using rubber cement, be sure to let the glue dry completely first (about 5 minutes) before sticking the felt into place. A glue that is too wet can damage or warp your wood boards, which obviously would defeat the purpose of covering up scratches and dents!
Use your fingers or an object like a credit card to smooth out any wrinkles or bubbles. Take time to do this carefully and you won’t have any problems with it looking sloppy!
Tip: You can also use a hot iron on the felt to smooth out any wrinkles.
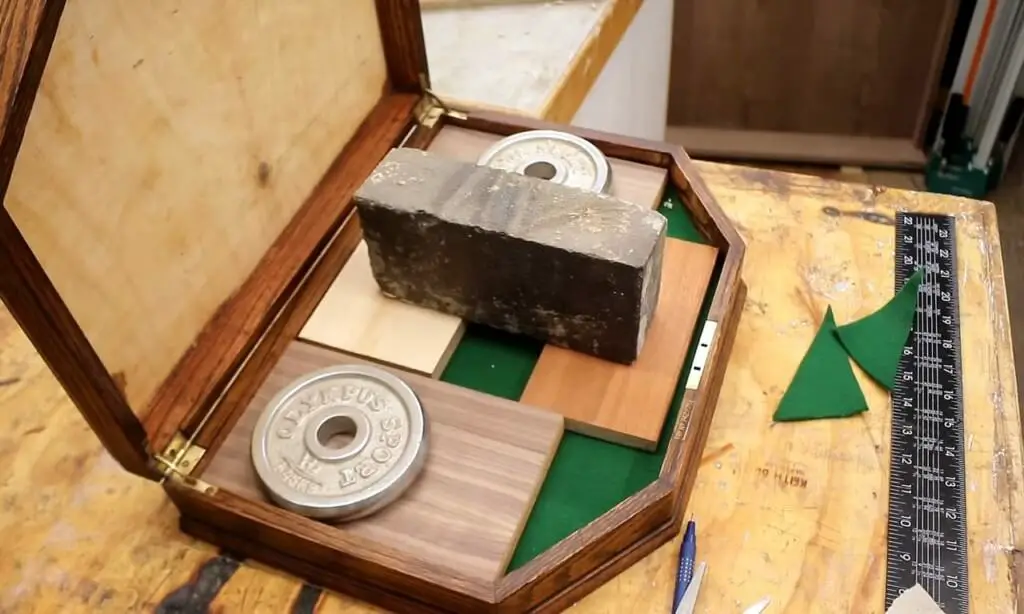
4. Allow drying time before using
Clean up any drips with a wet cloth or paper towel immediately after applying glue to avoid having them dry on your finished product
Allow your project time to dry completely before handling or walking on it so that there won’t be any stains left behind when you’re finished.
Once dry, cut off excess felt with scissors or an Exacto knife, and enjoy your new piece!
Check out our post about Felt Glue
FAQs
How do you join felt together?
Luckily, there is a myriad of methods to join felt together. One way is to layer the two felts with a thin layer of glue between them and then press them together firmly. Other possible ways to join two pieces of felt together include sewing them together in a zig-zag pattern or by hand sewing with embroidery floss, woven fabric strips, wire loops turned inside out and pulled tight, or rattail cord wrapped around the outside edges.
Should I sew or glue felt?
It depends on your need.
Oftentimes, the fabric is sewn before cutting out the design size, and then the felt appliqué or cut designs are glued. Others sew with simple running stitches so that they can remove the characters later if necessary to reuse them again.
The most important factor in deciding whether to use glue is considering how often you plan to re-use the character and how much time is left between classes for you to secure it with tape or glue after sewing it into place. Edge binding will also work as long as you know that it’s secured well enough and won’t be coming loose easily. Glue would lead to a smoother appearance overall but will result in an insertion technique that yields more bulky seams. Glue may be difficult or time-consuming for some to remove after they are finished with the character.