
Leather and wood are two materials that are very different. However, they can be combined to create beautiful pieces of furniture or other items. This blog post will give you step-by-step directions on how to glue leather to wood for a successful project!
Guide to Glue Leather to Wood
1. Gather all the materials you need for your project
Three main materials are necessary: leather, wood board, and glue.
Keep in mind how large you want your leather piece to be and how much of it you need to cover the wood surface as well as how thick or thin you would like the finished product to be. Then cut the leather and wood board to the size you need.
It’s important to choose the right type of glue on hand for your specific project. Leather requires an adhesive that will fully dry clear or nearly so, but still provide enough holding power to keep it attached to wood over time. We’ll go through some forms of glue that are appropriate for use with leather.
- Permanent Glue (super glue) works best on small projects or tasks that need a stronghold. This type of glue will dry completely transparently, however, it is not good when applied directly in large quantities because of its quick setting time.
- Temporary Glue (hot glue) can be used easily but does not leave a permanent bond. It’s perfect to use on small projects where you want the flexibility of being able to remove and restick items without doing damage or leaving glue residue behind.
- Contact Cement is the glue of choice for most leather projects because it can be spread evenly across any surface and holds up well against pressure from sitting objects as long as you choose a high-quality product that dries clear. This glue will give your finished product the perfect balance between strength, appearance, function, and flexibility while still being easy to work with on many different types of surfaces including leather products.
- Epoxy glues are also an option for leather projects because they too will dry clear while providing support when necessary after spreading out evenly across any surface within seconds under light pressure from your hands or objects such as furniture pieces sitting atop it. However, epoxies take longer to set up properly and the chance exists that if applied in excess amounts or not given sufficient drying time between layers, this glue could cause damage by sealing off air pockets underneath its hardened exterior which eventually lead to cracks forming along seams
- Polyurethane Glue is ideal for leather projects because it creates very tight and long-lasting bonds between glue surfaces that provide a high level of protection against damage from water or other liquids as well. This glue can also be used to fill in voids within leather seams or cracks that may form over time and is especially useful for projects where you’ll be using the finished piece near outdoor spaces such as patios, porches, decks, etc
- Polyvinyl Acetate (PVA) Glue is an affordable glue that will dry clear while holding up well against working with many different types of leather. It is best used on small or delicate projects because it can be easily scraped away from any surface if needed, however, this glue does not provide a high level of protection in terms of water resistance.
The type of glue you choose may have different instructions on how to use it. Make sure you follow the manufacturer’s directions so that your project doesn’t go wrong if they weren’t followed correctly.
Depending on how complex your project is, you may need additional tools to help with the gluing process.
- A brush or other glue spreader can be useful for spreading out the glue evenly on both surfaces.
- A rag or towel can come in handy when applying pressure to hold thick pieces together during drying time as well as wiping off excess glue that may have seeped outside of where you want it before completely dry.
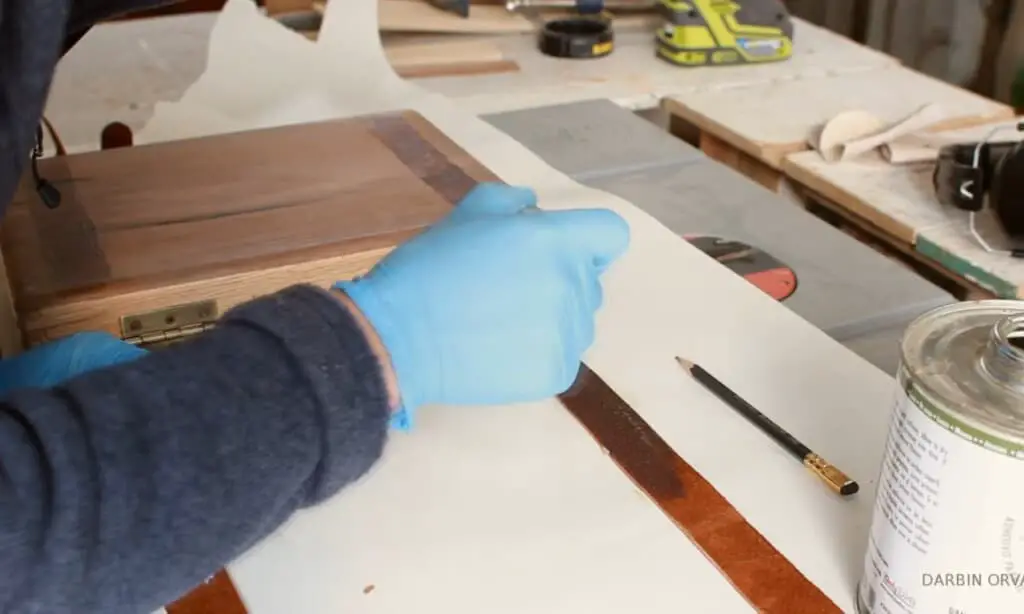
- Rubber gloves to keep your hands clean and protect them from harsh chemicals. If possible, also wear a mask or a face shield so that you do not inhale anything dangerous while gluing.
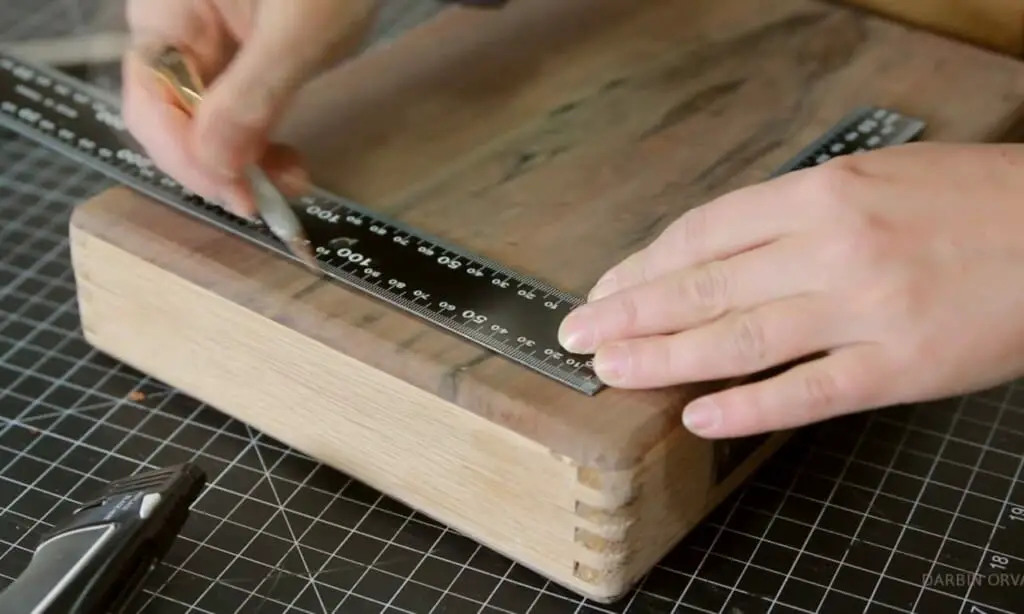
- A ruler and pencil can be useful to measure and mark the position of how you want the leather to be attached.
- A utility knife or scissors help cut the leather if needed
Make sure that these materials are on hand before starting work on your project! Once you’ve gathered all materials, move onto Step Two!
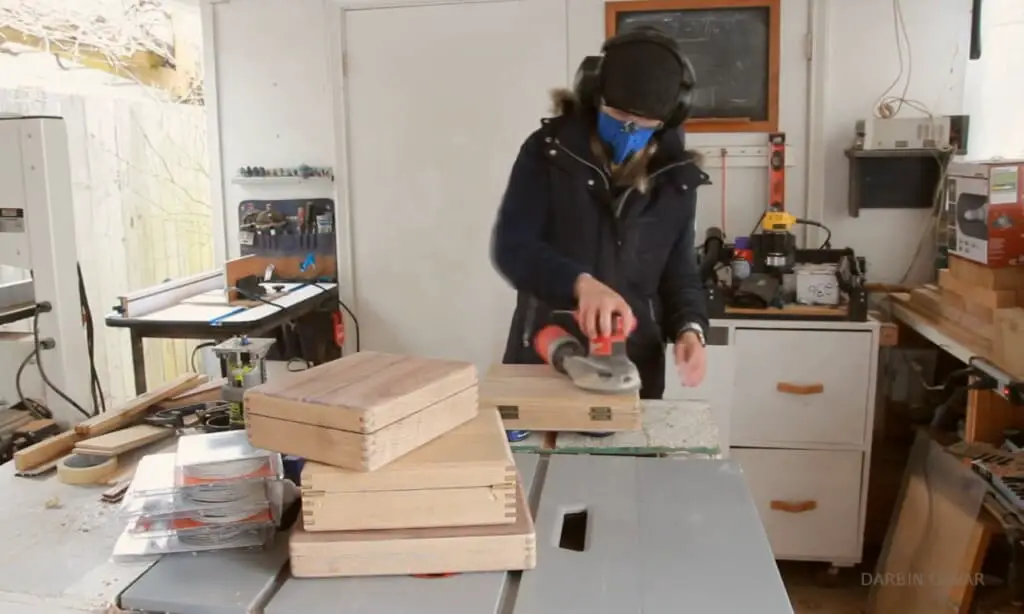
2. Preparing the leather and wood surfaces
Clean the leather and wood surface with a damp cloth or towel, removing any dirt or debris.
If the wood surface has any cracks or rough edges, sand it down with medium-grit sandpaper in order to create an even surface that will provide strong glue contact between either side as well as smooth out visible seams of where pieces are joined together.
Let both leather and wood surfaces dry completely prior to glue application.
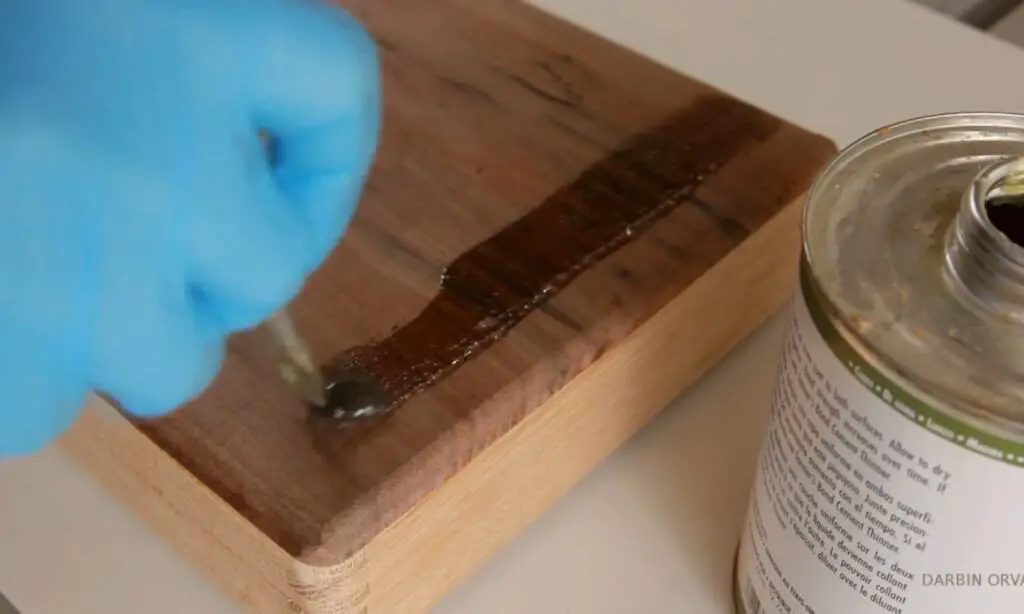
3. Apply a thin layer of glue to both surfaces
If you don’t cover the whole wood surface with leather, use a pencil to mark where your glue should go. This will help guide how much of it is needed in order to apply it across the backside for an easier application and smooth transition between pieces.
Using a glue spreader to apply glue evenly across both surfaces and fill in any gaps or cracks that may exist on the wood surface. Making sure that glue is spread out in a thin and even layer with no dry spots or excess amounts used can cause unwanted bubbling while drying and damage either side of your project.
Avoid letting glue come in contact with leather if possible as this can cause discoloration and damage over time.
Do not let the glue dry completely before gluing because it will be more difficult to remove excess glue once dried and harder to work with overall.
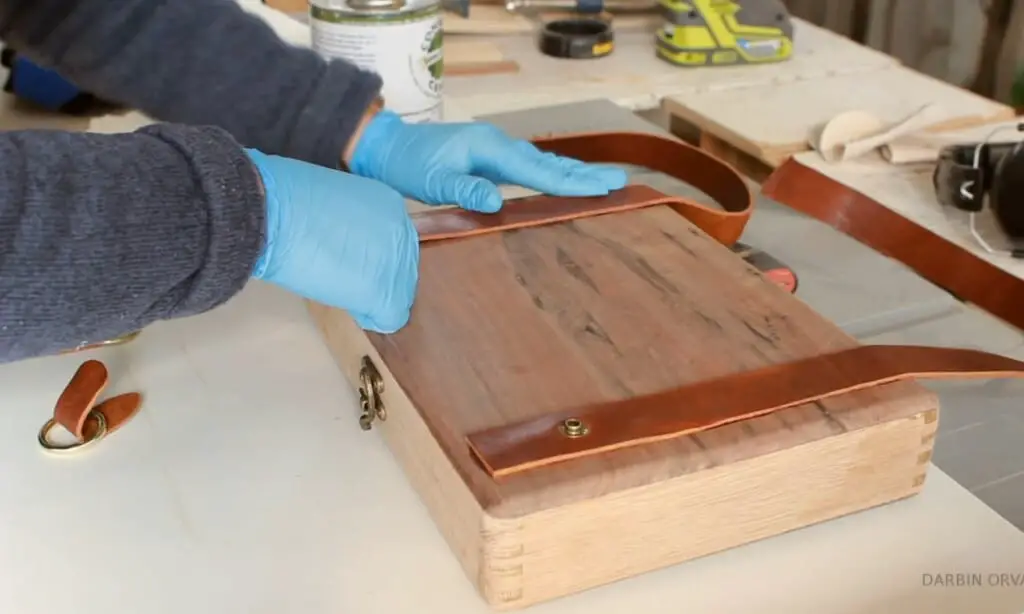
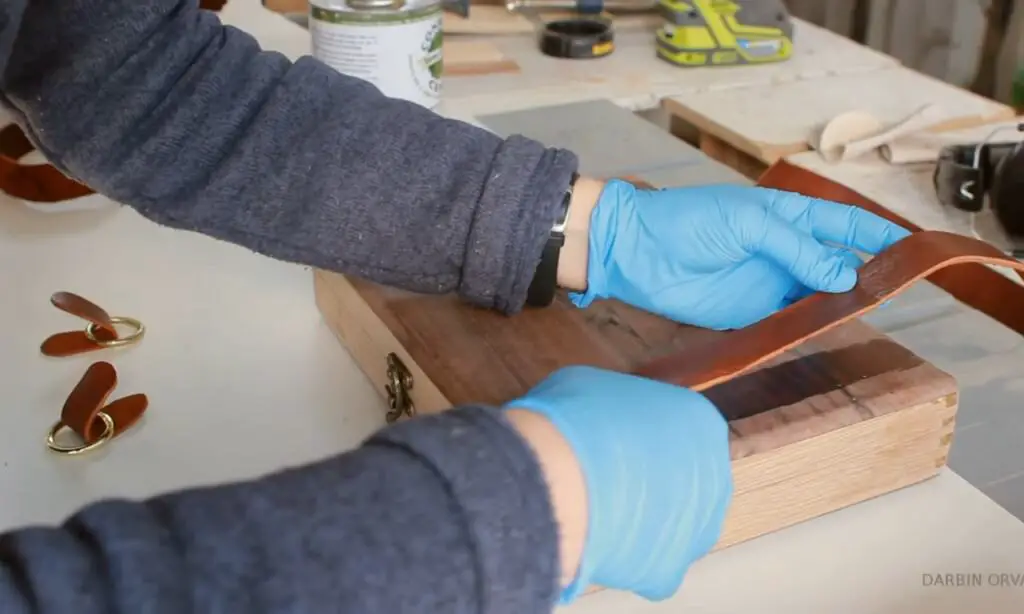
4. Place the leather onto the wood
Place it on top of the surface with the adhesive side down and use your fingers to smooth it out evenly from the center towards the edge, making sure that glue is spread out in a thin layer with no dry spots or excess amounts used and no wrinkles visible.
Place a heavy object such as cinder blocks, books, etc to hold it in place while the glue dries completely.
5. Let it dry before handling or using the object
It can take from 30 minutes – 24 hours depending on weight and humidity levels.
Cleaning excess glue as soon as possible with a warm damp cloth and gently wiping glue from the leather surface while being careful not to damage it as well.
FAQs
Is wood glue good for leather?
Wood glue is not a strong adhesive, so it tears and does not hold well on leather. It will make the surface appear sticky and discolored, making it difficult to use on anything other than natural fibers or similar porous materials.