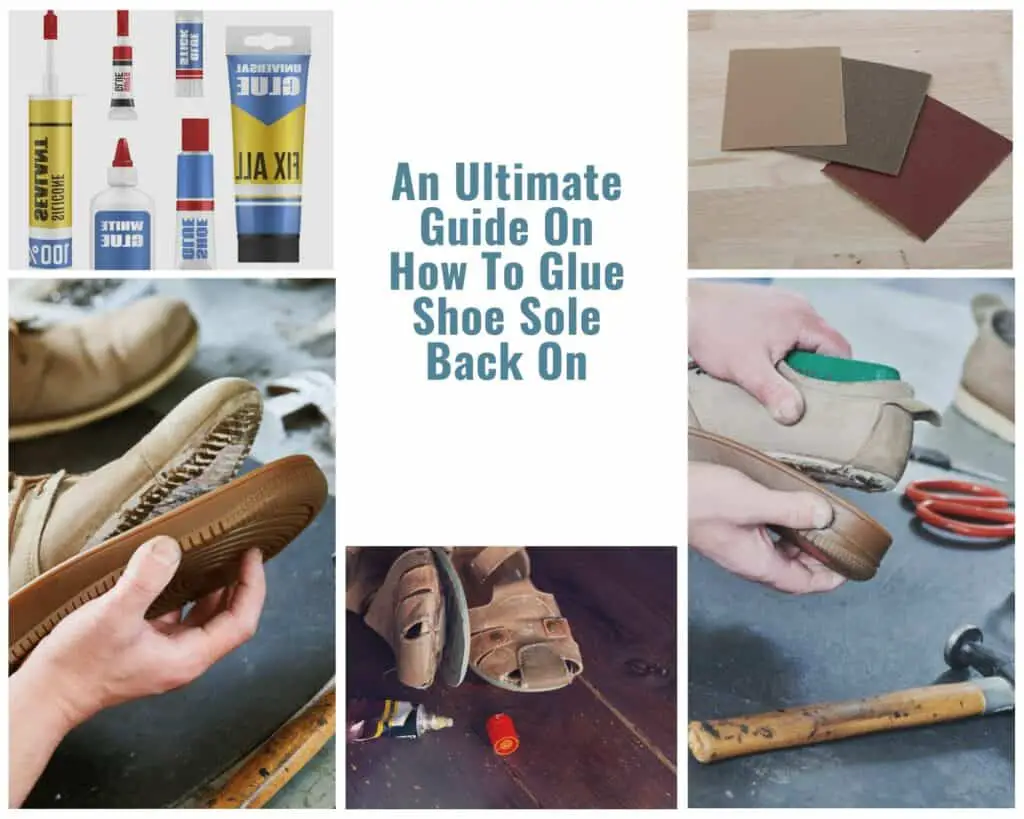
No matter how good your shoes are, there is a risk of damage or rip apart. Buying a new pair of shoes is the simplest solution. But if you are short of money or it is your favorite footwear, you should find a way to save it.
You will be wondering: “Can I glue the sole of my shoe back on?” Yes, the answer is that you absolutely can. Let’s follow the steps below:
- Clean the ripped area.
- Keep the shoe stable.
- Apply the glue to the shoe sole.
- Clamp the shoe.
- Trim the squeeze-out.
For detailed step-by-step instructions, read on with Gluecare!
Thing You’ll Need
What to use to glue sole back on shoe? To be able to start repairing your shoes, we need to prepare some of the following tools:
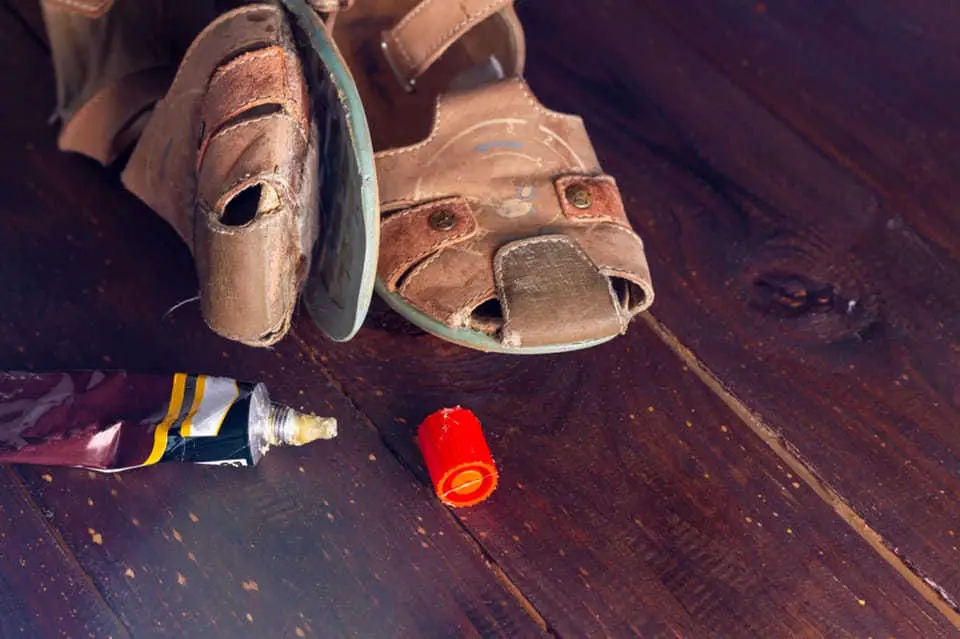
- A broken footwear.
- Clean towel.
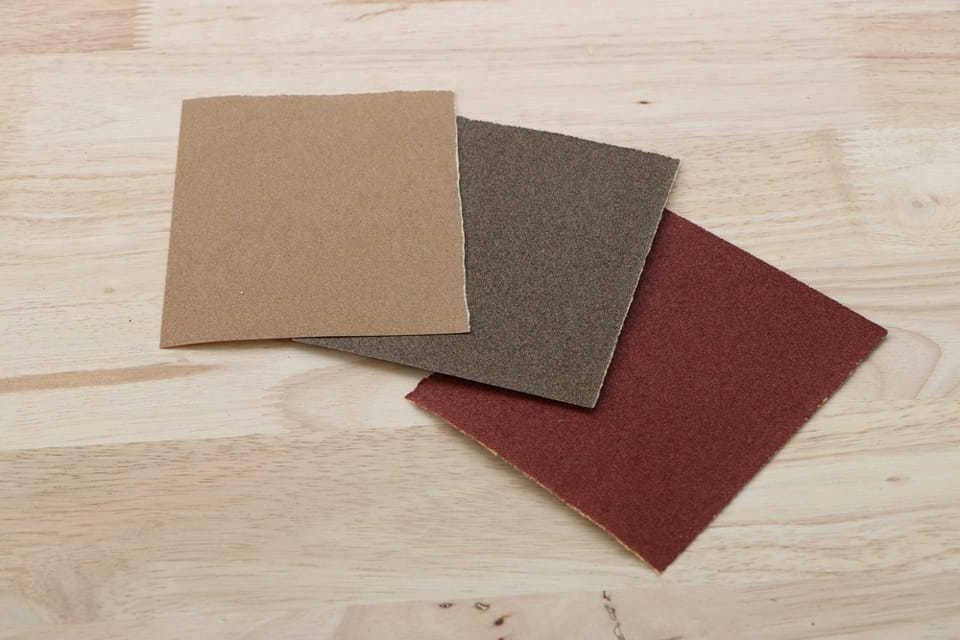
- Sandpaper and newspaper.
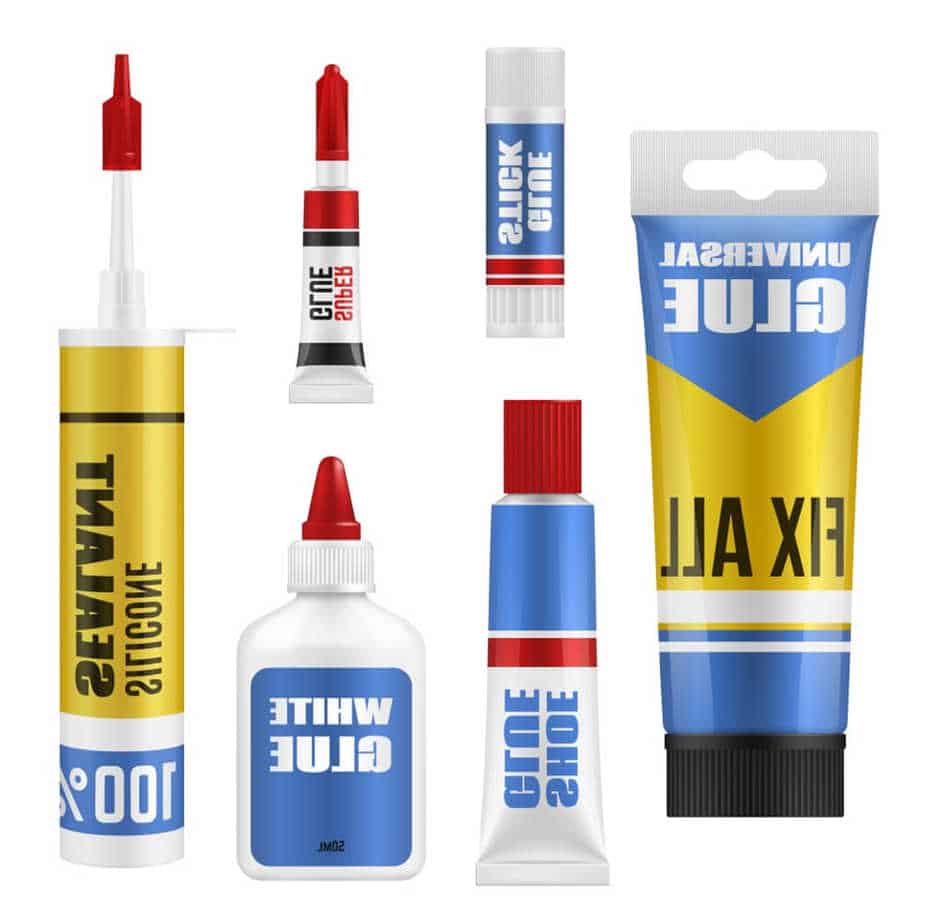
- Shoe glue.
Choosing an adhesive for sneaker soles is not easy. You need to select a bond that is compatible with your shoe material. The most common type of material is polyurethane, as it has a highly versatile application.
People usually only use epoxy on surfaces that do not often bend, so it is unsuitable for shoes. Likewise, cement only works best with flat surfaces.
Glues with a waterproof formula also preserve shoes better in wet conditions.
How To Glue Shoe Sole Back On: Step-by-step Guide
After you have prepared all the devices, we will move on to the central part of this article: “How to glue soles back on tennis shoe?”
Clean The Ripped Area
The first step that you need to do is clean the area to be reattached.
Pull the sole that separates from the bottom of the footwear. Use a clean cloth lightly moistened with isopropyl alcohol to wipe carefully. Then clean the top of the sole.
Let your shoes rest for a few minutes for the ripped area to dry. Shoes need to be clean of dirt and dry before we continue to the next step.
For best results, keep your footwear at room temperature. Avoid extreme temperatures above 104°F or below 4°F.
Smooth surfaces, like metal or hard plastic, often don’t have good adhesion. You can roughen the surfaces with fine sandpaper before gluing them together.
Fix The Footwear
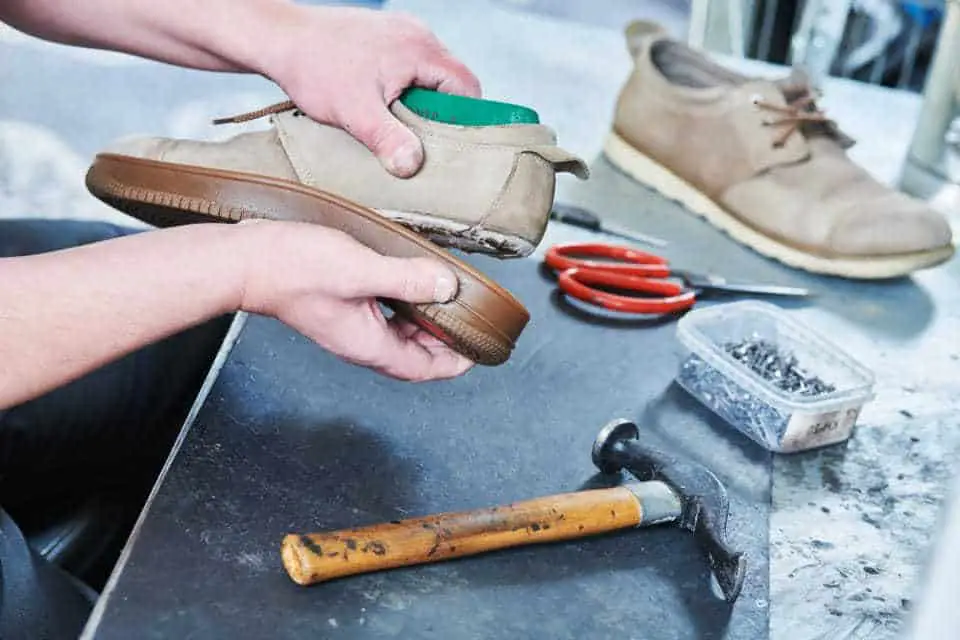
It would help if you fixed the shoe so that it does not deform during the repair.
Remove the insoles if necessary, and stuff some paper inside. In addition to creating rigidity for the footwear, this paper can also absorb any adhesive penetrating the shoe.
Newspapers are the most accessible material to find. You can also use heavy kraft paper for stuffing and make sure the toe area is sturdy after you’re done.
Apply The Shoe Glue To The Sole
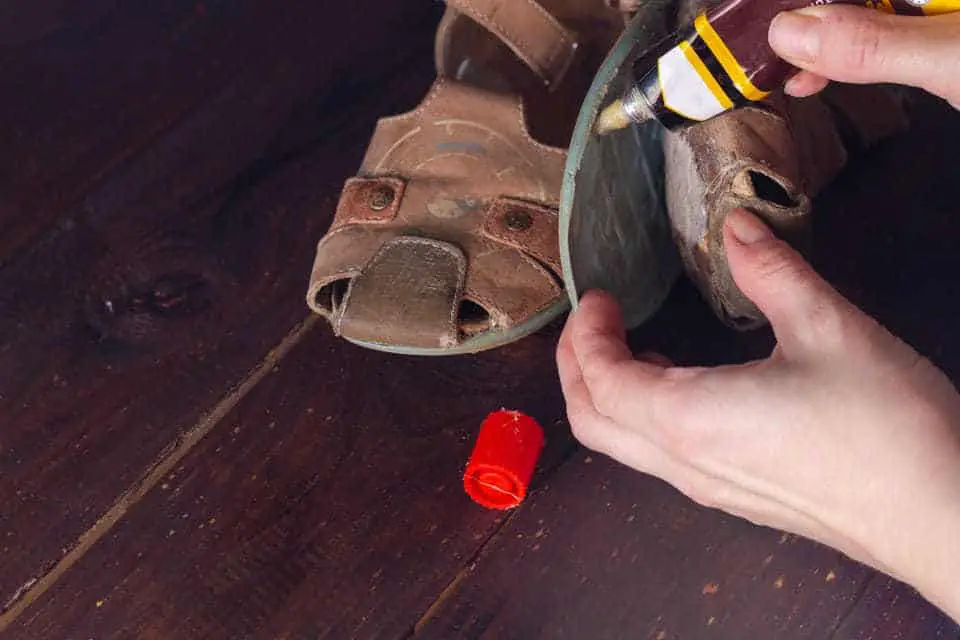
We will enter the most crucial stage, gluing the sole of the shoes.
You can use the cap to puncture the tube to open the glue. A little trick to prevent the lid from being stuck is to apply kerosene around the mouth of the tube. Do not forget to read the instructions and labels of the adhesive carefully before using it.
Apply a thin adhesive layer all over the inside surface and along the top edge of the base. To keep the glue from splattering around during the gluing process, you can place a sheet of plastic or paper on the table.
When starting to glue, use a cotton swab to apply the bond liquid to small areas. Apply adhesive directly to the site for larger sizes, and then use a cotton swab to spread the adhesive evenly over the surface.
Try not to get the liquid on the toe of your footwear to ruin the look of your shoe. If you accidentally get it stuck, use citrus or acetone-based solvent to clean it up.
Clamp The Shoe
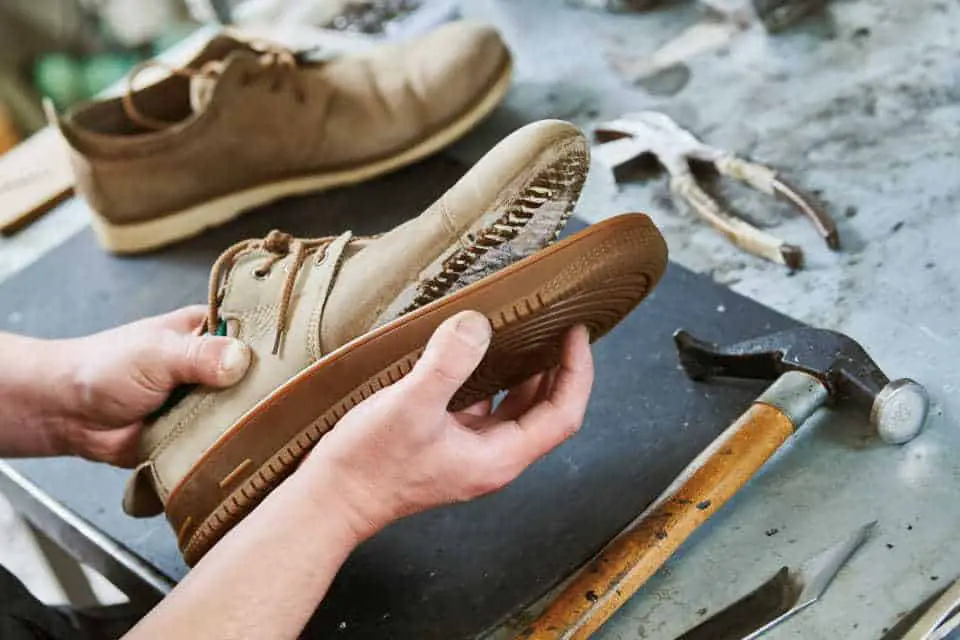
After you have applied the adhesive to the required areas, reattach the shoe’s sole back to its original position with the bottom of the shoe.
You hold the two parts tightly so that the adhesive has time to set within 2 minutes. Then, take a hard object like a book or a brick to secure them. Let the material sit for 24 to 48 hours.
Standard conditions are average room temperature. If the humidity in the room is high or the temperature is cooler, this process may take longer.
Trim The Squeeze-Out
As an amateur, most of us will inevitably let the adhesive come out of the toe of our shoes. You can use a knife to trim the glue to make it beautiful.
Frequently Asked Questions
If you still have any questions during the gluing process, read this section.
How Do You Reattach The Footwear Sole Without Using Glue?
Ice cubes will allow you to smooth the surface of the adhesive without sticking to it. You can also use a spatula coated with mineral oil or a tongue depressor. Let the footwear dry for 24 hours with the sole turned up.
How To Glue Sneaker Soles Back On?
The steps to glue the soles of sneakers are pretty simple, follow the following list in turn:
Clean the broken sneaker.
Hold the sneaker in place.
Glue to the sole of the sneaker.
Clip the sneaker and let it dry.
Does Footwear Glue Work On Poor Conditions Or Bad Weather?
Yes. High-quality footwear adhesive provides excellent resistance to water, impact, and temperature. You won’t have to worry about the soles of your shoes coming apart while walking in the rain.
To get valuable tips during the gluing process, watch the following video.
Final Thoughts
How to glue rubber sole back on shoe? Through this article, you have gained a detailed overview. This method saves you time as well as budget.
If you found this article helpful, don’t forget to share it with your friends.
Thank you for reading!
Related areticle:
- How To Glue Shells To Wood? Get Your Job Done In 4 Steps
- How To Glue Bottle Caps to Wood in Three Easy Steps