
One of the most common tasks for a handyman or woman is to glue metal to wood. The bond created by this process is strong and permanent, but there are specific steps that must be followed in order for it to work properly. This article will walk you through the entire process.
How to glue metal to wood
1. Choose the right glue
You must always ensure that the glue you are using is compatible with whatever type of work you are doing. Glue that is specially designed to work on metal and wood will provide the best results.
Glue that works best on metal is epoxy, super glue or gorilla glue. Glue that works best on wood is hot glue. Glue that works best on both is epoxy.
- There are two-part epoxy and single part epoxy. Two-part epoxy will require mixing, whereas single part is already mixed.
- Hot Glue is another alternative that can be used to glue metal parts to pieces of wood, such as a handle for a hammer. However it will not work as effectively as super glue or screwing the parts together with bolts and nuts does since it requires clamping rather than mechanical fastening – this allows the hot glue to cool and settle into any holes or uneven surfaces between parts more effectively .
Glue that comes in a tube or a jar is easy to mix together and apply. Glue that comes in bottles must be worked with very carefully as it can explode if exposed to too much heat. Always make sure that you prepare your glue in accordance with the manufacturer’s directions.
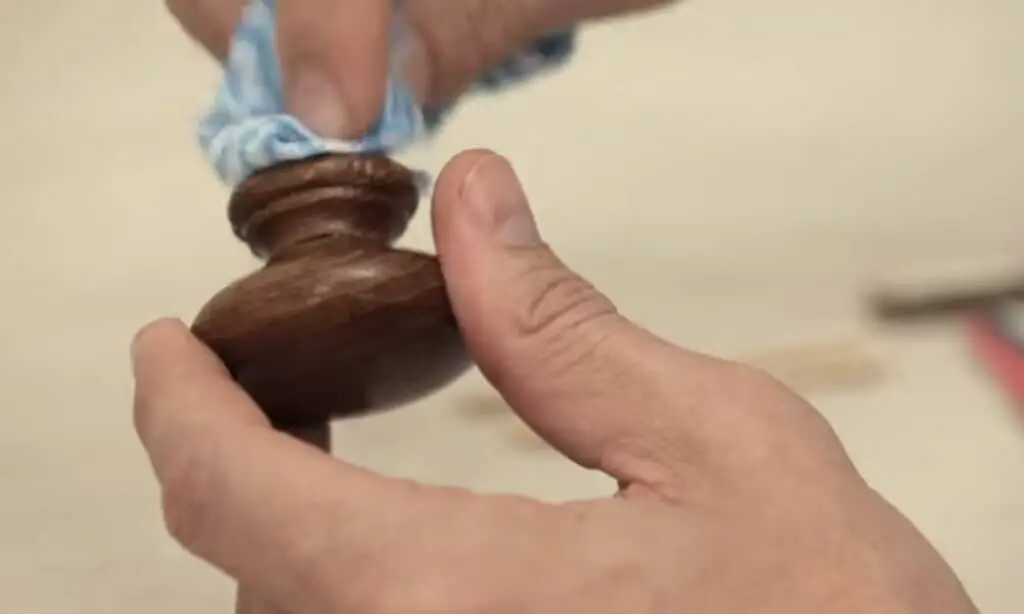
2. Clean the surface of the metal and wood
Before applying the glue, be sure to scrape off any old glue stick from both surfaces with sandpaper first. If you fail to remove all of it and some is still stuck on after adding new, those areas will not bond correctly. Glue sticks best if added directly to clean metal and wood surfaces, so make sure your work area is clean, dry, and free of dust before beginning this step.
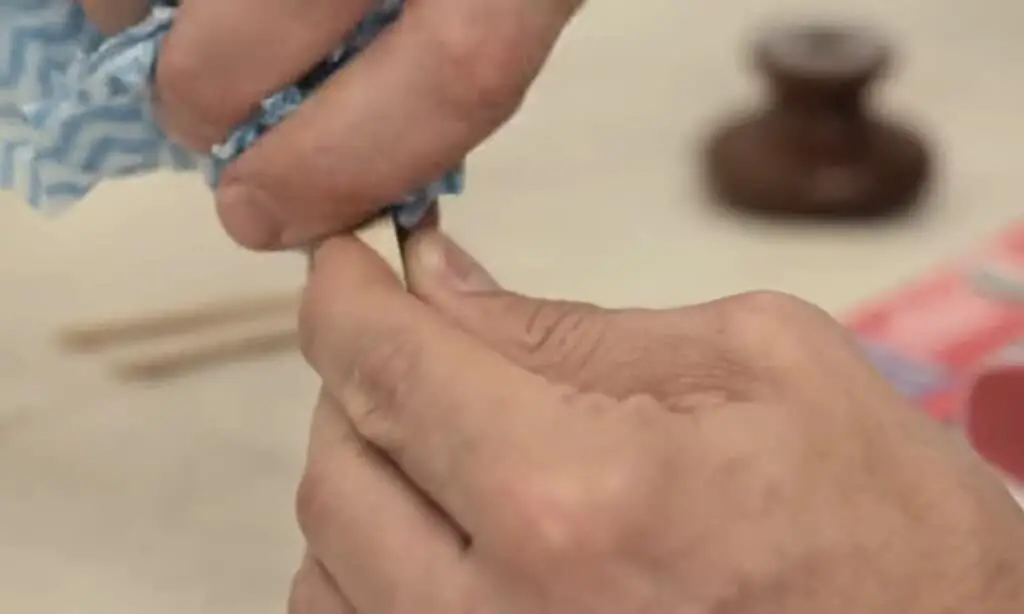
3. Apply a thin layer of adhesive to both surfaces
Place small dots on the corners of your surfaces and spread them out into thin lines using a paintbrush or similar tool. Glue should only be applied to areas where you wish to bond two materials together. If there’re gaps between metal and wood, fill in them with glue will help ensure a good bond.
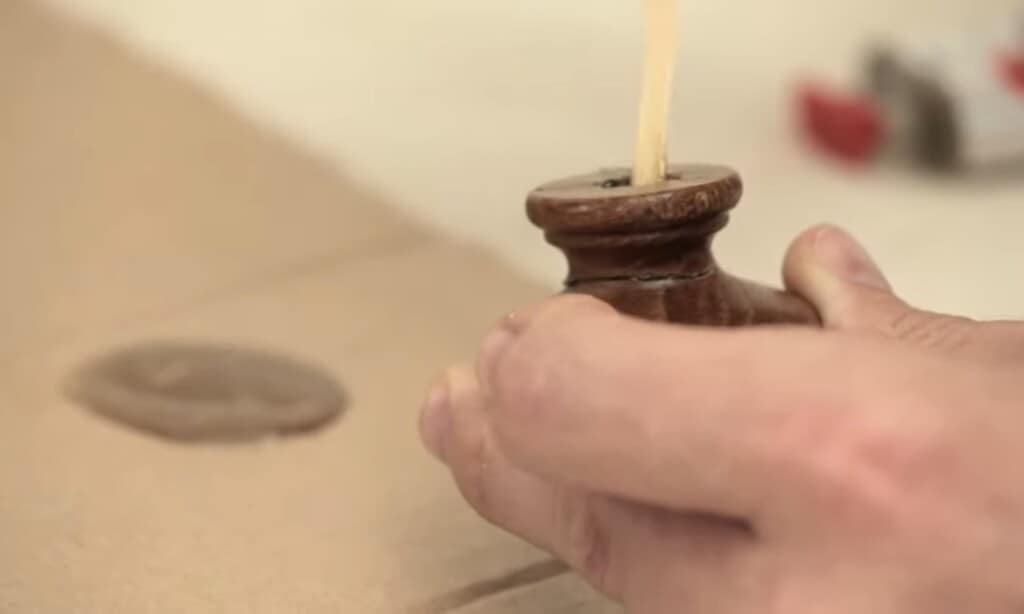
4. Press the two pieces together firmly
Place the two surfaces together, lining up all edges. Hold them in place for about 10 seconds before releasing your grip.
If you want to ensure that your metal doesn’t move once it is set, clamp it down with vices/clamps or add weights until the glue dries completely. Don’t be too tight on the clamps and don’t use heavy objects, as this can push out any air bubbles between glue layers which may cause a weak bond!
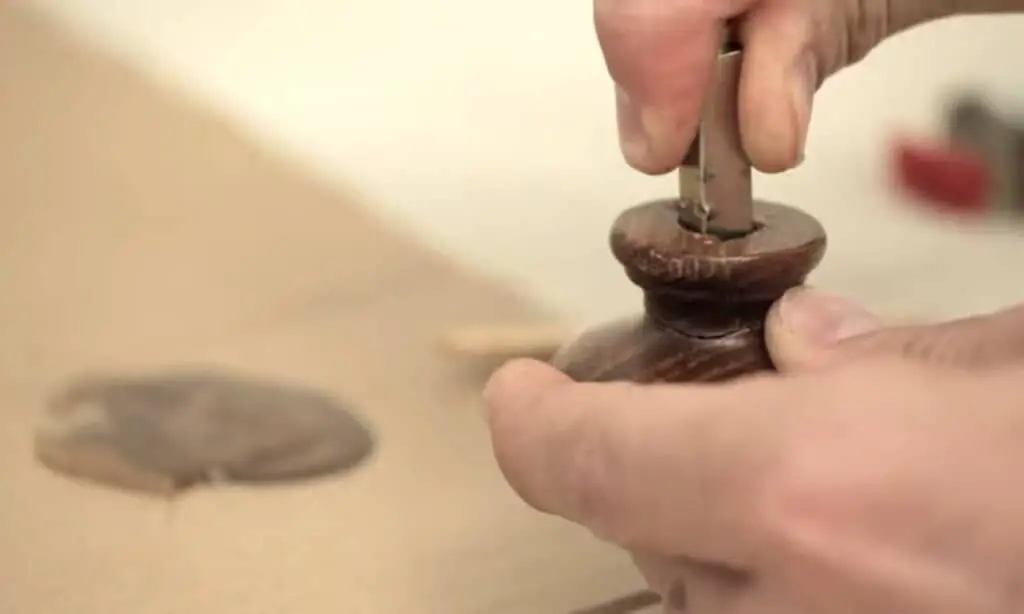
5. Let dry and scrape off excess glue
Glue dries best at room temperature, so it’s a good idea to keep the surfaces in an area with no drafts or air circulation.
Glues need time to cure properly, if you try to remove them too early, you will probably end up damaging your project. Allow 24 hours before using the item – this allows for any excess glue to dry away so you don’t get stuck with it on your hands when touching it.
6. When ready to use, remove metal from glued surface and enjoy!
Scrape off any excess glue that may have seeped out from the edges of the joint. Glue can be removed with any adhesive remover or it can be sanded off.
Related post:
How To Glue Metal To Metal For Strength: 5 Useful Tips