
If you are working on a project that requires rubber to be glued to metal, there is no need to worry! This blog post will show you how to glue rubber to metal in order for the end result will be strong and reliable. We’ll cover how to get started by choosing the appropriate adhesive and how best to go about gluing your materials together.
Determine appropriate types of glue
There are many different types of glues that you can use to glue rubber to metal, but not all will give you the results that you are looking for. We recommend you choose one of the following types of adhesive according to their intended use:
– Superglue or instant glue will be the best types of adhesive to use for gluing rubber to metal. These types of adhesives have a quick drying time and will work well with your project because they dry clear and will not interfere with other materials on your project. The strength of the bond will be strong but it will also be fragile so do not use this type of adhesive if you want something that can withstand a lot of pressure.
– Epoxy Glue: Epoxy adhesives should be used for projects where extra strength is desired, because once these products dry they create a permanent bond that can’t be broken without professional tools. This type of glue has a longer drying time than instant glue so make sure you give yourself enough time before moving on to other sections of your project. It can also dry with an opaque color so if you are trying to have sections of rubber show on your final project, this may not be the best option for you.
– Glue gun: Glue guns are also an option, but should only be used if you need something temporary. However, it will leave behind a tacky residue after its dried, so this residue will need to be cleaned up after the project is complete in order to have a clean finish. Glue gun glue also has a long dry time so keep this in mind when planning how you will work with your materials throughout the entire process!
– Glue stick: Glue sticks are perfect for projects that need very little amounts glue or where very precise placement is required. Glue sticks are also great because they do not require glue guns, which means they are safer to use, but it also takes longer for them to dry compared with instant glues or super glues.
– Rubber Cement: Rubber cement should be used in situations where you want your rubber to be applied to the metal, but not stuck permanently. Rubber cement is great if you are doing crafts with kids because it will allow for easy removal when playtime is over.
After choosing the appropriate adhesive, we recommend that you follow these steps in order to get the best results.
How to glue rubber to metal
1. Preparing Rubber for Glue
To start, cut pieces of your rubber with clean edges, making sure that there are no rough spots or holes in them. Next, test fit each piece of rubber onto your project.
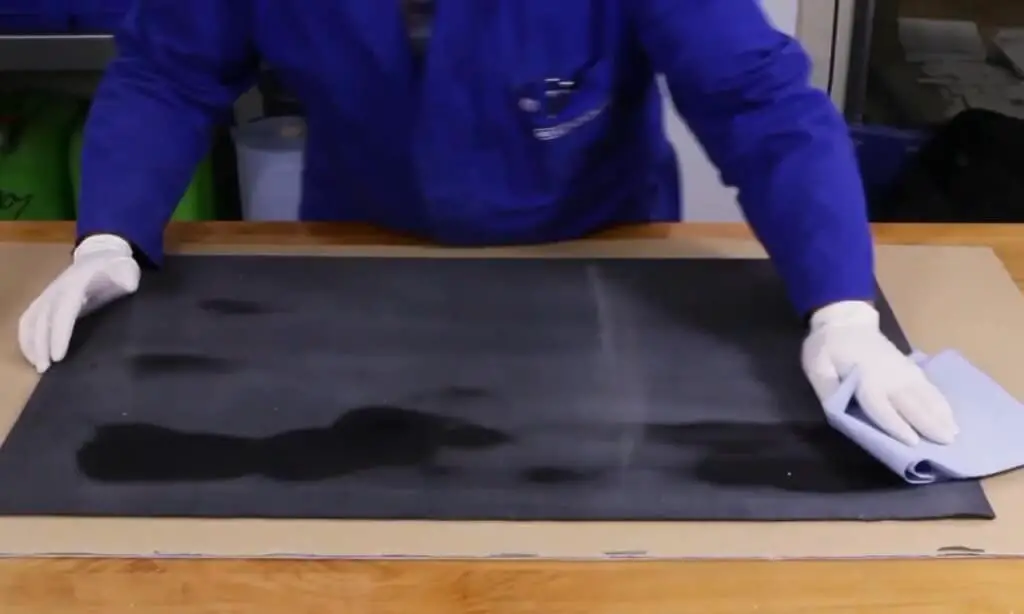
Clean the metal and rubber surface with a degreaser and dry it completely.
Additionally, before applying the glue, you should prepare the workplace by laying down a sheet of wax paper or aluminum foil to protect any surface and prepare for easy clean-up in the event of any excess glue.
2. Apply the glue
Follow the instruction provided by the glue packaging or manufacturer to determine to apply the glue on one or both surfaces that you will be gluing together. For most glues, it is recommended that you do not apply glue to both surfaces at once because it could prevent adhesion due to the chemical reaction of the glue. However, epoxy and rubber cement are some exceptions to this rule.
Whatever the type of glue you choose, glue should be applied in a thin layer, and make sure there are no visible clumps or bubbles. If your glue comes with an applicator brush, make sure you use this to help spread out any excess glue and create a smooth finished look.

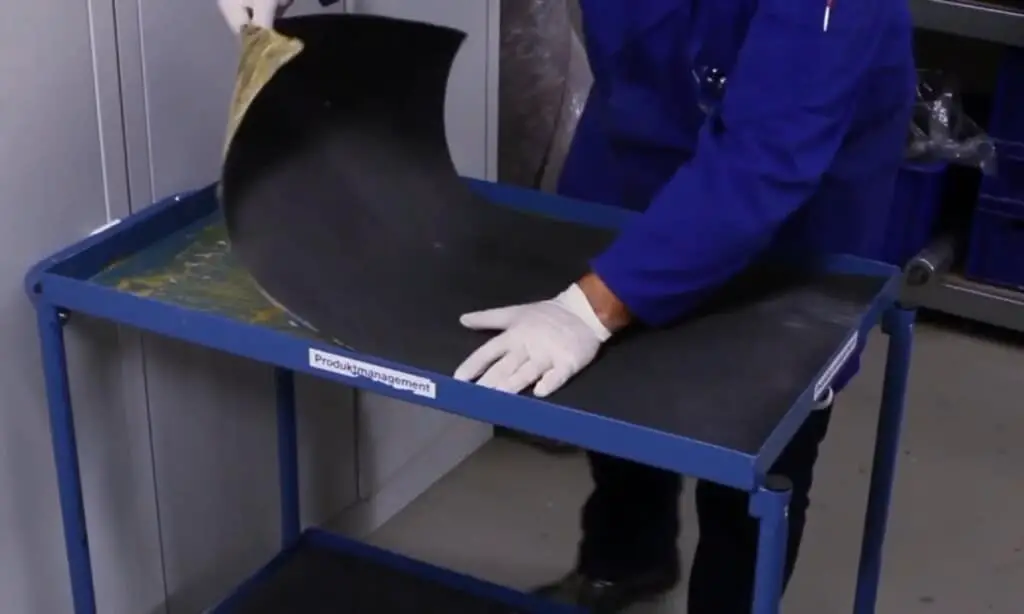
3. Place the two surfaces together
Once you have applied enough adhesive, join the rubber and metal together, pressing them firmly for a few seconds to create a strong bond between materials.
Hold until set – usually about 2 minutes. If you need more time, use heavy objects or a clamp to help hold the two pieces together until the adhesive is set.
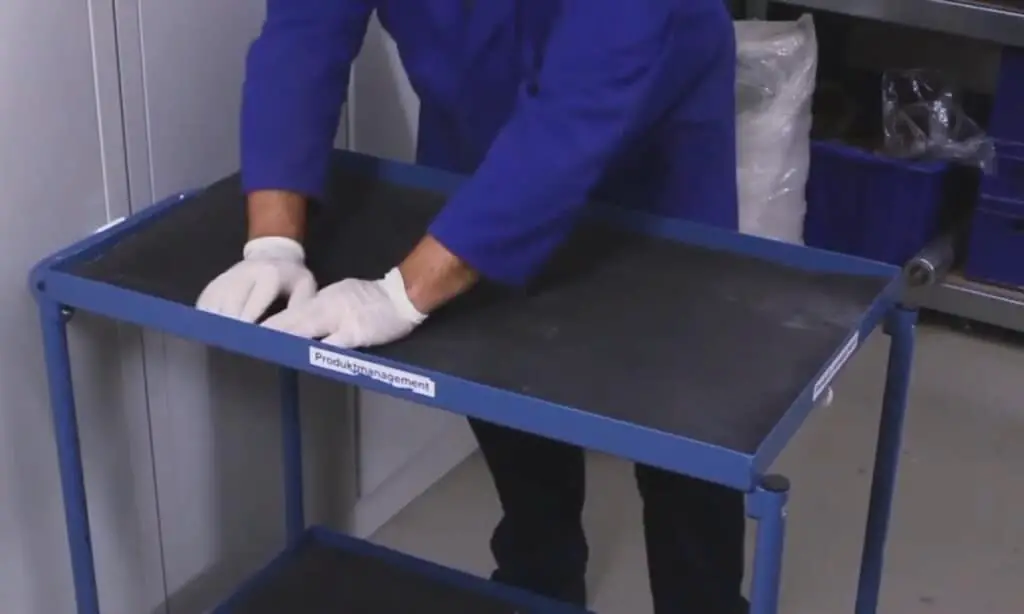
4. Allow it to dry
The glue will go through a chemical process called curing which can take from 10 minutes to 24 hours depending on the type of glue you have used. Thus, allow the pieces to dry together undisturbed until they are completely set before moving on with your project.
In the event of any excess glue, you can always clean it up with a damp cloth while it’s still wet to avoid any future inconveniences. If excess glue has already dried, it can be cleaned with a cloth or paper towel moistened with acetone to wipe away the residue. However, if you have used epoxy or rubber cement, removing these glues will require more effort because they have been chemically bonded to the two surfaces. In order to remove these types of glues from different surfaces, you can use a sharp tool such as a pocket knife or razor blade to cut away excess glue until it is mostly gone.
Cut off excess rubber with a sharp blade, then sand down any rough edges and corners if needed.
FAQs
What is the strongest waterproof glue?
The strongest waterproof glue is Gorilla Glue.
This product boasts a powerful bonding strength of around 35 lbs per square inch and can be used on six different surfaces. It seals out water without any loss of adhesion, which makes it perfect for outdoor projects like boat decks or anything you don’t want to be affected by the elements.
Once dried, the glue’s bond is unaffected by abrasion and movement and can stand up to several months outdoors before needing re-waterproofing even if exposed to salt air or moisture from concrete that has condensation under it overnight.
Gorilla Glue isn’t just strong; in addition to being waterproof, the glue also features 300-degree heat stability for up to one hour when dry. This makes it safe to use on hot surfaces like engine exhaust manifolds, tailpipes, and catalytic converters without the risk of causing them to warp or melt.