Your dentures are just as important as your natural teeth. If you have dentures that are broken or no longer fit well, you may experience significant issues. So, how to glue dentures back together?
It is a necessary DIY project. You should take these steps in an emergency, such as waiting for your new teeth. Let’s read on to know more details with Gluecare!
How To Glue False Teeth Back Together?
Things You Will Need
So, what can you use to glue dentures back together? You have to get everything ready on a clean table or work desk. These equipment include:
- Sandpaper
- Clean water
- A dry towel or tissue paper
- Dental-grade resin
- A dental needle to apply resin.
Step-By-Step Guidelines
A denture may suffer from a minor break. You may be able to fit the pieces back together by yourself in some situations. However, it is critical, though, to have these types of treatments re-evaluated by your dentist.
You have to divide your dental repairs into two categories: short-term and long-term treatments. These quick solutions are not always harmful, and we encourage them!
They help to keep your teeth in place for a long time. On the other hand, short-term fixes nearly always lead to future breakdowns. So, it would be best to have your new teeth as soon as possible.
Step 1: Make Sure Your Dentures Are Clean And Dry
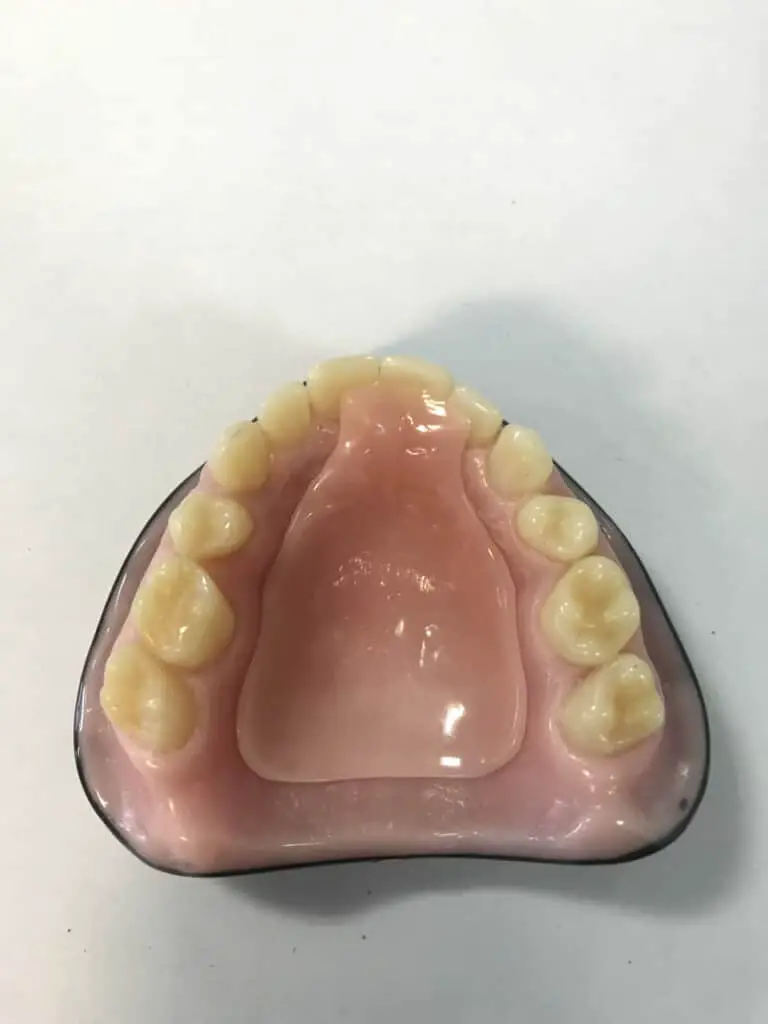
- Sand down the edge of the crack along the non-fitting side of the denture pieces only.
- Clean the dentures with running water and your regular denture cleaning before applying adhesive. After that, pat them dry. Dry them to make it easier for the paste glue to stick to them.
- This step will provide a very steady gluing and keep the broken pieces from cracking or breaking again.
Step 2: Practice Without Using Glue
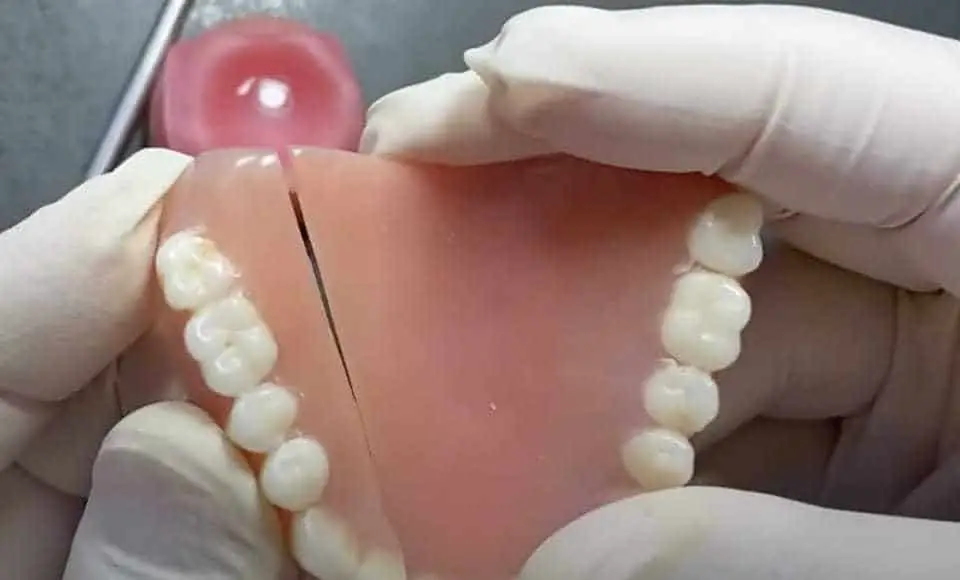
- Align the broken pieces of your denture into the place that they will sit when being repaired.
- Continue until there are no gaps and you are ready to put them ideally as fast as possible.
- Applying the glue, you cannot remove the pieces out of place.
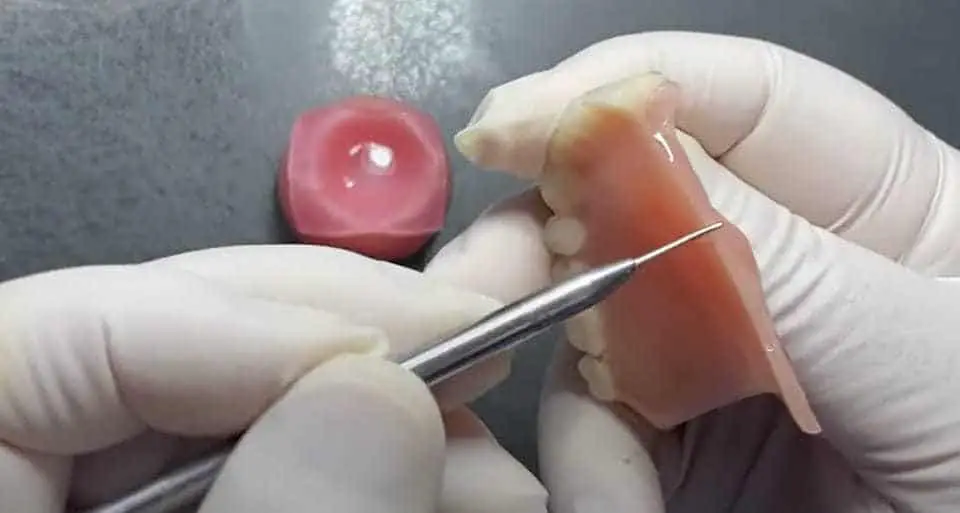
Step 3: Apply Glue
It is critical to get a waterproof type of denture glue while making your purchase. Soft adhesives found on the market, such as school glue and ceramic glue, are unsuitable for this task. These will aggravate the problem.
Dental-grade resin is the best adhesive, but it is pricey if you are on a budget. Acrylic resin can be used instead of crazy glues or super glues.
It can be costly because it is exclusively for dentists to use. This variety, on the other hand, is the most robust and is designed for dental usage.
- Apply a small, thin line of adhesive to the border of one denture piece with care.
- Carefully push the second one into place, making sure it is flat and matched as much as possible.
- Please don’t get your hands on it. If you touch the glue with your bare fingers before it is completely dry, you risk ruining your denture.
- Use caution while calculating the quantity. Don’t go overboard; only a tiny amount of adhesive is required to fix the issue; otherwise, your mouth would seem lumpy and protrude outward.
Step 4: Let It Dry
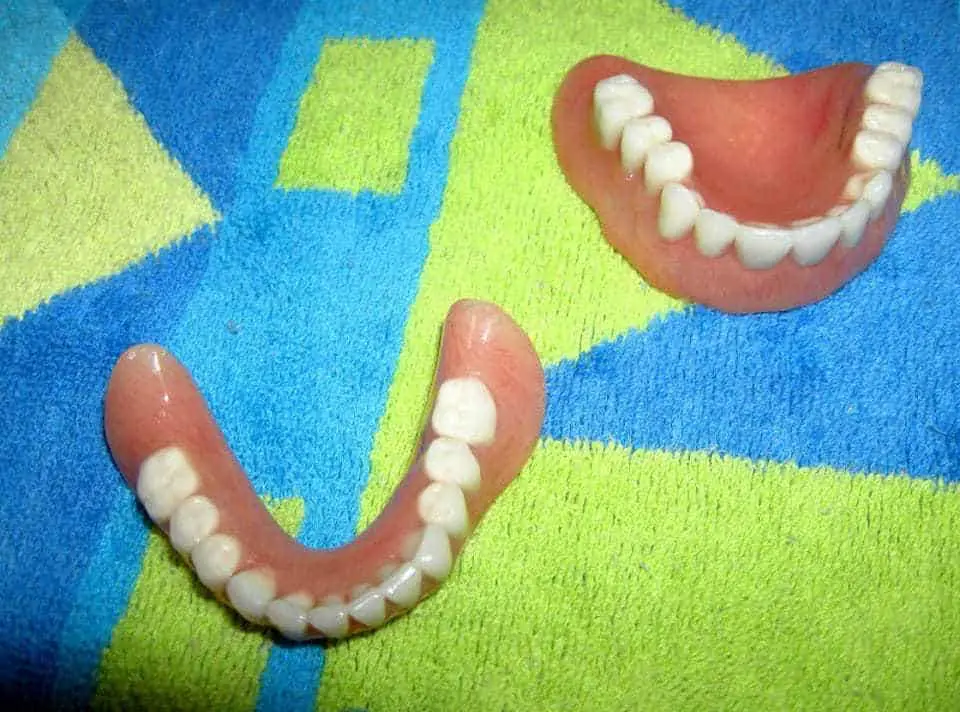
- Although the initial gluing procedure is short, full curing time might take up to 24 hours. During this period, do not wear or soak your dentures.
- Put them back in your mouth only after the adhesive is completely dried.
- If you’ve never used this adhesive before, be cautious of allergic responses because it comes into close touch with your mouth and tongue tissue.
You can rely on the instructions in this video to better understand how to do so.
FAQs
How Often Should You Change The Dentures?
They should last six to eight years if you take care of them properly. That’s why you must continue to have regular dental appointments. Dentists can examine for oral diseases as well as your teeth’ condition.
How To Take Care Of My Dentures?
Because they degrade with time, it’s critical to look after them properly to maintain their lifespan. One approach to accomplish this is to ensure that you clean regularly.
Food deposits and plaque can build on these teeth just like they do on ordinary ones, so ensure you brush them properly with a soft toothbrush or one created specifically for that purpose.
What Are The Reasons Causing Broken Dentures
General wear and tear are one of the most prevalent reasons for damaged dentures. Although you may believe they will last a lifetime, they are vulnerable to wear and tear due to continual grinding, biting, and pressure.
If the teeth are older, they are more likely to develop cracks and loosen the teeth, causing them to come out.
Eating tough meals might potentially cause extra harm to them as well. Acids present in various meals and beverages and damage caused by heat and cold are significant causes of excessive denture wear over time.
Conclusion
We hope you can better understand how to glue your dentures back together after reading this article. Even if you wear dentures, frequent dental checkups are your way to protect against dental problems.
Related article:
- How to Glue Fabric Together: 4 Tips for Successful Project
- How To Glue Bottle Caps to Wood in Three Easy Steps