There are many DIYers that glue wood to concrete for various reasons, but it can be difficult to do the job correctly. If you glue wood to concrete improperly, it is possible that your glue will not last long and could cause damage to both materials in the process. If you want a solid glue joint between these two materials, read this guide for tips on how to glue wood properly!
How to Glue Wood to Concrete
1. Gather all of your tools and materials
Make sure that you have all of your tools and materials before starting this process, as it will be difficult to stop once you start in order to get more supplies! This can cause frustration when trying to glue wood together for the first time because if the glue begins setting up too quickly then there is not enough time to place boards into position properly. You will need:
- Glue
- Glue applicators like peel, glue spreader, or glue roller: Make sure to use the correct size applicator or spreader depending on how much glue you need for your job.
- Safety glasses and gloves
- Rags or paper towels to clean up and wipe the glue
- Painter’s tape or masking paper (Optional) to prevent the glue from getting on surfaces you don’t want glue to get on.
Decide what type of glue is best for the job: There are several glue types available depending largely on your project needs.
- PVA glue is water- or solvent-based glue that is available in a variety of forms such as glue sticks, glue pens, and liquid glue. This type of glue can dry within one hour, but it also has the shortest working time with only about five minutes per application before becoming too firm to work with anymore.
- Liquid nail glue is another excellent glue choice for wood to concrete projects and will dry in about one hour. This glue is also available in a variety of formulas that are better suited for different surfaces or temperature conditions.
- Polyurethane adhesive glue is a glue that cures over time and will not dry out while you are working on the project. This type of glue can be applied in liquid or paste form, depending on your needs for the job at hand.
- Epoxy glue is a glue that cures over time and typically has the longest working times among all of these types. Epoxy glue can come in several formulations such as slow, medium or fast curing so make sure to pick one depending on how long you have before it will begin setting up! Epoxy glue creates a strong bond between two materials and it is very difficult to remove, which makes this glue a common option for gluing wooden boards onto concrete.
- Super glue creates an even stronger bond than epoxies do and dries very quickly, making it perfect for small projects where positioning boards properly in short amounts of time is crucial.
- Hot glue is easy to use and only requires a glue gun, but it does not hold up well against moisture or heavy items. It does not dry as quickly and can be removed later if needed, making it great for temporary glue jobs.
Once all necessary materials have been gathered and tools prepared it’s time to begin gluing!
2. Prepare the wood pieces and concrete block
Cut the wood pieces to size: measure carefully and cut the boards and planks to the proper length.
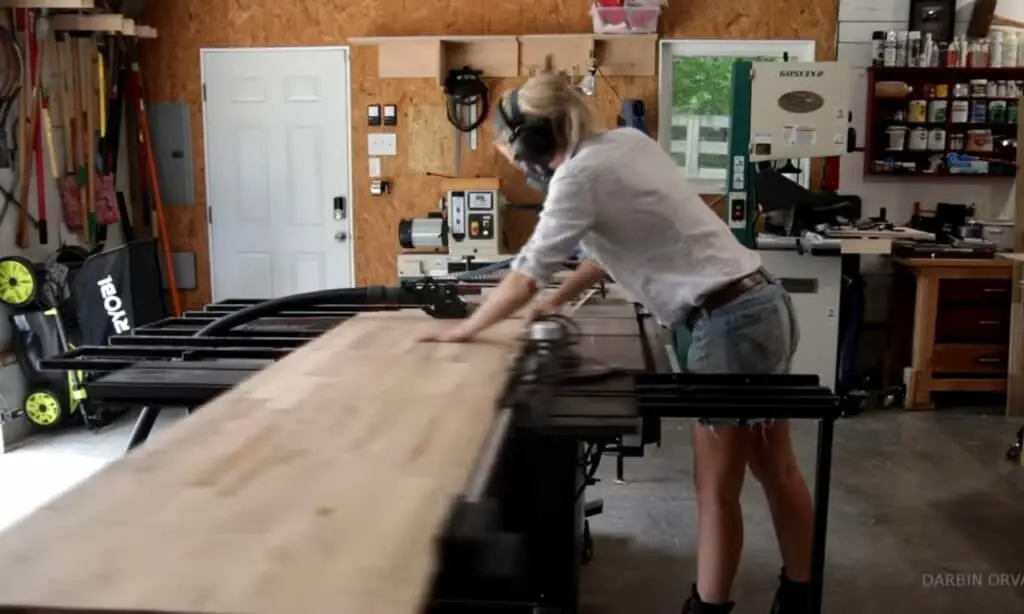
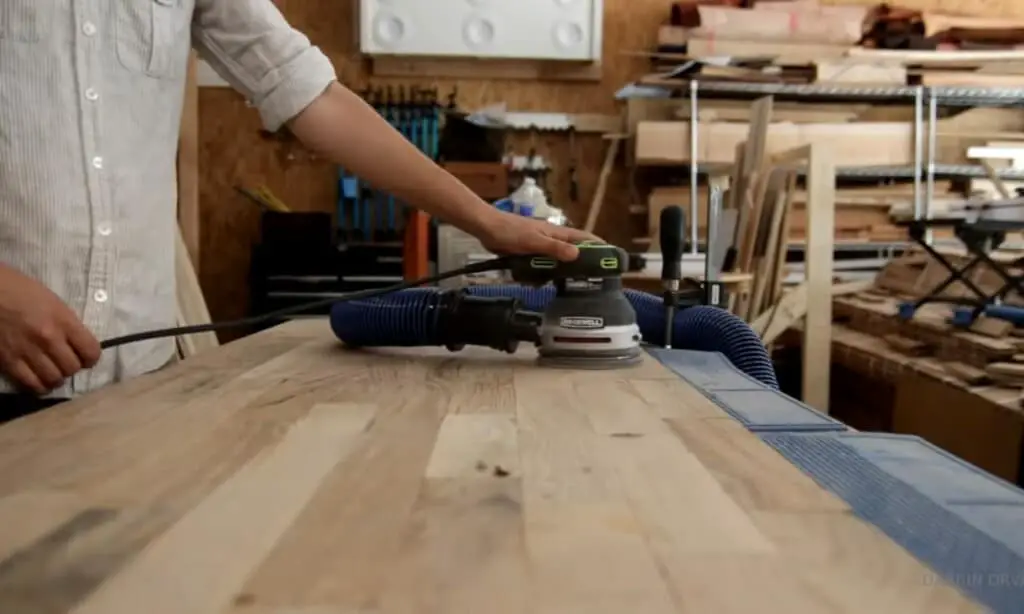
If the wood has been previously stained or painted, make sure that all of this product has been removed in order for the glue to adhere properly and not peel off later on! You can use sandpaper to sand down rough spots, or a chemical remover to remove the glue around the area where wood meets concrete until they look clean and smooth.
Before you start gluing, it’s important to know that the surface of the concrete needs to be clean and dry completely.
Tip: Tape off any areas on the concrete block where you do not want glue: This step is important if there are specific areas on your concrete project that should remain free from glue so as not to interfere with other processes such as painting later! You can use painter’s tape or masking paper for this task.


3. Apply the glue
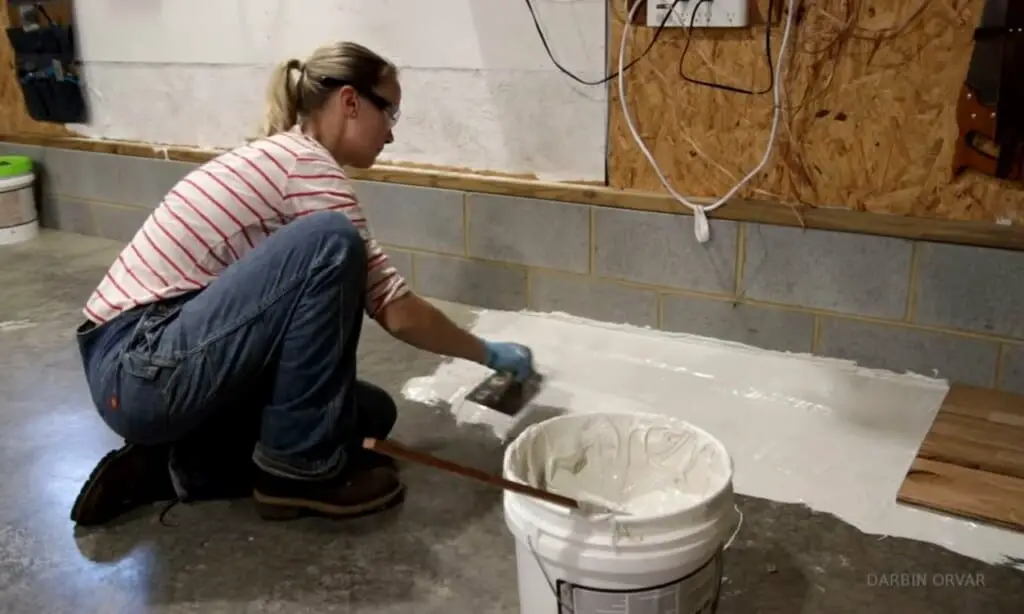
For most glues, it is recommended that you apply glue to one of the surfaces at once, however, several types of glue need to be applied to both surfaces equally. So you should follow the manufactory’s instructions on the glue labels carefully.
Choose a surface to be the base of glue application, for example, you can choose to apply glue to the wood or directly onto your concrete project. Spread glue evenly with an applicator or roller. If you are not using an applicator, take care to get glue all over the board or plank’s edge. Also, be careful not to leave too much extra glue because any excess product that squeezes out between boards may cause them to stick together rather than sticking into place with your block wall!
If necessary, remove excess glue from surfaces by scraping it away with a damp rag in order to avoid extra clean-up later!

4. Place glue-coated surface onto the second surface
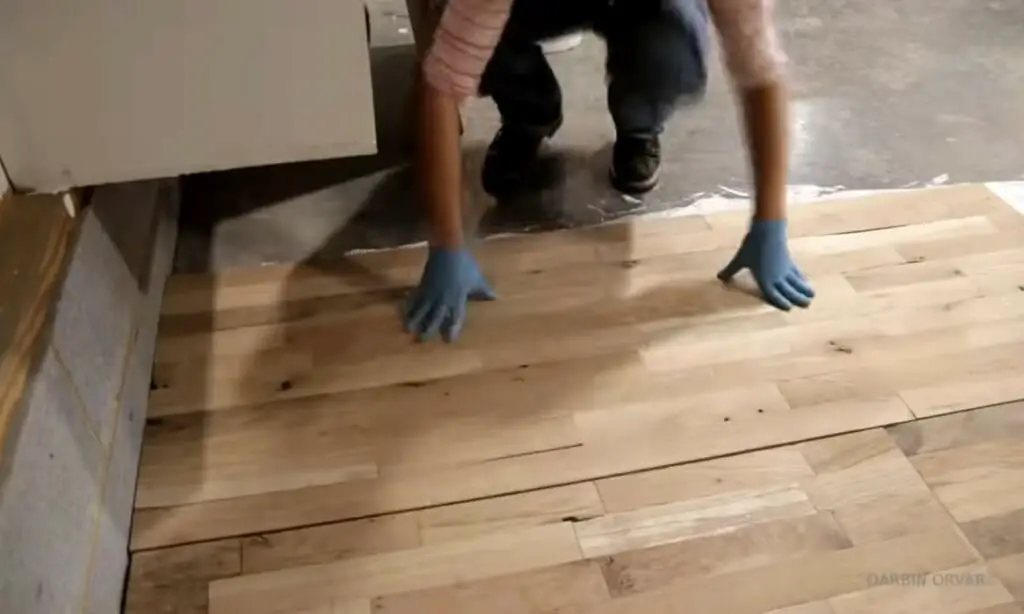
Place glue-coated surface on top of the second one. Align boards carefully and press them together, then firmly tap each board into place along its entire length so that it makes a tight bond with the concrete block wall! Be careful not to over-apply pressure in one area, which can cause cracking and glue damage.
You can also clamp down these pieces or use heavy objects to weigh them down while the glue is drying. You can also use a combination of both clamping and weights, depending on the glue you are using!

5. Allow glue to dry for proper bond
Some types of glue need more curing time than others so be sure that you are aware of how long your specific glue needs in order to achieve maximum strength. For example, epoxy takes an average amount of 24 hours (or more) while super glue can take as little as 15 minutes under normal conditions. Make sure not to disturb glued surfaces because doing so may cause the separation of two boards from each other.
After allowing enough drying time, test glue strength by gently lifting a board and checking for glue separation. If glue has dried properly, the wood should not come loose from concrete!
Congratulations! You’ve completed your glue job and are ready to get back to work on the rest of your project now that the boards have been properly secured in place.
Image credit: Darbin Orvar
